How to Make Homemade Sourdough Bread from Scratch (Even If You’ve Killed Every Starter You’ve Ever Had)
This post contains affiliate links. I may earn a small commission at no extra cost to you.
I’ll be honest with you — I killed my first sourdough starter. And my second one. The third one is still going strong on my counter, and we’ve been baking together for over two years now. I named her Biscuit.
If you’ve been curious about making homemade sourdough bread but every tutorial you’ve found reads like a chemistry dissertation, I get it. I was there. But here’s what I want you to know: this is one of those old-fashioned skills that real people — people without stand mixers or Dutch ovens that cost more than my grocery budget — have been doing for thousands of years. You can do this too.
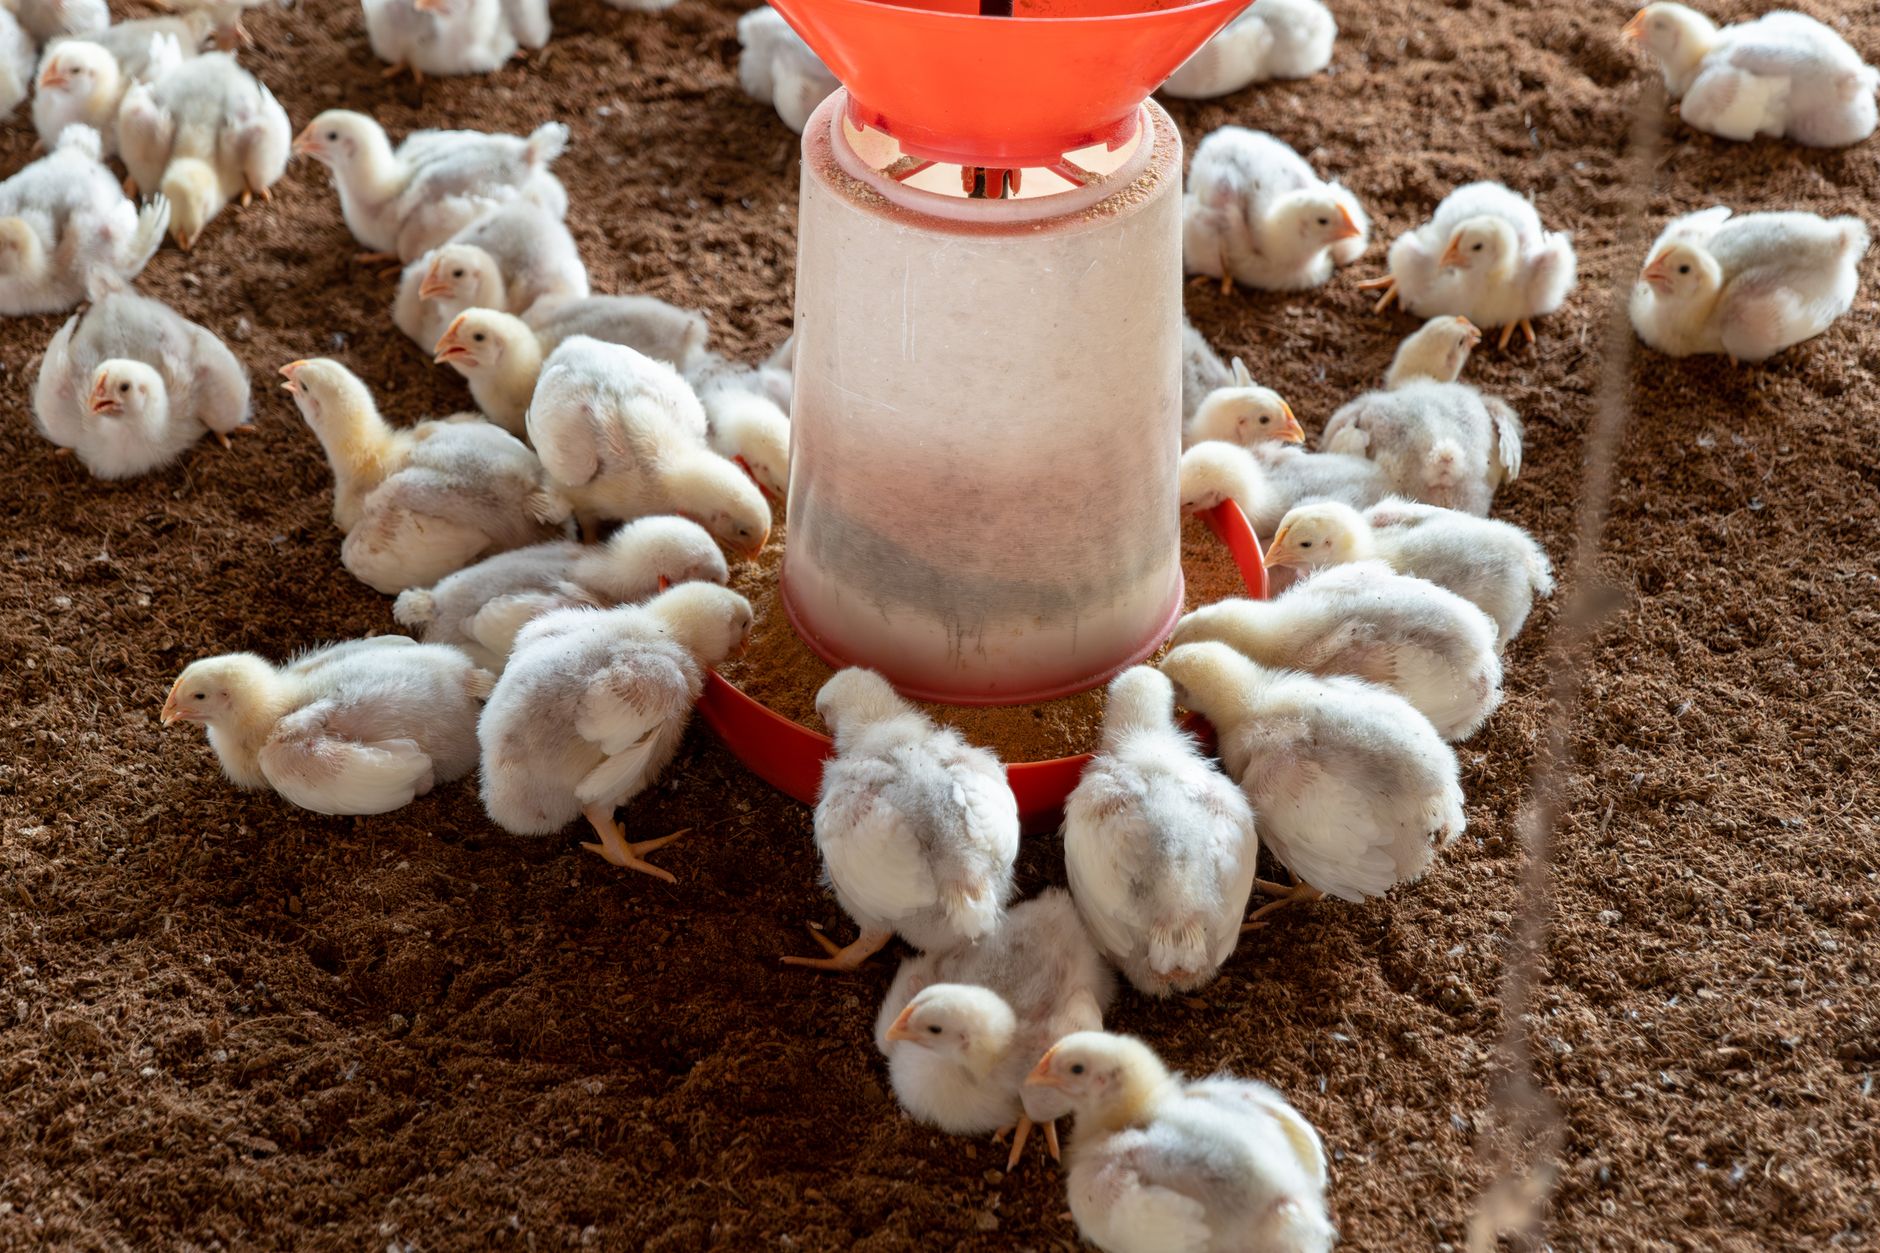
For our family, sourdough fits right into the way we try to live. Less processed, more intentional, made with our own hands. My kids help me feed Biscuit in the morning like she’s one of our pets (don’t tell the chickens). It’s become one of those quiet, rhythmic parts of our week that I genuinely look forward to — right up there with our morning nature journaling and collecting eggs from the coop.
What You Need to Start (It’s Less Than You Think)
You don’t need a $300 proofing basket or a sourdough subscription box. Here’s the real list:
- All-purpose or bread flour (unbleached is great)
- Whole wheat flour (for feeding your starter — it speeds things up)
- Non-chlorinated water (filtered or left out overnight)
- Salt
- A glass jar
- A kitchen scale (optional but helpful)
- A cast iron skillet or Dutch oven for baking
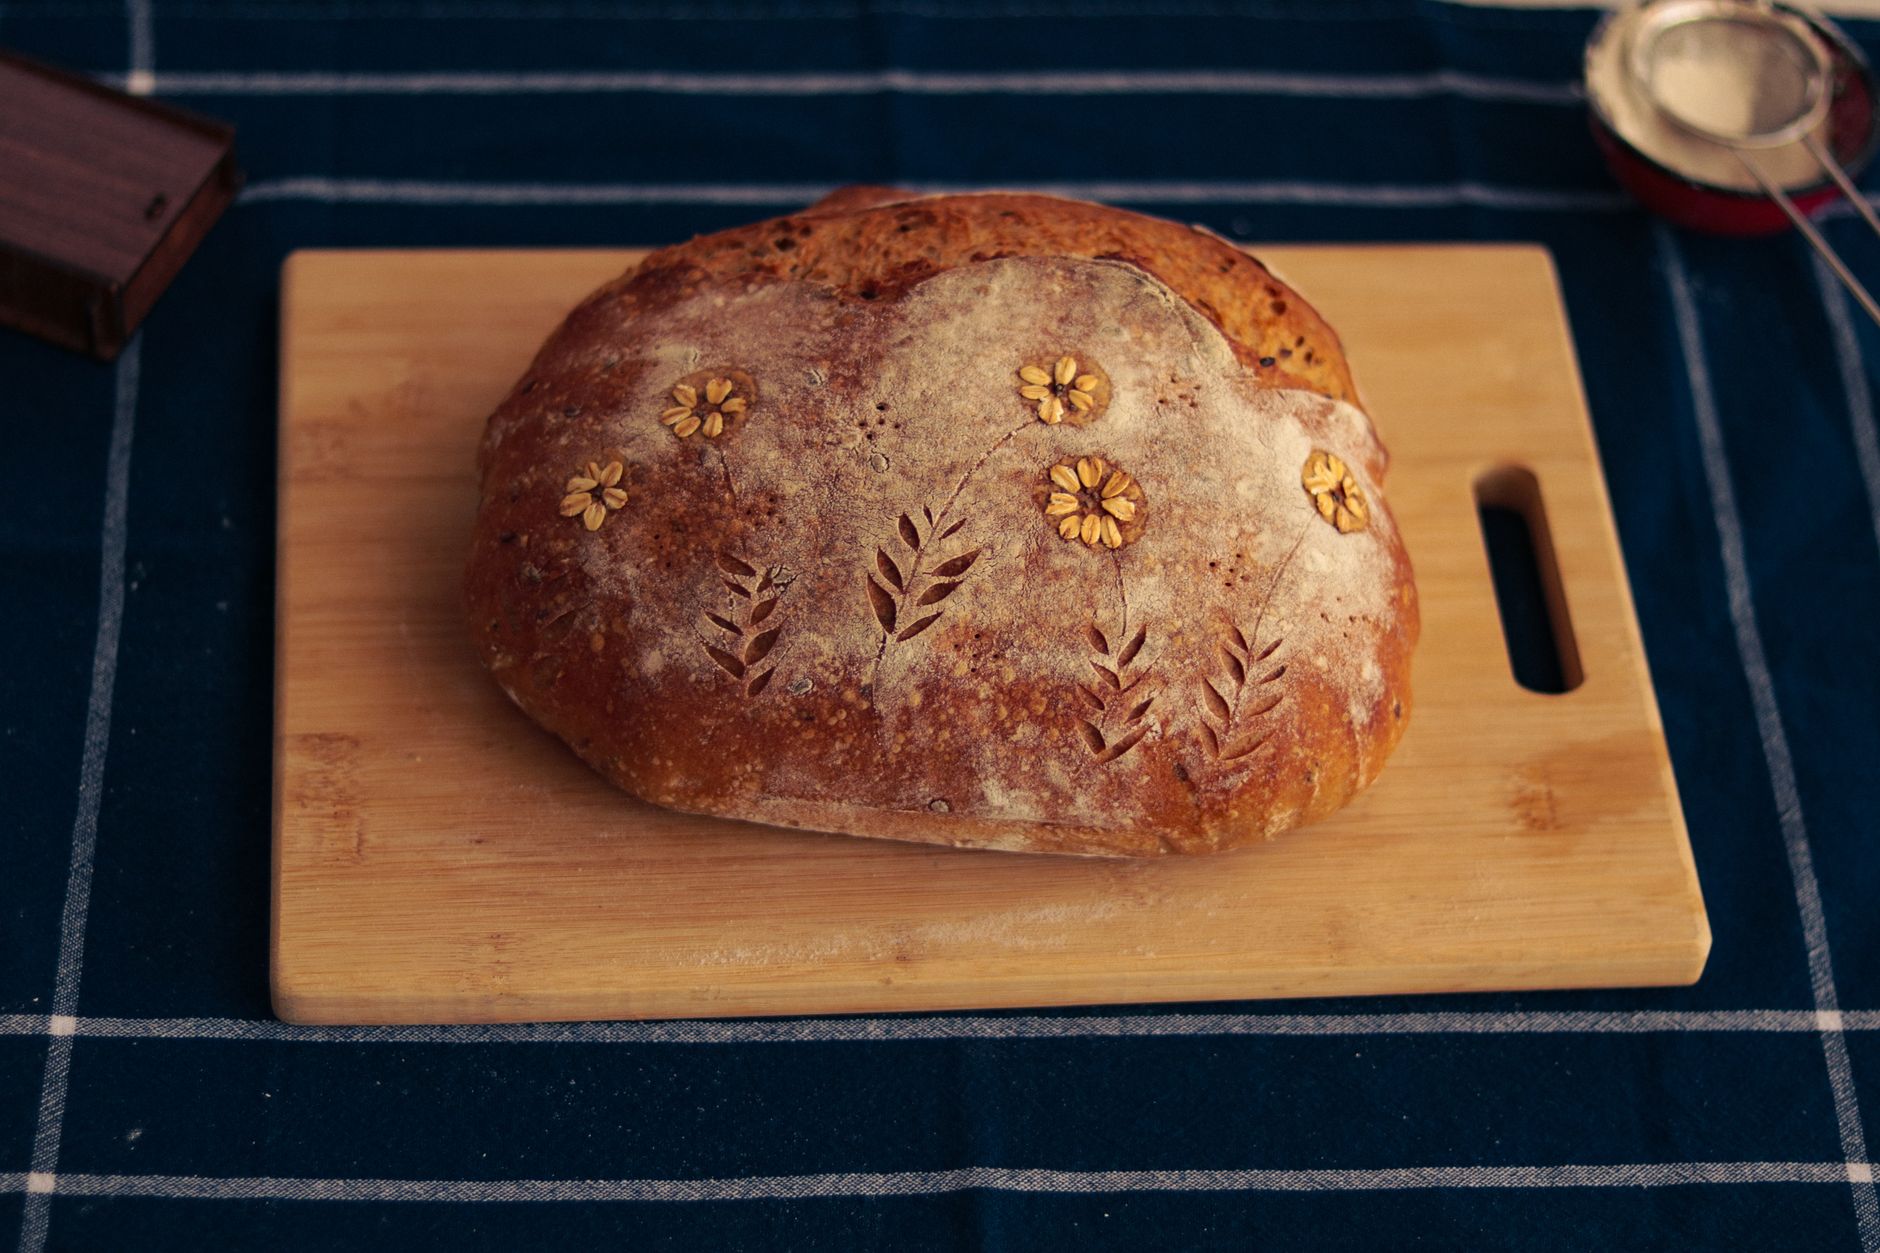
That’s genuinely it. We bake our sourdough in a covered cast iron pot and the crust comes out crackly and gorgeous every single time. If you want to go deeper on cast iron cooking, I wrote about it over at Cast Iron Cookware for Beginners: How to Get Started and Actually Keep It.
Step One: Build Your Sourdough Starter
Your starter is a living culture of wild yeast and bacteria that will leaven your bread naturally — no commercial yeast needed. This is the part that intimidates people, but I promise it’s really just flour and water and a little daily attention.
Days 1–7: Feeding Your Starter
Day 1: Mix 50g of whole wheat flour with 50g of room-temperature filtered water in a clean glass jar. Stir well, loosely cover (not airtight), and leave it on your counter.
Days 2–7: Each day, discard about half the starter and feed it with 50g flour and 50g water. You’ll start to see bubbles forming around day 3 or 4. By day 5–6, it should be noticeably rising and smelling a little tangy and yeasty — like bread is supposed to smell.
Here in Northwest Florida, our humidity and warmth actually works in our favor. My starter tends to get active faster than my friends up north report. If yours seems slow, try putting it in a slightly warmer spot — on top of the fridge works great.
Your starter is ready when it doubles in size within 4–8 hours of feeding and passes the float test: drop a small spoonful in water and if it floats, it’s ready to bake with.
Step Two: Mix Your Dough
Once your starter is active and bubbly, it’s time to make bread. This is a simple, no-knead sourdough method — perfect for a busy homeschool day.
Basic Sourdough Loaf:
- 450g bread flour
- 325g filtered water
- 100g active starter
- 9g salt
Mix: Combine the flour and water first, let it rest 30 minutes (this is called autolyse — it helps gluten develop without kneading). Then add your starter and salt, mix until combined.
Stretch and Fold: Over the next 4 hours, do 4 sets of stretch-and-folds about 30–45 minutes apart. Just grab a corner of the dough, stretch it up, and fold it over. Turn the bowl and repeat all the way around. This takes about 30 seconds each time.
Shape and Cold Proof: Shape your dough into a round loaf, place it seam-side up in a floured bowl or banneton, cover it, and put it in the fridge overnight (8–16 hours). This slow cold ferment is where the flavor really develops.
Step Three: Bake It
This is the exciting part. The morning after your overnight proof:
- Preheat your oven to 500°F (yes, really) with your cast iron pot inside for at least 45 minutes.
- Carefully flip your cold dough onto a piece of parchment paper.
- Score the top with a sharp knife or bread lame — a simple slash down the middle works fine.
- Lower the dough into the hot pot, put the lid on, and bake covered for 20 minutes.
- Remove the lid and bake another 20–25 minutes until the crust is deep golden brown.
- Let it cool at least an hour before cutting. I know. It’s hard. But the inside is still finishing cooking.
The smell that fills your house during this hour? It is one of the simple pleasures of life. My kids come running from wherever they are in the yard every single time.
How We Make This a Homeschool Moment
This is one of those activities that covers so many subjects without feeling like school at all — which is very much the Charlotte Mason way.
- Science: The starter is a living ecosystem. We’ve used our pocket microscope to look at the bubbles up close and talked about wild yeast and fermentation.
- Math: Weighing ingredients, fractions, timing — it’s all there. We use Math-U-See for our main math curriculum, but baking might be the best applied math we do all week.
- Nature journaling: My daughter once drew Biscuit (the starter jar, not a dog) in her nature journal and labeled the stages of fermentation. That’s real learning.
- Life skills: There is something deeply grounding about teaching kids to make food with their hands. It connects them to something real in a way that no worksheet ever will.
This goes right alongside the way we think about raising kids in general — giving them ownership over real-world processes and showing them that they are capable of making things from scratch. If you want more on that, I love thinking about this stuff in How to Involve Kids in Homestead Chores by Age (Without the Meltdowns or Doing It All Yourself).
A Few Tips That Will Actually Save You
- Don’t use tap water. Chlorine can mess with your starter. We use a filtered pitcher or just leave tap water out uncovered overnight.
- Warmer kitchen = faster rise. Florida summers make our bread rise fast. In cooler months, tuck your dough in the oven with just the light on.
- If your starter smells like nail polish remover, it’s just hungry — feed it and give it a day.
- Hooch (the gray liquid on top) is fine. Pour it off or stir it in. Your starter isn’t dead.
- Don’t skip the preheat. The hot pot is what gives you that gorgeous oven spring and crackly crust.
And if you want to make this even more from-scratch? We use eggs from our own backyard flock in our egg bread variations. There’s something special about a loaf where nearly every ingredient came from your own property. If you’re thinking about starting with chickens, Storey’s Guide to Raising Chickens is the one book I recommend to everyone.
This Is Simple Living in Action
Sourdough isn’t trendy to us — it’s just how we try to eat. Less stuff from a bag, more stuff from our kitchen. It saves money, it tastes better, and the kids know where their food comes from. You can read more about how we approach the whole food budget piece over at How to Reduce Your Grocery Bill Eating Whole Foods (Without Going Back to the Processed Stuff).
One loaf of homemade sourdough costs us maybe $1.50 in flour and salt. And it feeds our family with something nourishing and real that we made with our own hands. That matters to me.
If you’re just starting out, give yourself grace. Your first loaf might be a little flat or a little dense. That’s okay. Mine was basically a very dense frisbee. Feed your starter, try again, and don’t give up. Biscuit believes in you.
📖 You Might Also Like:
- How to Reduce Your Grocery Bill Eating Whole Foods (Without Going Back to the Processed Stuff)
- Best Container Vegetable Garden for Florida Summer Heat (What Actually Grows When It’s 95 Degrees Outside)
- Best Kids Garden Tools That Actually Work (No Flimsy Plastic Junk Here)
Frequently Asked Questions
How long does it take to make homemade sourdough bread from scratch?
From starting your sourdough starter to pulling your first loaf out of the oven, expect about 7–10 days total. The starter takes 5–7 days to become active. Once it’s ready, the actual bread process takes about 24 hours including mixing, fermenting, cold proofing overnight, and baking. Active hands-on time is only about 30–45 minutes total.
Can beginners really make sourdough at home without special equipment?
Absolutely. You need flour, water, salt, a glass jar, and something to bake in — a Dutch oven or covered cast iron pot works perfectly. A kitchen scale helps with accuracy but isn’t strictly required. Most beginners are surprised by how little equipment sourdough actually needs.
Why does my sourdough starter smell bad?
A young starter can smell pretty funky — like vinegar, cheese, or even nail polish remover. This is usually just a sign that it’s hungry or the bacteria balance is still establishing itself. Keep feeding it daily and within a day or two the smell typically becomes more pleasant and yeasty. If there’s any pink or orange mold, that’s the only time to toss it and start over.
What flour is best for sourdough bread?
Unbleached all-purpose or bread flour works great for the loaf itself. For feeding your starter, mixing in some whole wheat flour speeds things up because the bran contains more wild yeast. Avoid bleached flour when possible — the bleaching process can affect fermentation.
How do I store a sourdough starter so I don’t have to feed it every day?
Once your starter is established and you’re not baking every day, just store it in the fridge with a loose lid. Feed it once a week — discard half, add fresh flour and water — and it will stay alive indefinitely. Pull it out the night before you want to bake, feed it, let it sit at room temperature until active and bubbly, then use it.