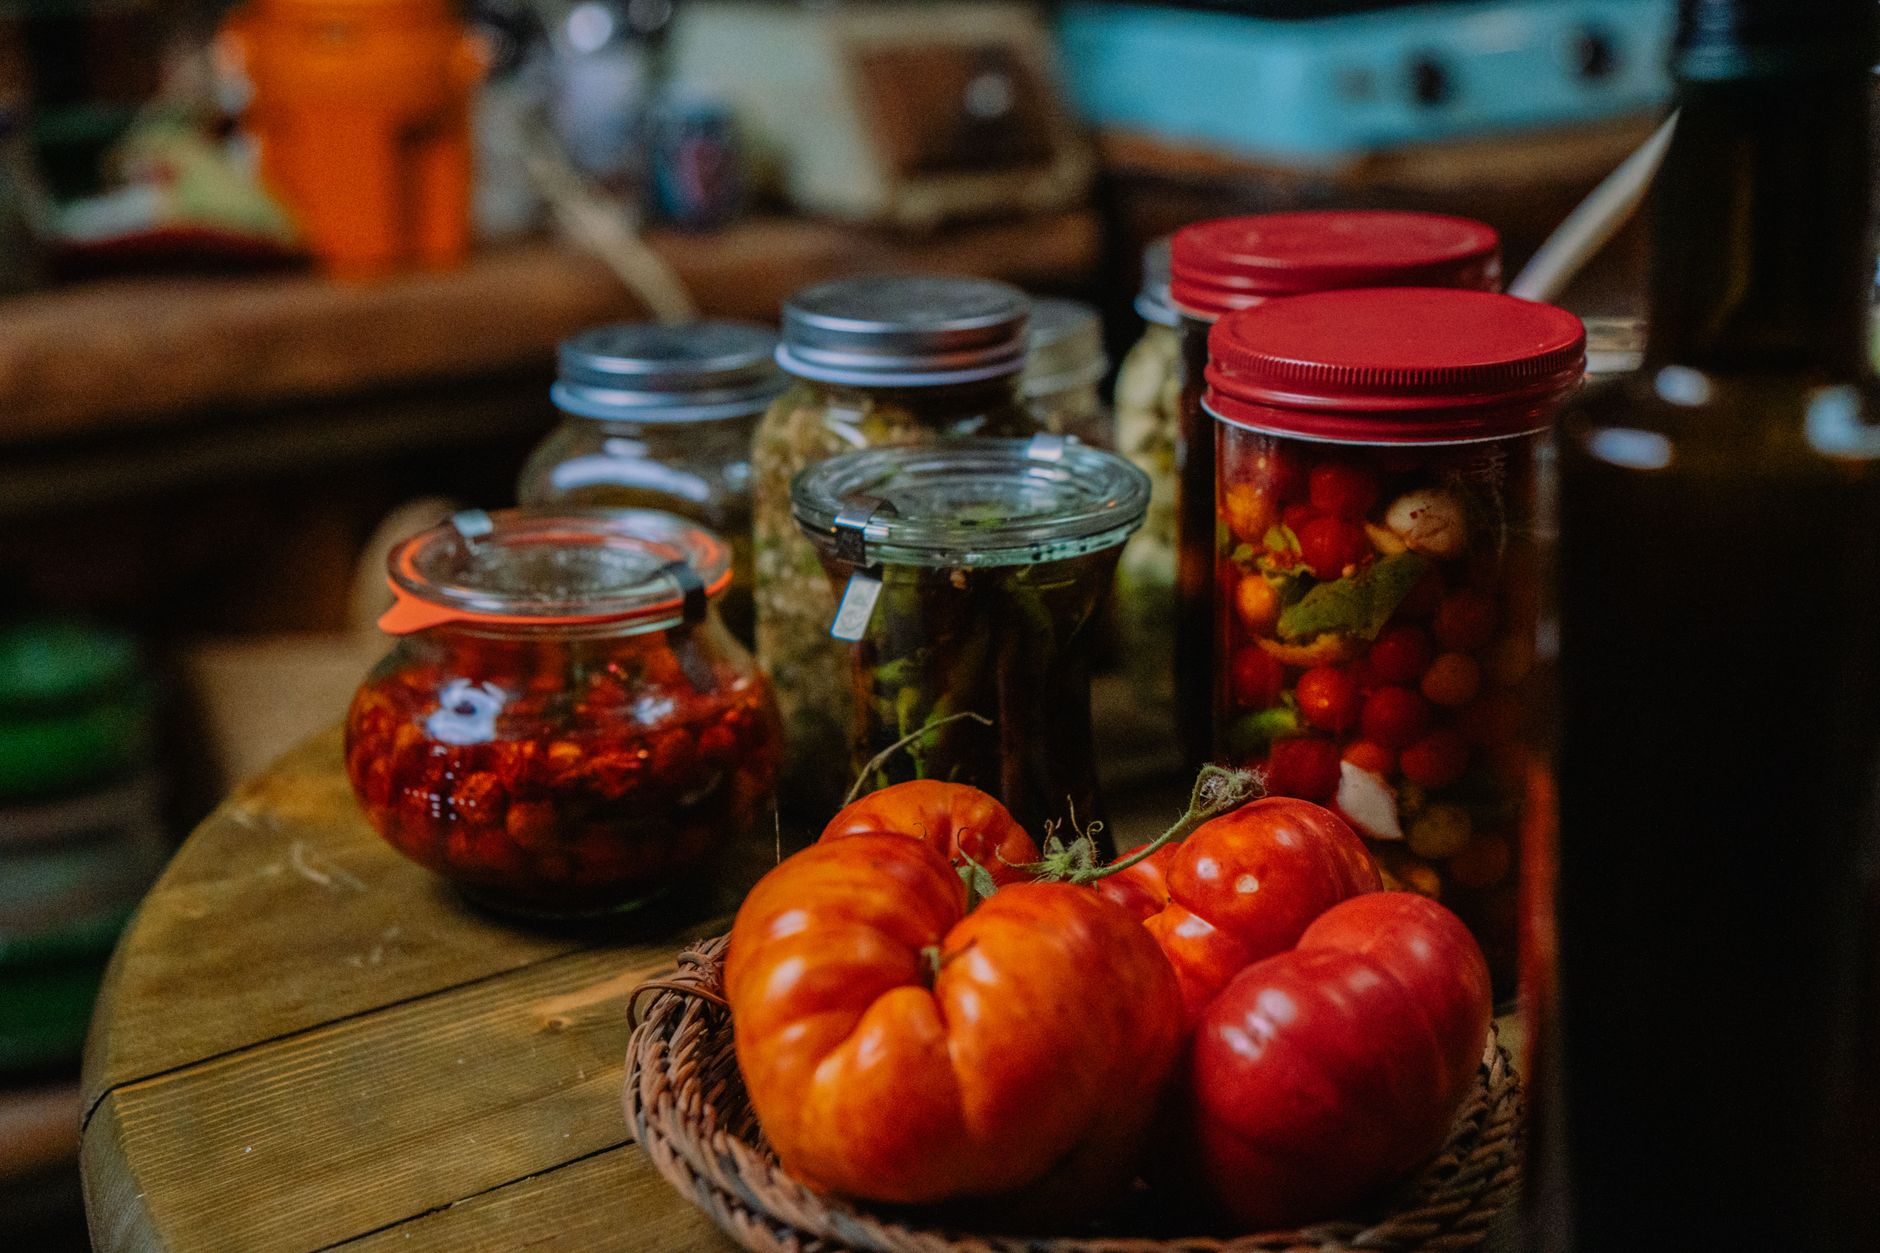
How to Can Tomatoes at Home: A Beginner’s Guide to Getting It Right the First Time
This post contains affiliate links. I may earn a small commission at no extra cost to you.
Okay, so here’s how it started for me. We had a bumper crop of tomatoes from our raised beds last fall — more than we could possibly eat fresh — and I was standing in my kitchen looking at a colander overflowing with them thinking, I did not grow all of this just to watch it rot. I’d been wanting to learn to can for years. I had the romanticized version in my head: rows of beautiful red jars lined up on the pantry shelf, my kids thinking I was some kind of pioneer woman. But I was also a little intimidated, if I’m being honest.
So I did what I always do. I read everything I could find, I called my mama, and then I just did it. And y’all — it wasn’t nearly as complicated as I’d made it out to be in my head. If you’ve been sitting on the fence about canning tomatoes, this post is for you.
Why Tomatoes Are the Best Place to Start
Tomatoes are basically the perfect beginner canning project. They’re one of the most forgiving foods to preserve because their natural acidity puts them right at the safe edge for water bath canning (which is the simpler method — no pressure canner required). You don’t need a ton of fancy equipment, the process is pretty straightforward, and the payoff is huge. A pantry full of home-canned tomatoes gets you through soups, sauces, and chilis all winter long without reaching for a can of mystery-ingredient store stuff.
If you’ve already been gardening and you’re trying to figure out what to do with your harvest, check out How to Preserve Your Summer Harvest: Canning, Freezing, and Fermenting for Real Families — it’s a great companion to this post.
What You’ll Need Before You Start
You don’t need a ton of stuff, but you do need the right stuff. Here’s your basic list:
- Water bath canner (a large stockpot with a rack works too)
- Mason jars — quarts or pints, your choice
- New lids every time (bands can be reused, lids cannot)
- Jar lifter — please don’t skip this, boiling water is no joke
- Wide-mouth funnel
- Ladle
- Large pot for blanching
- Lots of tomatoes — about 21 pounds fills a canner load of 7 quarts
For the tomatoes themselves, you want a paste variety like Roma or San Marzano if you can get them. They have less water and more flesh, which means better flavor and faster processing. But honestly, any ripe, meaty tomato will work. Just avoid anything bruised or overripe.
Step-by-Step: How to Can Whole or Crushed Tomatoes
Step 1: Wash and Sterilize Your Jars
Run your jars through the dishwasher on a hot cycle or wash them well in hot soapy water and keep them in hot water until you’re ready to fill them. You want hot jars for hot food — putting boiling-hot tomatoes into a cold jar is how you get cracks.
Step 2: Blanch and Peel the Tomatoes
Score a small X on the bottom of each tomato, drop them into boiling water for about 30-60 seconds, then immediately plunge them into an ice bath. The skins will slip right off. It’s actually a satisfying little job for kids to help with — mine love peeling them.
Step 3: Add Acid — This Step Is Non-Negotiable
Even though tomatoes are naturally acidic, their pH can vary. To keep things safely in the water bath canning range, you need to add acid to every jar:
- Quart jars: 2 tablespoons bottled lemon juice (bottled, not fresh — the acidity is standardized)
- Pint jars: 1 tablespoon bottled lemon juice
You can also use citric acid if you prefer — ¼ teaspoon per quart. Add this to the jar before you put the tomatoes in.
Step 4: Fill Your Jars
For whole or crushed tomatoes, pack them in tightly, pressing down so the tomatoes release their juice and fill the gaps. Leave ½ inch of headspace at the top. Add a pinch of canning salt if you like (totally optional — it’s for flavor only, not preservation).
Wipe the rims of your jars with a clean damp cloth — any residue on the rim can prevent a good seal. Put your lids on finger-tight. Not gorilla-tight, just snug.
Step 5: Process in the Water Bath Canner
Lower your jars into the canner, making sure they’re covered by at least 1-2 inches of water. Bring to a full boil, then start your timer:
- Pints: 40 minutes
- Quarts: 45 minutes
(Adjust for altitude if you’re not near sea level — here in the Florida Panhandle, we’re basically at sea level so no adjustment needed.)
When time’s up, turn off the heat and let the jars sit in the water for 5 minutes before removing them. Set them on a towel on the counter and don’t touch them for 12-24 hours.
Step 6: Check Your Seals
After 12 hours, press down on the center of each lid. If it doesn’t flex up and down, you’ve got a good seal. If a lid pops, just put that jar in the fridge and use it within a week. Properly sealed jars will last 12-18 months in a cool, dark pantry.
The Stuff Nobody Tells Beginners
Don’t panic if a jar doesn’t seal. It happens. Just refrigerate it and move on. This is not a sign that you failed — it’s just canning.
Your kitchen is going to get steamy. This is a great Florida winter project, not a July one. We do most of our canning in October and November when it’s finally cooled off enough that running the stove for two hours doesn’t turn our house into a sauna.
Involve the kids. Peeling tomatoes, handing you lids, labeling jars with the date — these are all real jobs little hands can do. It’s practical life skills, it’s math (how many jars did we fill?), it’s science (why do we add the lemon juice?). This is Charlotte Mason home education happening in real life, not from a textbook.
Your pantry will feel different after this. I know that sounds dramatic, but walking past a shelf of jars you filled yourself — with tomatoes you grew yourself — hits different. My kids are proud of those jars. They show them to people. That’s something.
If you’re also growing your own tomatoes and want to make the most of your garden setup, How to Start a Homestead Garden in Florida for Beginners is worth a read, especially if you’re still figuring out our quirky Florida soil situation.
A Few Products That Have Made This Easier for Us
I’m not a gear person by nature, but a few things genuinely make canning more enjoyable. A good cast iron skillet isn’t canning equipment exactly, but it’s what I use to cook down tomatoes before canning sauce, and it’s earned its spot on my stovetop. A kitchen compost bin right on the counter makes quick work of all those tomato skins and cores — especially when you’re doing a big batch. And beeswax wrap is great for covering cut tomatoes or bowls in the fridge while you’re working in stages.
For cleaning products to wipe down your canning area without bringing harsh chemicals into a food-prep space, we love Grove Collaborative for all of that. Keeping things non-toxic in the kitchen matters to me, especially when we’re doing something like canning where cleanliness is actually part of the safety process.
You Can Do This
I want to close with this: canning tomatoes is one of those skills that feels intimidating from the outside and completely manageable once you’re in it. The first time is the hardest — mostly because you’re just not sure what to expect. But once those jars are on your shelf and you open your first one in December to make a big pot of soup, you’ll understand why generations of families have done this.
This is the kind of thing I want my kids to grow up seeing as normal. Not exotic, not extreme — just regular homemaking. The way most families lived before everything came in a package. We’re not perfect at it, but we’re learning, and every jar we put up feels like a small victory.
If you’re curious about other ways we preserve and use what we grow, check out How to Teach Kids to Cook Basic Skills by Age — because what’s the point of filling the pantry if the kids don’t know how to use what’s in it?
You’ve got this, friend. Go can some tomatoes.
📖 You Might Also Like:
- How to Preserve Your Summer Harvest: Canning, Freezing, and Fermenting for Real Families
- Best Books on Simple Living and Homesteading for Families (Our Actual Favorites)
- How to Start a Homestead Garden in Florida for Beginners (What Actually Works Down Here)
Frequently Asked Questions
Do I need a pressure canner to can tomatoes at home?
No — tomatoes can be safely processed using a water bath canner, which is much simpler and more beginner-friendly. The key is that you must add bottled lemon juice or citric acid to every jar to ensure safe acidity levels. As long as you do that, a water bath canner is all you need.
How long do home-canned tomatoes last on the shelf?
Properly sealed home-canned tomatoes stored in a cool, dark place will last 12–18 months. After that they’re still likely safe to eat, but quality and flavor start to decline. Always check the seal before using — if the lid flexes or the jar smells off, throw it out.
Why do I have to use bottled lemon juice instead of fresh?
The acidity of fresh lemons varies from fruit to fruit, which means you can’t guarantee a consistent pH in your jars. Bottled lemon juice has a standardized, tested acidity level that makes it safe for water bath canning. It’s one of those spots where you don’t want to wing it.
Can I can tomatoes without salt?
Yes, absolutely. Salt is purely optional in canned tomatoes — it’s added for flavor only and plays no role in preservation or safety. If you’re watching sodium intake or just prefer to leave it out, go right ahead. You can always season when you open the jar.
What are the best tomato varieties to use for canning?
Paste tomatoes like Roma or San Marzano are the go-to for canning because they have thick flesh, fewer seeds, and lower water content, which means better texture and richer flavor in the jar. That said, any ripe, meaty tomato works. Just avoid watery varieties like beefsteak if you can, and always skip anything bruised or overripe.
Leave a Reply