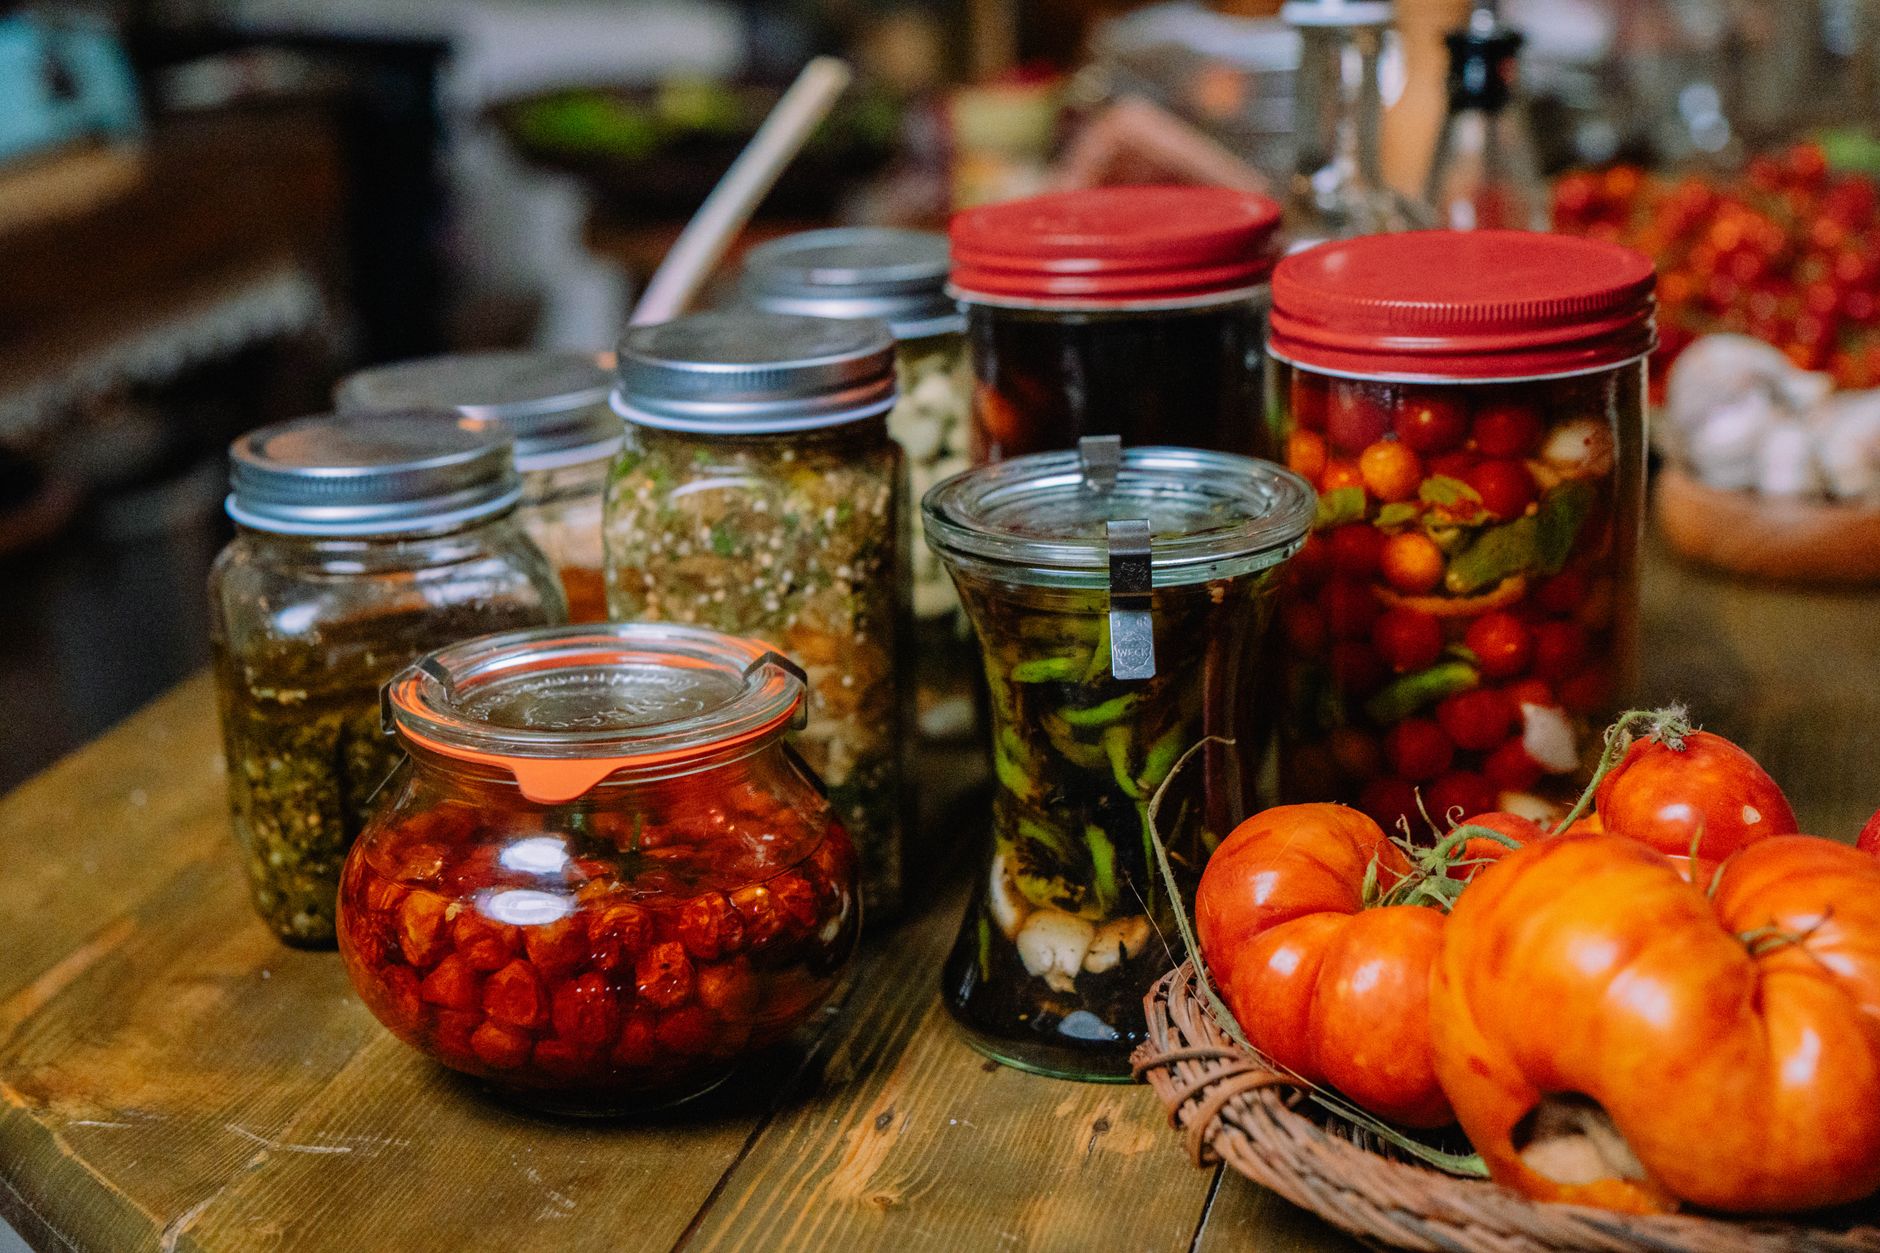
How to Preserve Your Summer Harvest: Canning, Freezing, and Fermenting for Real Families
This post contains affiliate links. I may earn a small commission at no extra cost to you.
Every summer, it happens. The garden goes absolutely wild. You go out one morning to check on the tomatoes and come back inside with your shirt turned into a makeshift basket overflowing with squash, peppers, green beans, and cucumbers — way more than your family can eat in a week. If you’ve ever stood in your kitchen surrounded by produce and thought okay, now what, this post is for you.
We’re in the Pensacola area, and y’all, summer here is no joke. The heat cranks up fast and the garden goes from zero to overwhelming almost overnight. Between our little backyard flock, the garden beds, and actual homeschool lessons to get through, I had to figure out a preservation system that didn’t take over my entire life. What I landed on was using all three methods — canning, freezing, and fermenting — and matching each one to the right crop and the right moment.
The best part? This is real, hands-on homesteading that your kids can participate in from the very beginning. It connects beautifully to what we do in our Charlotte Mason homeschool — nature study, life skills, understanding where food comes from, practicing patience. And honestly, it gives them the kind of doing that our parents’ generation had built right into everyday life.
Why Preserving Your Harvest Actually Matters
There’s something deeply satisfying about opening a jar of tomato sauce in January that you put up yourself in July. It’s not just practical — though it absolutely is that — it’s also the kind of slow, intentional living that feels good in your bones.
For our family, preserving food is also a form of financial stewardship. We use the Florida PEP scholarship to cover homeschool curriculum costs, so stretching our grocery budget by stocking a pantry and freezer with homegrown food is genuinely meaningful. Less food waste, more margin.
And when kids help put food by, they’re way more invested in eating it. Guaranteed.
Method 1: Freezing — Start Here If You’re Brand New
Freezing is the easiest entry point, and for a lot of summer produce it’s honestly the best option. No special equipment, minimal learning curve, and the kids can help with almost every step.
What Freezes Well
- Corn (blanch it first, cut it off the cob)
- Green beans and field peas (blanch, then freeze flat on a sheet tray before bagging)
- Summer squash (slice, blanch briefly, freeze)
- Bell peppers (chop raw, freeze — no blanching needed)
- Blueberries, peaches, and figs (Florida summer gold — freeze on a tray first so they don’t clump)
- Tomato paste and purée
Getting Kids Involved
Blanching and ice-bath cooling is basically a science experiment. Let your elementary-age kids observe how heat stops the enzymes that cause vegetables to break down. Have them use kids’ garden gloves when handling anything hot or sharp. Older kids can run the ice bath station entirely on their own.
For labeling, give your kids the job of writing dates and contents on freezer bags. It’s practical handwriting practice — and honestly beats a workbook any day. If you use Handwriting Without Tears in your homeschool, this is a perfect real-world application.
Method 2: Water Bath Canning — More Involved, So Worth It
Canning feels intimidating at first but once you do it a few times it becomes second nature. For high-acid foods — tomatoes, jams, jellies, pickles, and fruit preserves — water bath canning is the method.
What Cans Well in Summer
- Tomatoes (diced, whole, or as sauce)
- Cucumber pickles and bread-and-butter slices
- Fig preserves (a Southern classic — don’t skip this one)
- Blueberry or strawberry jam
- Pickled okra
- Pepper jelly
A Few Things to Know Before You Start
Use tested recipes — this isn’t the place to improvise on acidity levels. The Ball Blue Book is the gold standard. Sterilize your jars, use new lids each time, and always process for the full recommended time. The satisfying ping of lids sealing is one of the best sounds in a homestead kitchen.
For cooking down tomatoes or jam in large batches, a good heavy-bottomed pan makes a real difference. We use a cast iron skillet for smaller batches of jam — it holds heat evenly and I trust it.
Check out our post on How to Teach Kids to Cook Basic Skills by Age for a great breakdown of what tasks are appropriate for which ages in the kitchen.
Method 3: Fermenting — The One That Feels Like Magic
Okay, fermentation is my personal favorite. It feels like actual alchemy. You put vegetables and salt in a jar, leave it on the counter for a few days, and end up with something deeply flavorful, shelf-stable, and full of probiotics. No heat required.
What Ferments Beautifully
- Cucumbers → dill pickles (way better than vinegar pickles, honestly)
- Cabbage → sauerkraut or kimchi
- Hot peppers → lacto-fermented hot sauce
- Green beans → fermented dilly beans
- Garlic → fermented garlic honey (a Florida farmhouse staple)
The Basic Method
Most simple vegetable ferments use a 2% salt brine — about 1 teaspoon of non-iodized salt per cup of water. Pack your vegetables into clean mason jars, pour the brine over to submerge everything, and keep it at room temperature away from direct sun. Taste daily after day two. When it’s tangy and delicious to you, move it to the fridge.
For kids, fermentation is a living science lesson — literally. You can talk about beneficial bacteria, observe the bubbling, and draw what’s happening in a nature journal. It ties in beautifully with Charlotte Mason’s emphasis on narration and observation. Have them write or dictate what they notice each day. That’s real science.
Making Preservation a Family Rhythm
The key to not burning out on this stuff is to not try to do everything at once. Our family has learned to work with what’s coming in from the garden week by week. Monday might be a big blueberry freeze day. Thursday might be a quick batch of cucumber ferments. It flows with the Seasonal Living Ideas we already try to build into our year.
Our chickens actually help with this too — produce that’s past prime for preserving (slightly soft tomatoes, split cucumbers) goes straight to the flock. Nothing is wasted. And our girls love running kitchen scraps out to the hens. Speaking of the flock, if you’re newer to backyard chickens and want to learn more about keeping them healthy and thriving alongside your garden, Storey’s Guide to Raising Chickens is one of the best resources we’ve come across.
For kitchen waste that isn’t chicken-worthy, it goes in the compost bin on the counter and eventually back to the garden. That full circle is something our kids genuinely understand now — and it started just by having them be present in these moments. You can read more about that process in our post on Composting at Home with Kids.
A Quick Reference: Which Method for Which Crop
| Produce | Best Method |
|—|—|
| Blueberries, figs, peaches | Freeze or jam/can |
| Tomatoes | Can (sauce/diced) or freeze |
| Cucumbers | Ferment or water bath pickle |
| Green beans | Freeze or ferment |
| Peppers | Freeze raw or can as jelly/sauce |
| Cabbage | Ferment |
| Corn | Freeze |
| Squash | Freeze |
It Doesn’t Have to Be Perfect
Here’s the thing nobody told me when I started: your first batch of jam might be a little runny. Your first ferment might be too salty. That’s fine. It’s still food. Your kids are still learning. And you’re still doing something most people never bother to do at all.
This is exactly the kind of messy, real, hands-in-the-kitchen childhood I want for our kids — the kind that our parents and grandparents had naturally, before everything got so convenient and disconnected. Preserving the harvest is old knowledge, and it’s worth passing down. One jar at a time, one summer at a time.
Now go check your garden. I bet you’ve got more out there than you realized.
📖 You Might Also Like:
- Composting at Home with Kids: A Real Beginner’s Guide That Actually Gets Done
- How to Create a Nature Play Yard in Your Backyard (That Kids Actually Use)
- How to Make Homemade Laundry Detergent That’s Actually Non-Toxic (And Works in Florida Heat)
Frequently Asked Questions
What is the easiest way to start preserving food at home?
Freezing is the easiest starting point. Most summer vegetables just need a quick blanch in boiling water, an ice bath to stop the cooking, and then they go straight into freezer bags. No special equipment needed beyond a large pot and some freezer-safe bags or containers.
Is it safe to water bath can tomatoes at home?
Yes, as long as you follow tested recipes and add the recommended amount of lemon juice or citric acid to ensure safe acidity levels. Always use a reliable source like the Ball Blue Book or the USDA Complete Guide to Home Canning for tested recipes and processing times.
How do you ferment vegetables at home without special equipment?
Most simple vegetable ferments just need a clean mason jar, non-iodized salt, and filtered or non-chlorinated water. Pack your vegetables in, cover with a 2% salt brine, and keep them at room temperature away from direct sunlight. Taste daily starting around day two or three until they reach the flavor you like, then refrigerate.
Can kids help with food preservation?
Absolutely — and it’s wonderful for them. Young kids can wash produce, help with ice baths, label freezer bags, and observe fermentation bubbling. Older elementary kids can blanch vegetables with supervision, help pack jars, and stir jam. It builds real life skills and connects them to where their food comes from.
What Florida summer produce is best for preserving?
Florida summers are great for preserving blueberries (freeze or jam), figs (fig preserves are a Southern classic), tomatoes (can as sauce or dice), cucumbers (fermented pickles or water bath pickles), peppers (freeze or make into pepper jelly), and field peas or green beans (blanch and freeze). Work with whatever your garden is producing most abundantly each week.
Leave a Reply