How to Preserve Your Summer Harvest: Canning, Freezing, and Fermenting for Beginners
This post contains affiliate links. I may earn a small commission at no extra cost to you.
If you’ve ever stood in your backyard in late June, staring at a pile of cucumbers the size of a small toddler, wondering how on earth you’re going to use all of this before it goes bad — hi, same. Florida summer gardens don’t mess around. One week you’re nursing tiny seedlings, and the next week you’re texting neighbors asking if they want squash because you genuinely cannot keep up.
We’ve been there more times than I can count. And somewhere between my third batch of zucchini bread and leaving a bag of tomatoes on the church welcome table, I decided it was time to actually learn how to preserve food — not just survive the harvest.
The good news? Canning, freezing, and fermenting are all very learnable. You don’t need a farmhouse kitchen or a grandmother who canned every summer (though if you have one of those, call her immediately). You just need a little know-how and the willingness to try.
And honestly? Getting your kids involved in this is one of the most Charlotte Mason, 1990s-childhood things you can do. Real food. Real skills. Real life. Let’s get into it.
Why Preserving Your Harvest Matters (Even If Your Garden Is Small)
Even a modest backyard garden — or a haul from the farmers market or a local u-pick — produces more than most families can eat fresh. When you learn to preserve that food, a few really good things happen:
- You reduce waste (which matters if you’re trying to live intentionally)
- You stretch your grocery budget through the winter months
- You know exactly what’s in your food
- Your kids watch you do something genuinely useful with your hands
That last one is underrated. When my kids see me filling jars or packing the freezer, they’re watching real-life home economics in action. It’s living education, and it sticks in a way that a worksheet never could.
If you want more ideas for weaving this kind of learning into everyday life, Seasonal Living Ideas for Families: Simple Ways to Celebrate Every Season All Year Long is a great place to start.
Method 1: Freezing (The Easiest Starting Point)
If you’ve never preserved food before, start here. Freezing is forgiving, fast, and doesn’t require a lot of equipment.
What Freezes Well from a Summer Garden
- Corn (blanch first, then freeze off the cob or on)
- Tomatoes (roast them first for the best flavor)
- Squash and zucchini (blanch, slice, freeze flat on a tray)
- Blueberries and other berries (freeze in a single layer, then bag)
- Peppers (dice and freeze raw — no blanching needed)
- Herbs like basil (blend with olive oil and freeze in ice cube trays)
A Few Freezing Tips
Blanching — briefly boiling vegetables and then dunking them in ice water — stops the enzymes that cause food to lose flavor and texture in the freezer. It takes an extra five minutes and it’s worth it for most vegetables.
Freeze things flat on a sheet pan first before bagging them. This keeps your berries and sliced veggies from turning into one giant frozen brick. Label everything with the date. Future you will be grateful.
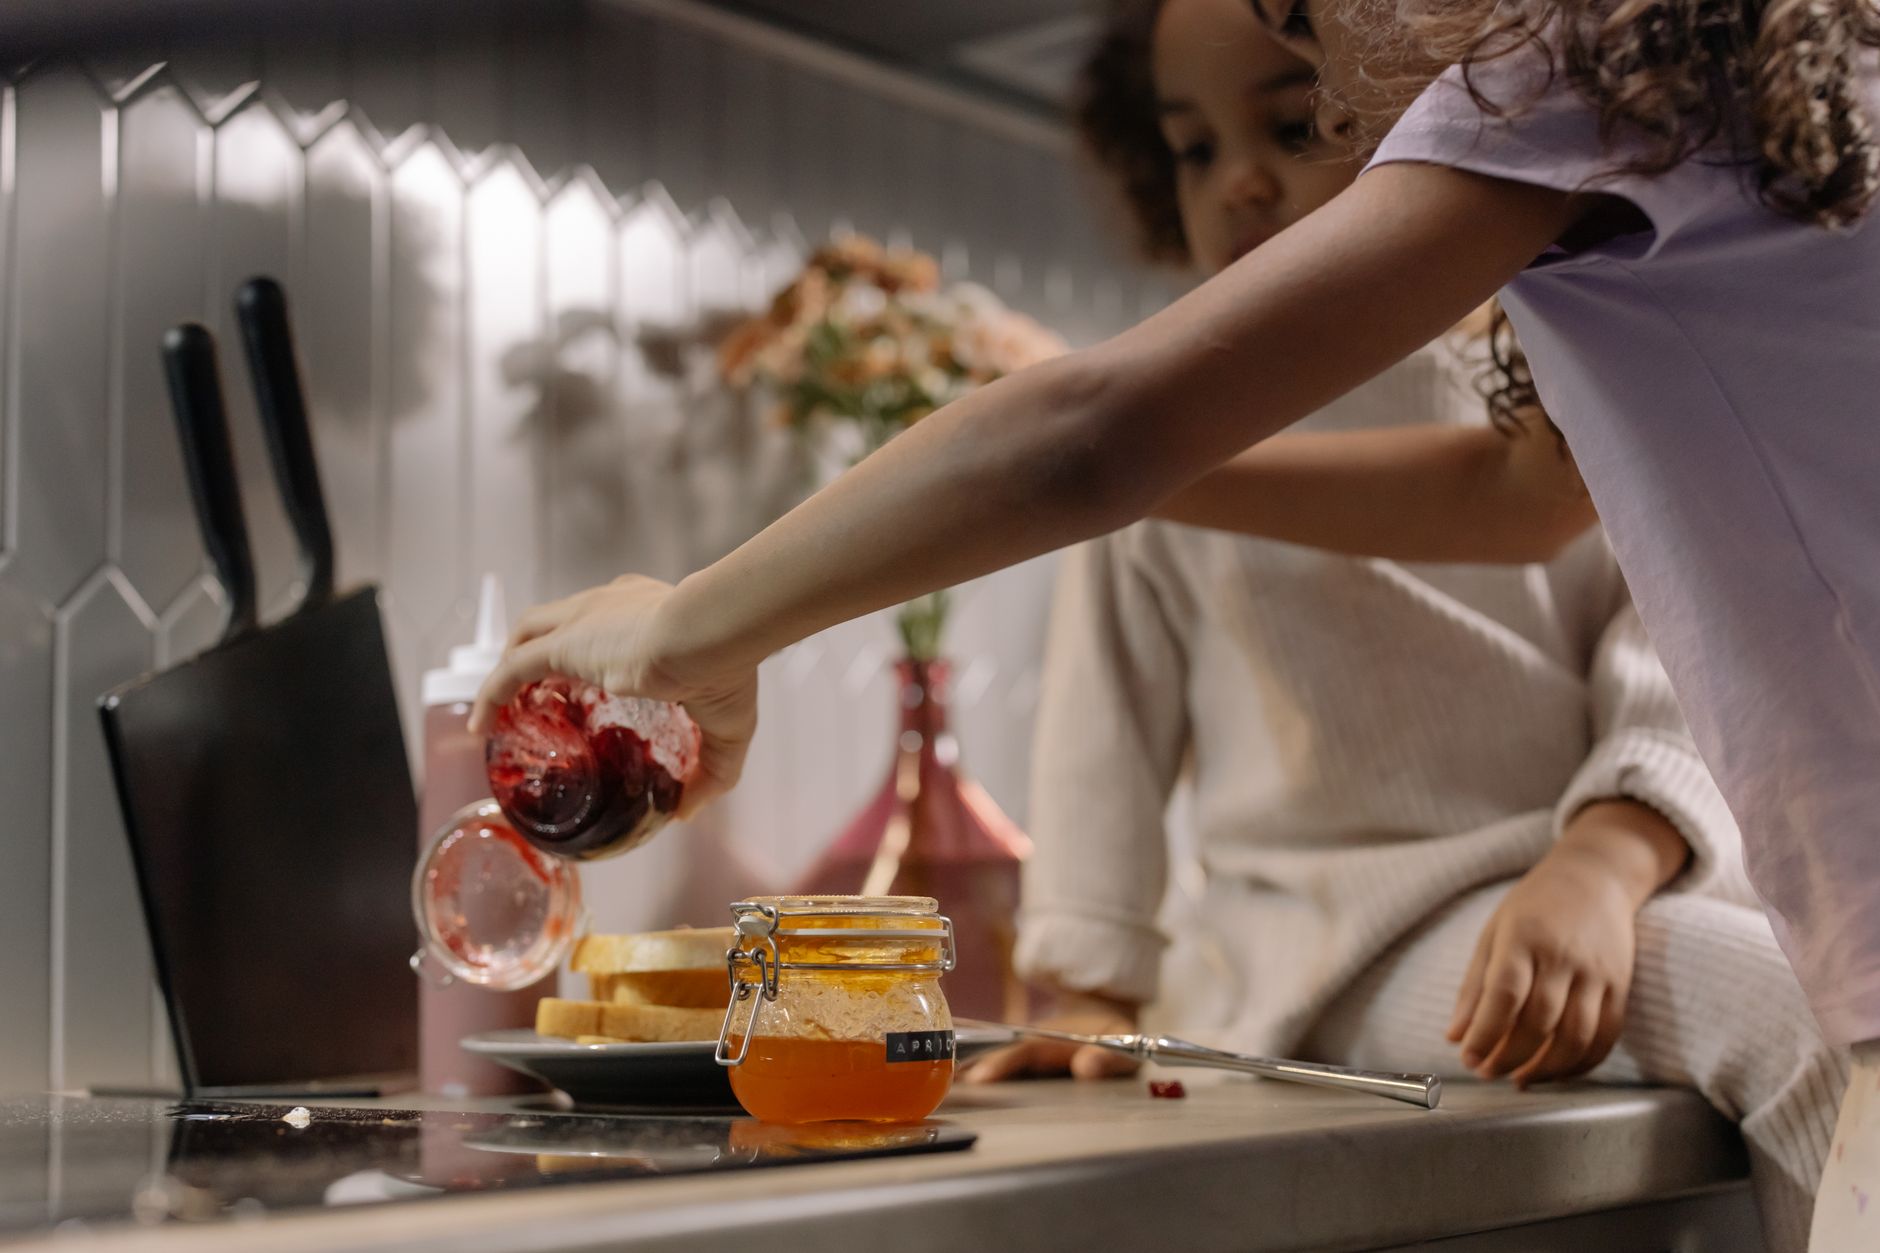
This is a perfect job for kids, by the way. Mine love spreading berries on the tray, dunking things in ice water, and writing on the bag labels with a Sharpie. It’s hands-on, low-stakes, and genuinely useful.
Method 2: Canning (Worth the Learning Curve)
Canning has a bit more of a learning curve, but once you’ve done it a few times, it becomes second nature. There are two types — water bath canning and pressure canning — and knowing which one to use matters for safety.
Water Bath Canning
This method works for high-acid foods: tomatoes, pickles, jams, jellies, salsa, and most fruit preserves. The acidity prevents the growth of harmful bacteria, so a simple boiling water bath is sufficient.
You’ll need: canning jars, lids, a large pot deep enough to submerge the jars, and a jar lifter. That’s really it to start.
Our family makes big batches of tomato sauce and salsa every summer. There is something deeply satisfying about lining up a dozen jars of red sauce on the counter, hearing them ping as they seal, and knowing those jars will carry us through January.
Pressure Canning
This method is for low-acid foods — green beans, corn, soups, meats. Low-acid foods need higher temperatures than boiling water can reach, which is why you need a pressure canner. If you’re just starting out, I’d honestly save pressure canning for year two after you’ve got the basics down.
Canning Safety Note
Please use tested recipes from the USDA, Ball, or the National Center for Home Food Preservation. I know it’s tempting to wing it, but canning ratios matter for safety. Stick to proven recipes until you really know what you’re doing.
Method 3: Fermenting (The One That Surprised Me Most)
I was intimidated by fermentation for way longer than I should have been. It sounds scientific and fussy. But here’s the truth: humans have been fermenting food for thousands of years without a single YouTube tutorial, and it is genuinely one of the simplest preservation methods once you understand the basic idea.
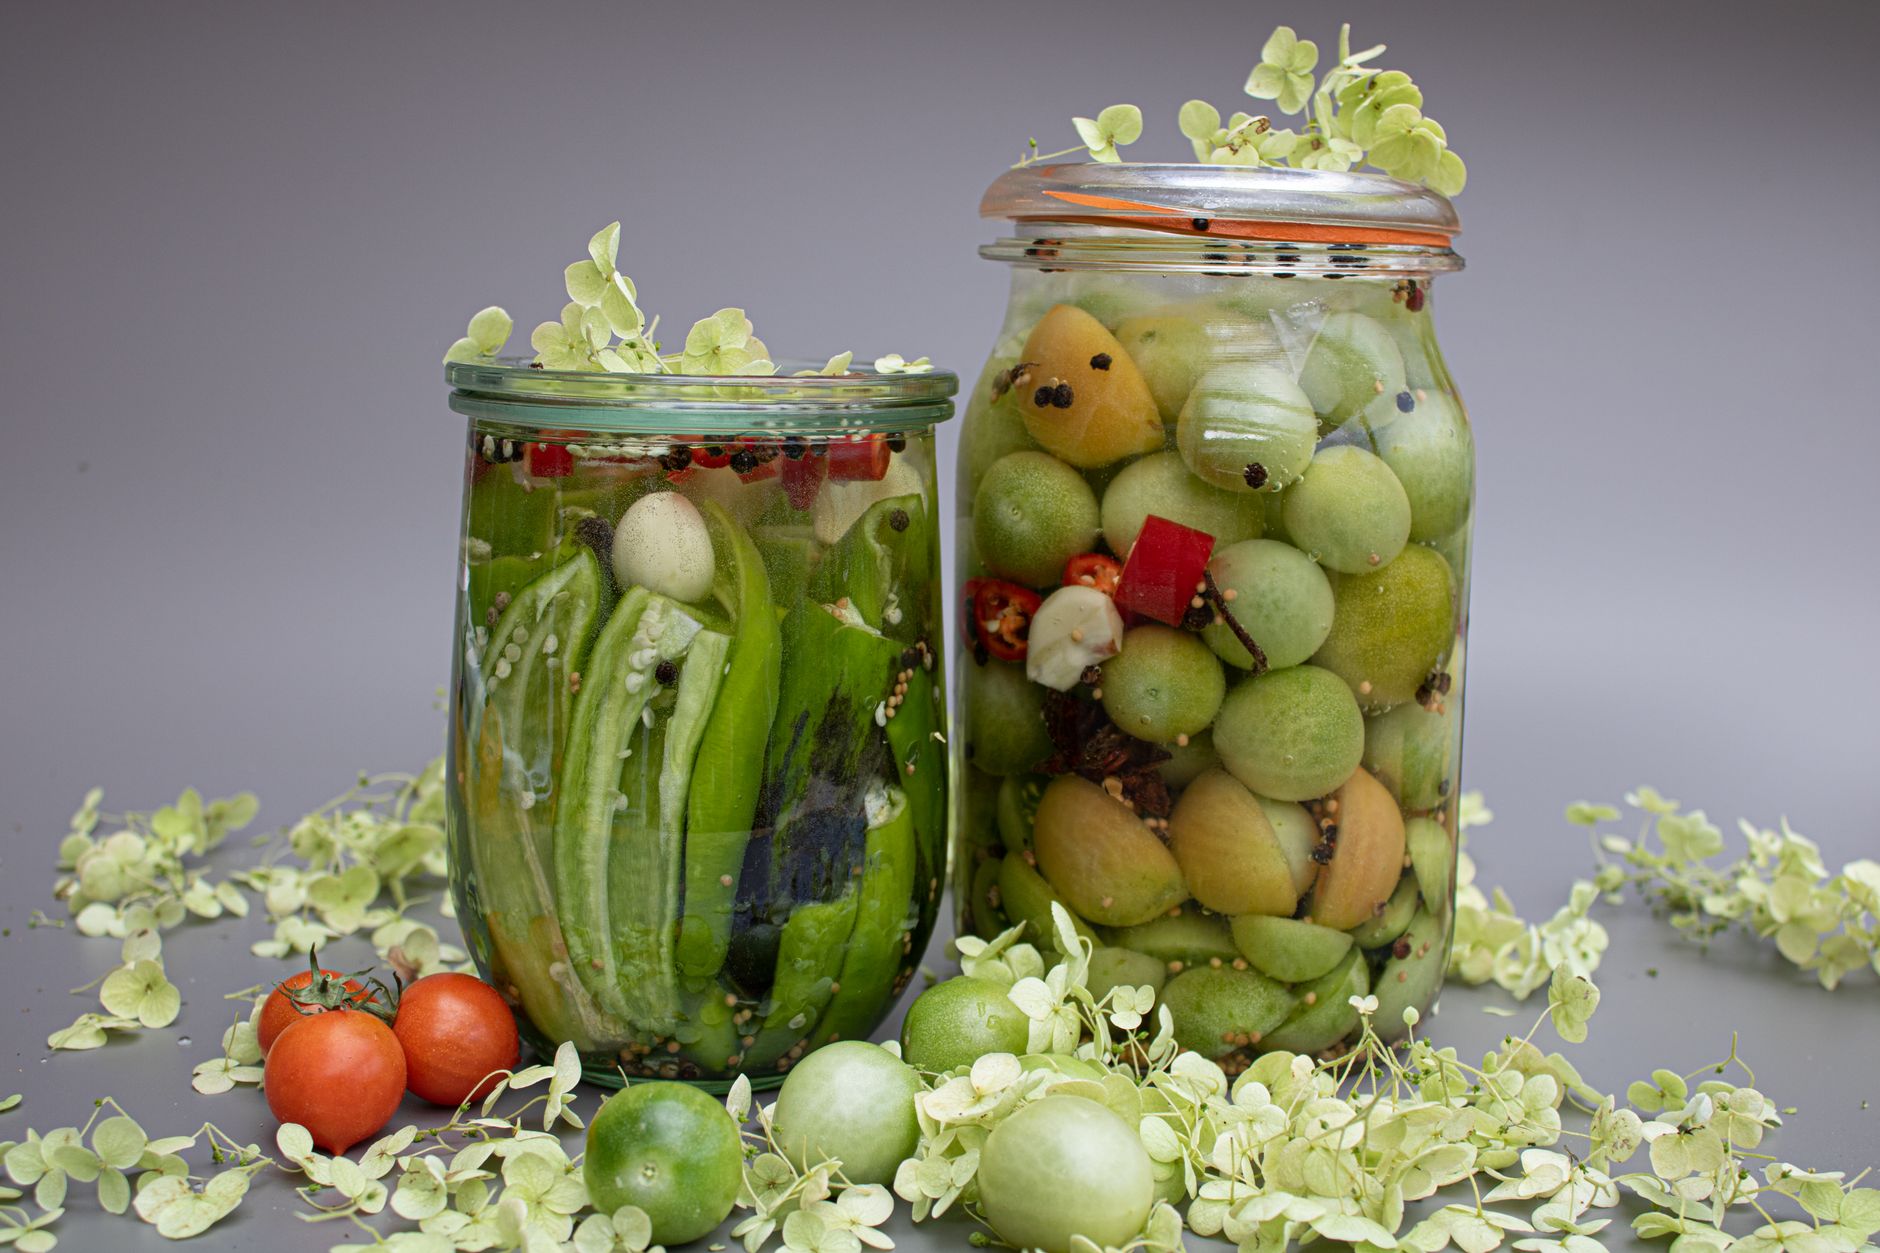
Fermentation uses salt and naturally occurring bacteria to preserve food and develop flavor. No canning equipment. No heat. Just vegetables, salt, water, and time.
What to Ferment from Your Summer Garden
- Cucumbers → Fermented pickles — crunchier and more probiotic-rich than vinegar pickles
- Cabbage → Sauerkraut — slice thin, salt, massage, pack in a jar
- Peppers → Fermented hot sauce — a game changer if your family likes heat
- Green beans → Lacto-fermented dilly beans — a Southern classic
- Mixed vegetables → Curtido or veggie kraut — great for using up odds and ends
Getting Started with Fermentation
You don’t need special equipment to start. A wide-mouth mason jar, some non-iodized salt, and filtered water will get you going. The general rule for brine is about 2% salt by weight, but most simple recipes will give you the exact measurements.
Fermented foods are also incredibly good for gut health — something our family thinks about a lot as we try to eat more intentionally. And kids are often fascinated by fermentation when you frame it as a science experiment: living bacteria, CO2 bubbles, flavor changing over time. It’s legit nature study right in your kitchen.
If your kids love hands-on learning like mine do, pairing this with a nature journal where they can sketch the process, record observations, and track the days is a beautiful way to make it a real Charlotte Mason study. Draw the jar. Write the date. Note what it smells like on day 3. That’s science.
Making It a Family Rhythm
Here in Northwest Florida, our summer garden typically winds down by August when the heat just becomes relentless — but we try to do our big preserving push in June and July when the tomatoes, cucumbers, and peppers are going strong.
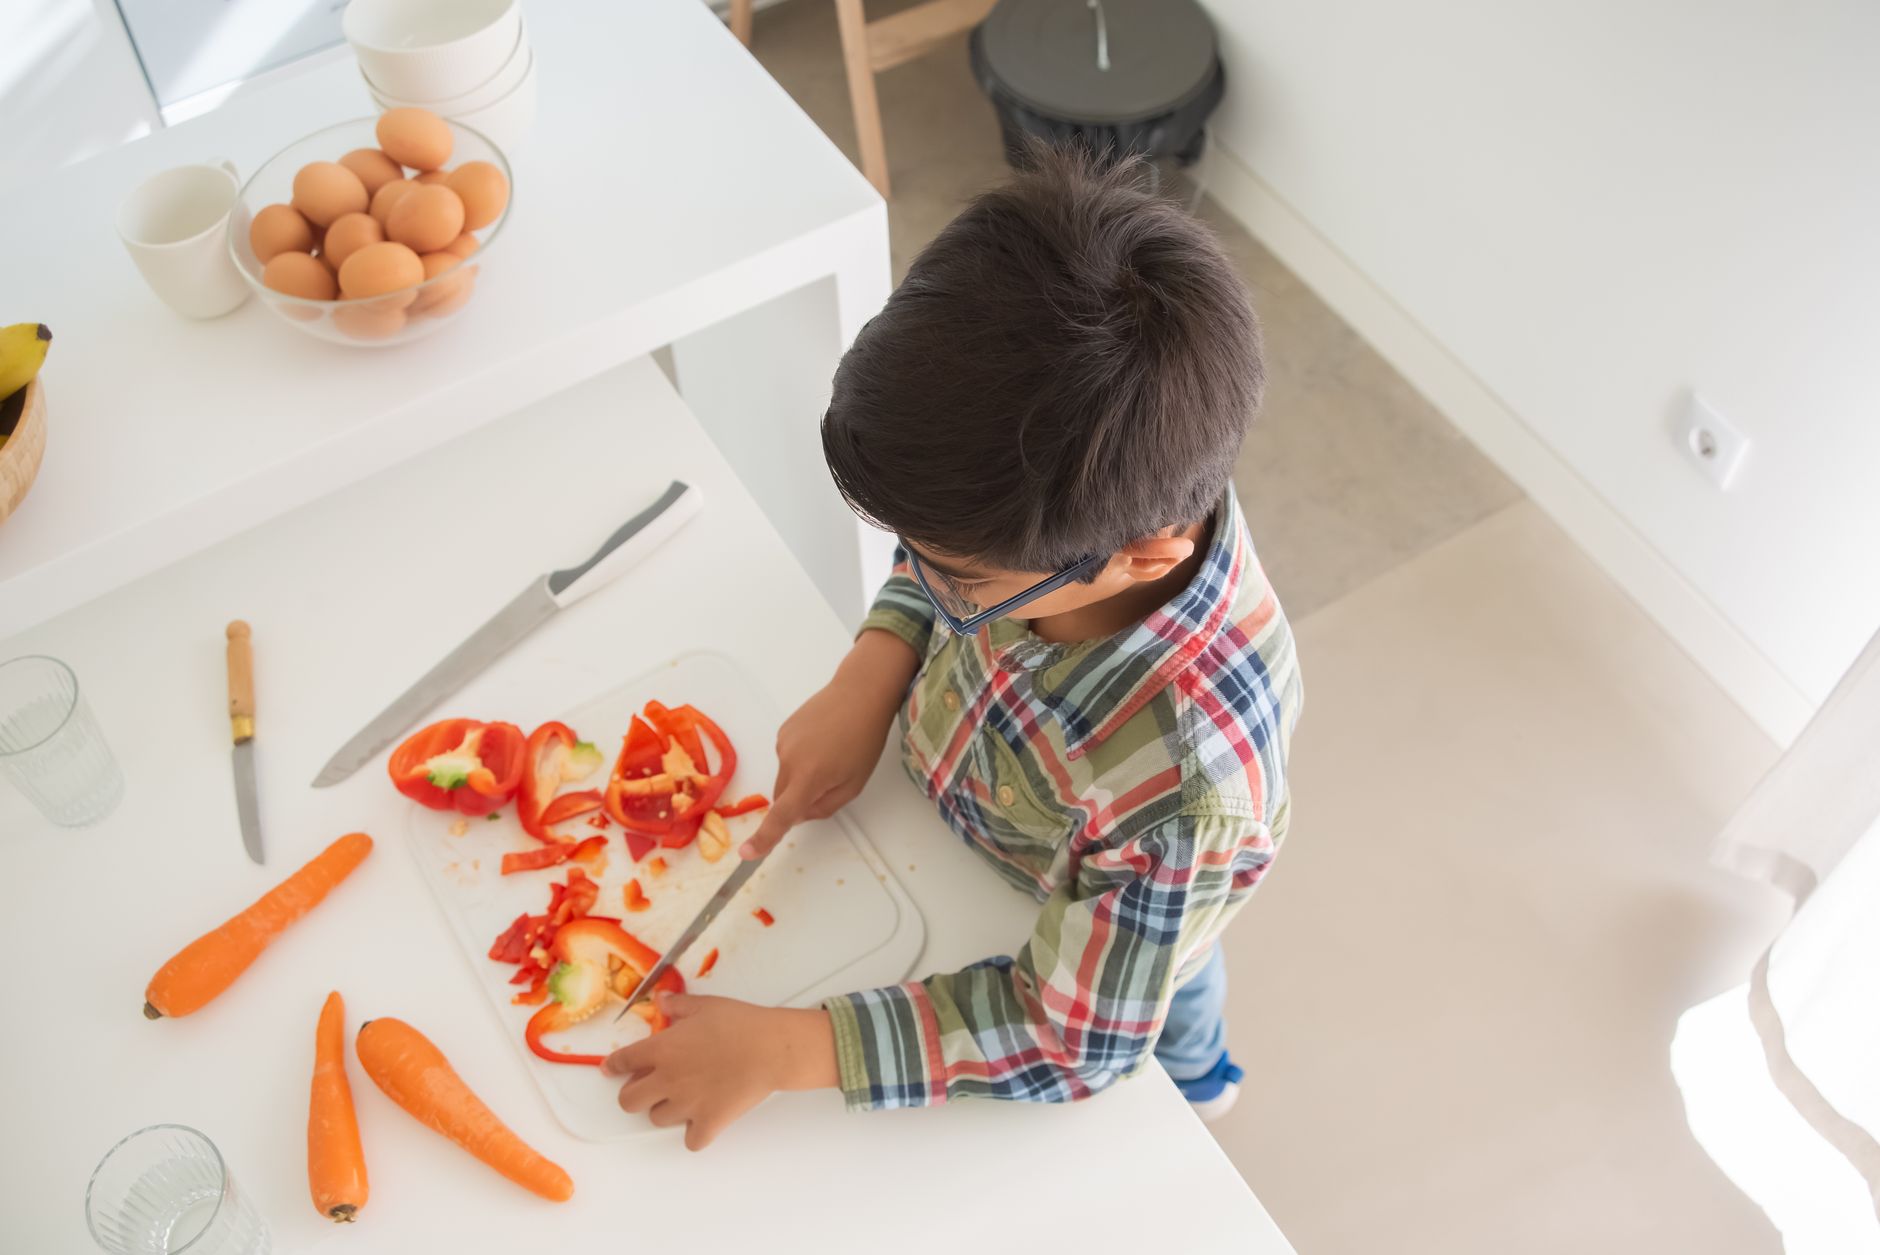
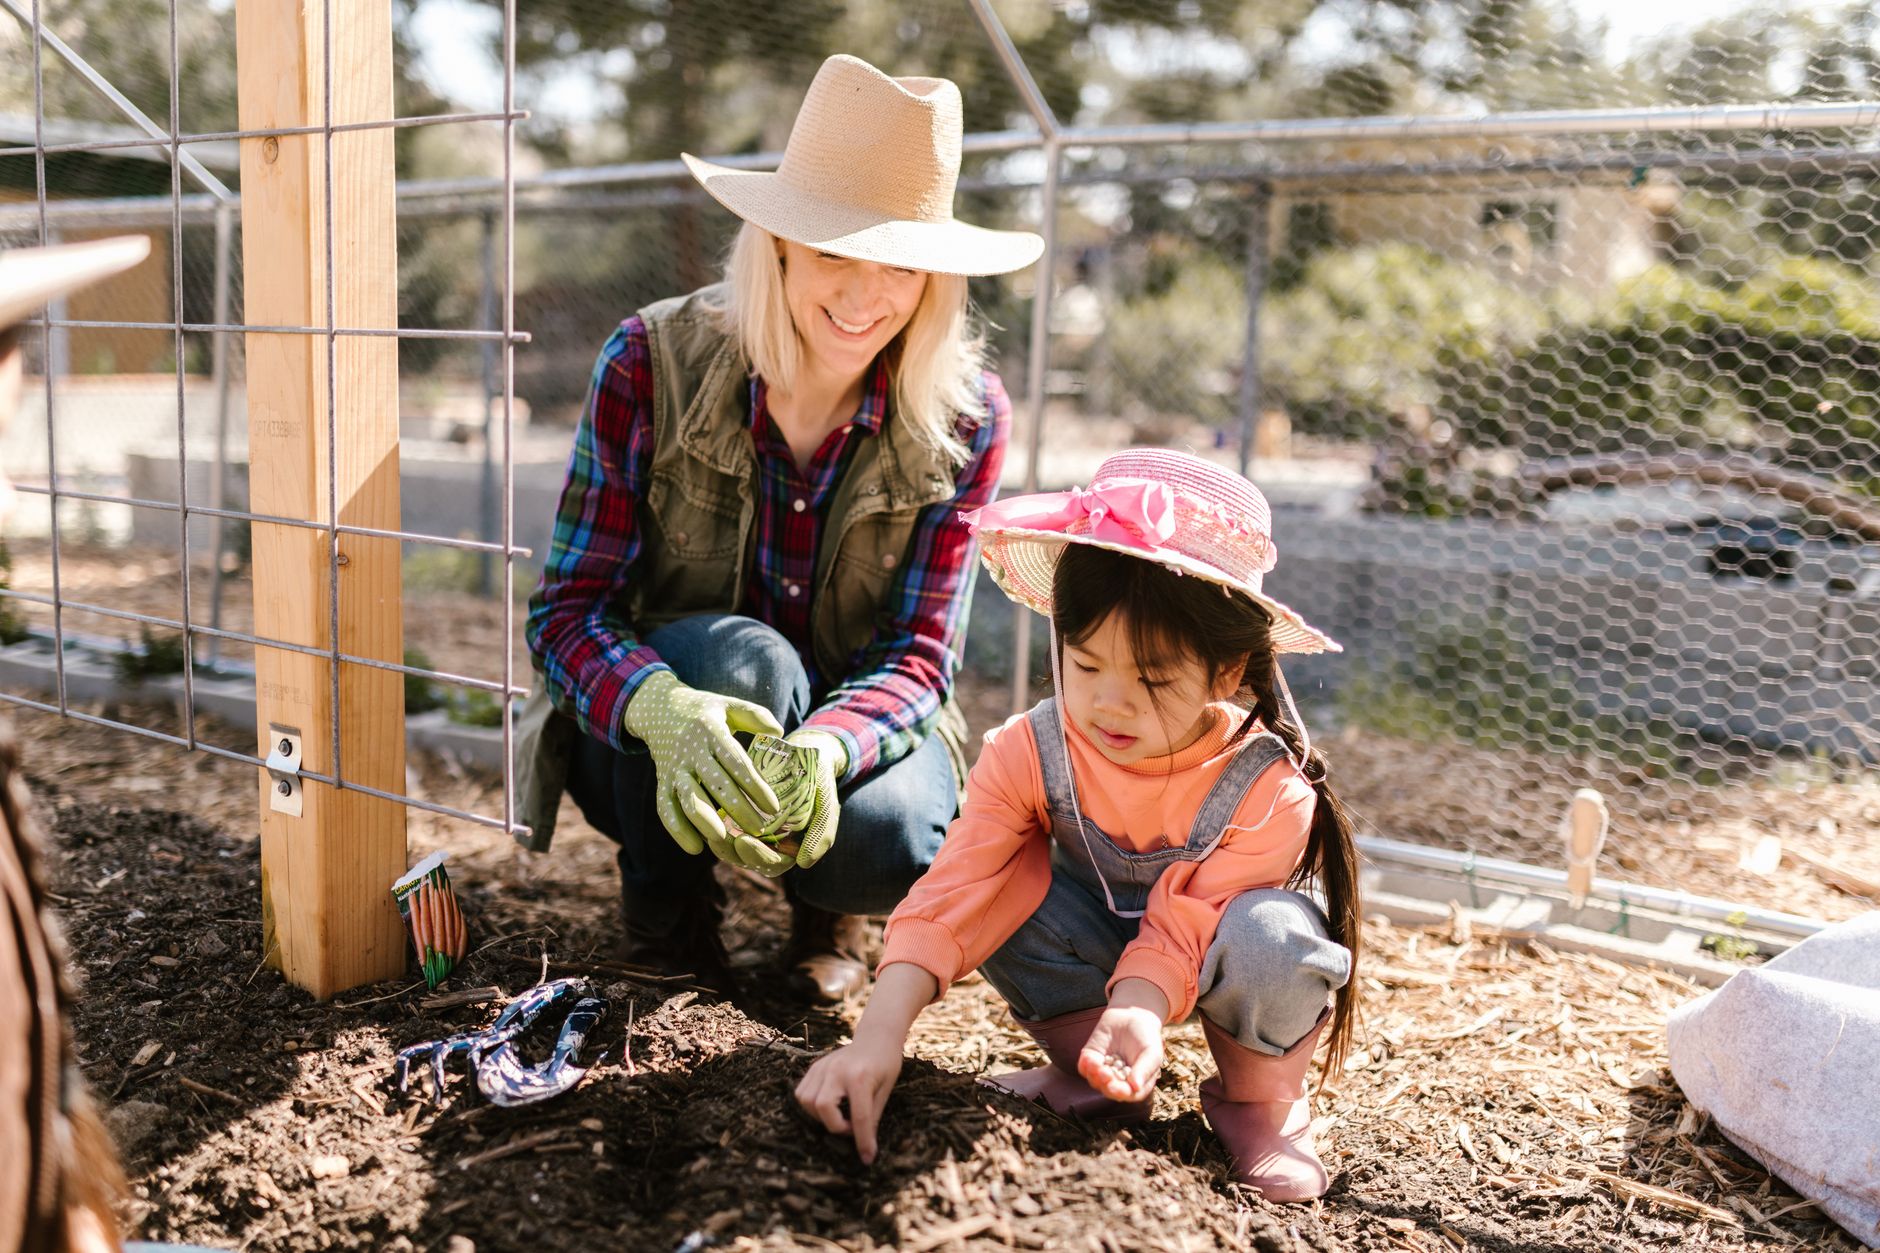
We’ve built it into our weekly rhythm: harvest in the morning before it gets hot, sort and wash together at the kitchen table, and then decide what’s getting frozen, canned, or fermented. My older kids can handle blanching and bagging. My younger ones wash produce and pack jars. Even the little one can drop herbs into an ice cube tray.
If you want ideas for getting kids meaningfully involved in homestead-style tasks at different ages, How to Involve Kids in Homestead Chores by Age (Without the Whining or the Burnout) is one of my most-read posts for good reason.
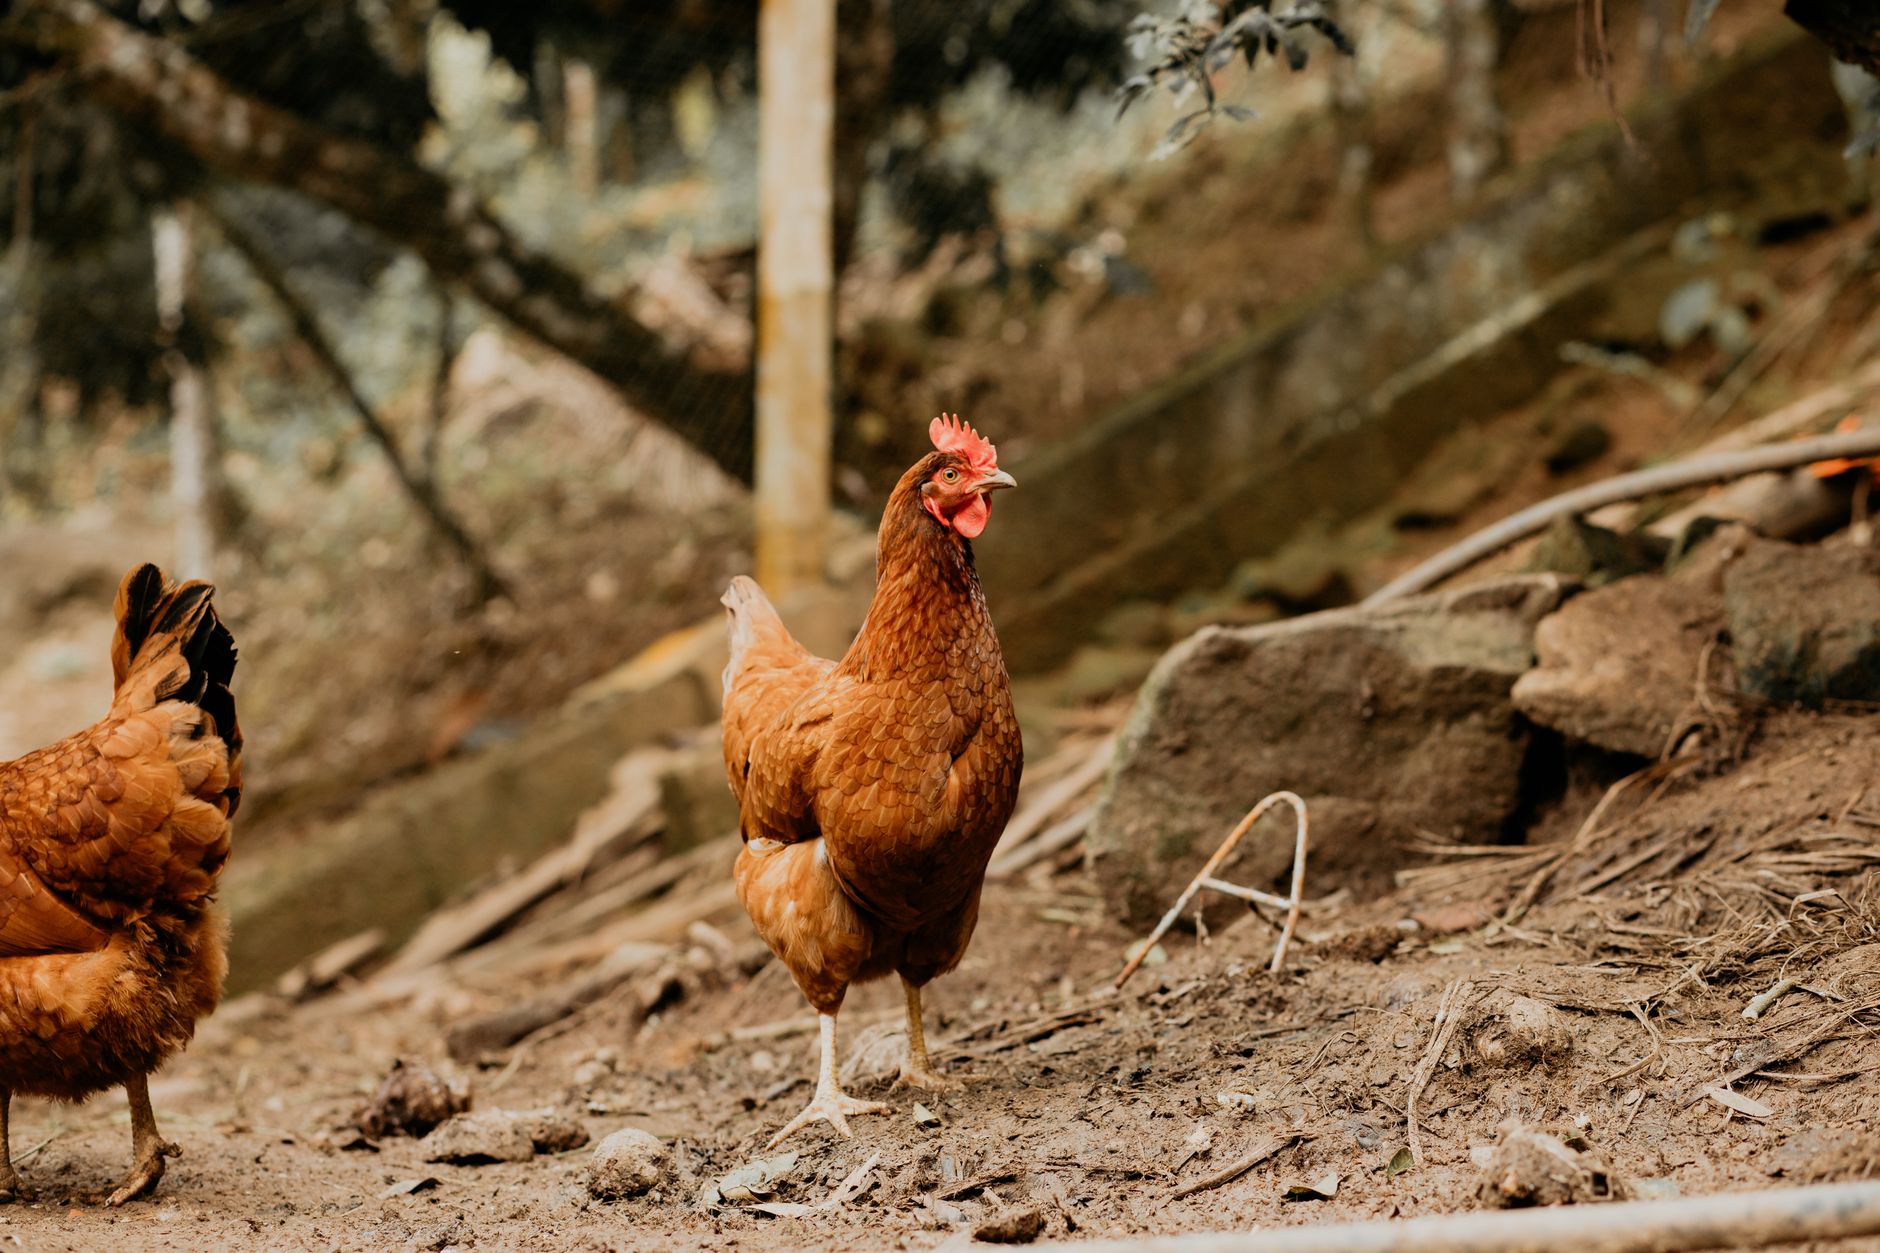
Our chickens get any scraps and trimmings, which they absolutely love — so nothing really goes to waste. It all circles back.
For the actual gardening side of things, Best Kids Garden Tools That Actually Work (And Won’t Fall Apart After One Season) is worth a read if you’re just getting your kids out in the garden.
A few things that make our preservation days easier and more intentional:
- Beeswax wrap for covering bowls of prepped produce
- A good kitchen compost bin right on the counter for trimmings
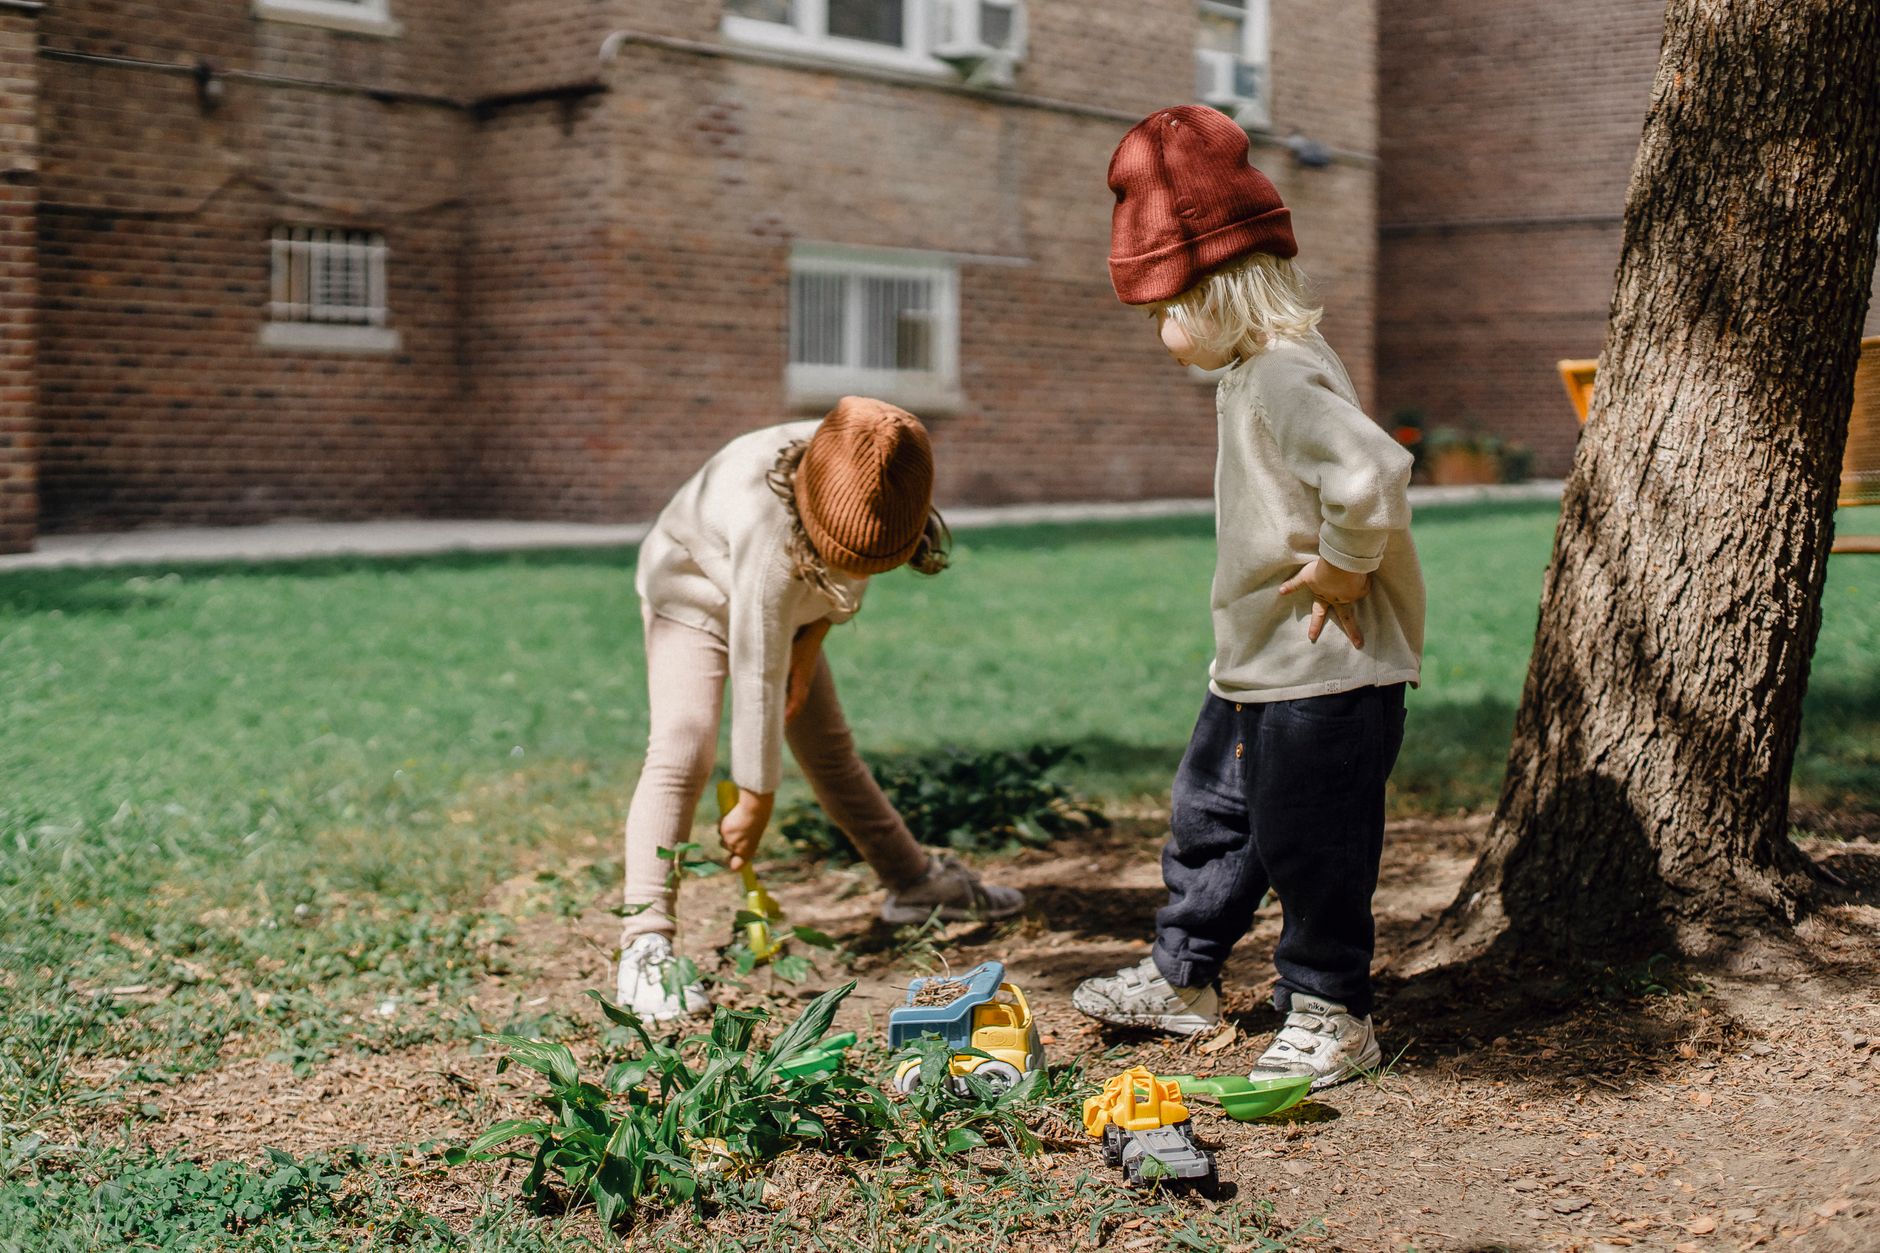
- Kids’ garden gloves for harvesting days so everyone can pitch in without complaining about prickly stems
- A reliable cast iron skillet for roasting tomatoes before freezing — it makes a real difference in flavor
You Don’t Have to Do All Three
I want to say this clearly: you do not have to become a canning-fermenting-freezing powerhouse overnight. Pick one method. Try it with one thing you actually grew or bought in abundance. See how it feels.
Most families I know start with freezing, add canning after a season or two, and stumble into fermentation when they have more cucumbers than they know what to do with. That’s a perfectly fine path.
The goal isn’t to preserve everything perfectly. The goal is to waste less, eat better, and give your kids a picture of what it looks like to take care of your family with your own two hands. That image — mama at the stove, jars lining the counter, kids underfoot — is one they’ll carry with them for the rest of their lives. And honestly, that’s worth more than any Pinterest-perfect homestead aesthetic.
Start simple. Start with what you have. You’ve got this.
📖 You Might Also Like:
- Seasonal Living Ideas for Families: Simple Ways to Celebrate Every Season All Year Long
- How to Raise Grateful Kids in a Consumer Culture (Without the Lectures)
- Best Picture Books for Nature-Loving Kids (That Actually Hold Their Attention)
Frequently Asked Questions
What is the easiest method for preserving a summer harvest for beginners?
Freezing is the easiest place to start. Most vegetables just need to be blanched briefly, cooled, and packed into freezer bags or containers. No special equipment required beyond a large pot and freezer-safe bags. Berries and peppers don’t even need blanching — they can go straight in.
Is fermenting vegetables safe to do at home?
Yes — lacto-fermentation is one of the oldest and safest food preservation methods in the world. The salt creates an environment where beneficial bacteria thrive and harmful bacteria cannot survive. As long as you keep vegetables submerged below the brine and use clean equipment, fermentation is very safe for home use.
Do I need special equipment to start canning at home?
For water bath canning (which covers tomatoes, jams, pickles, and salsa), you need mason jars with new lids, a large stockpot deep enough to submerge the jars by at least an inch, and a jar lifter. A canning rack is helpful but not strictly necessary. Pressure canning requires a pressure canner and is recommended for low-acid foods like green beans and corn.
What vegetables can I freeze without blanching?
Peppers (diced or sliced), onions, tomatoes, herbs blended into oil, and most berries can all be frozen without blanching. Most other vegetables — like green beans, squash, corn, and broccoli — benefit from a quick blanch before freezing to preserve color, texture, and flavor over time.
How can I get my kids involved in food preservation?
There are great jobs at every age level. Younger kids can wash produce, pack items into bags, write labels, or drop herbs into ice cube trays. Older kids can handle blanching with supervision, mashing fruit for jam, or stirring and packing fermentation jars. Turning preservation days into a family rhythm — especially with the harvest coming straight from your own garden — makes it feel like real life education rather than a chore.