How to Build a Simple Compost Bin for Beginners (No Skills Required)
This post contains affiliate links. I may earn a small commission at no extra cost to you.
For the longest time, I had a pile of good intentions sitting right next to my back door. Literally. Every time I peeled a banana or trimmed green beans, I’d think, I really should be composting this. Then I’d toss it in the trash and feel a little guilty about it.
The thing is, I’d always pictured composting as something that required a special bin, a complicated system, and some kind of degree in soil science. It seemed like one of those things other people did — the really organized homesteaders with Pinterest-perfect setups and color-coded turning schedules.
Y’all. It is so much simpler than that.
Once I actually built our first compost bin — like, a real physical structure I could toss scraps into — it clicked. Now composting is just part of our daily rhythm, the kids fight over who gets to dump the kitchen bucket, and our backyard chickens have the most beautiful soil in the whole neighborhood. Here’s exactly how we got there.
Why Bother Building a Bin at All?
You can just compost in a pile on the ground. Plenty of people do. But a simple bin keeps things contained (important if you’ve got a dog — our mini labradoodle would absolutely riot in an open pile), holds in some moisture, and helps the pile heat up faster, which means finished compost sooner.
Down here in Northwest Florida, heat is already on our side for most of the year. A contained bin just helps us use that to our advantage.
And honestly? A bin makes it feel more intentional. More like a system. Which means we actually use it.
The Simplest Compost Bin You Can Build This Weekend
What You’ll Need
There are about a dozen ways to build a compost bin, but I’m going to give you the one that requires the least skill, the least money, and the least time — because that’s the one you’ll actually do.
Option 1: Wire Hoop Bin (Our Favorite for Beginners)
This is our go-to. It takes about 20 minutes to put together and costs next to nothing if you already have some wire fencing lying around.
- 10 feet of hardware cloth or welded wire fencing (about 3–4 feet tall)
- 3–4 wooden stakes or metal T-posts
- Zip ties or wire to connect the ends
- Work gloves (wire edges are poky — grab some kids’ garden gloves if the littles are helping)
Just form the wire into a circle, secure the ends together, and pound your stakes in around the outside for support. That’s it. You’ve got a compost bin.
Option 2: Wooden Pallet Bin
If you want something sturdier and more permanent, grab 3–4 wooden pallets (most feed stores and hardware stores give these away free), stand them upright in a U-shape, and wire them together at the corners. Leave the front open or add a fourth pallet that can be removed for easy turning. This is a great Saturday project to do with older kids.
Option 3: A Purchased Bin
No shame in this at all. A good kitchen compost bin for countertop scraps plus a basic outdoor tumbler is a perfectly valid setup, especially if you’re short on yard space or time. We use a small countertop bin to collect scraps through the week and then transfer to the outdoor bin — it makes the whole process a lot less messy.
What Goes In (and What Doesn’t)
This is the part that trips people up the most, so let’s keep it simple.
Greens (nitrogen-rich):
- Fruit and vegetable scraps
- Coffee grounds and filters
- Fresh grass clippings
- Chicken manure and bedding (yes — this is liquid gold from our girls)
- Fresh plant trimmings
Browns (carbon-rich):
- Dry leaves
- Cardboard (torn up, no glossy coatings)
- Paper bags and newspaper
- Straw or pine shavings from the chicken coop
- Dry garden debris
The basic rule is to aim for roughly 2–3 parts browns to every 1 part greens. If your pile smells bad, add more browns. If it’s not breaking down, it might need more greens or more moisture.
Don’t add: meat, dairy, cooked food with oils, diseased plants, or dog/cat waste.
Getting Kids Involved (The Best Part)
This is genuinely one of our favorite nature study activities, and it requires zero prep on my end. Kids are naturally fascinated by decomposition — it’s basically science magic happening right in the backyard.
We keep a small kitchen compost bin on the counter, and it’s become one of the kids’ daily jobs to carry it out and dump it. My youngest calls herself the Compost Queen. I’m not going to argue.
For a little more structured nature study, we’ve used a pocket microscope to look at compost material up close — the fungi and tiny organisms you can see are absolutely wild. Pair that with some sketching in a nature journal and you’ve got a full Charlotte Mason science lesson without opening a single textbook. We also keep a bug collection kit handy for when we find something interesting while turning the pile.
If you want more ideas for weaving this kind of daily hands-on work into your kids’ lives without it feeling like school, check out our post on How to Involve Kids in Homestead Chores by Age (Without the Whining or the Burnout). Spoiler: the trick is making it feel less like a chore and more like a role.
How to Actually Maintain It (Without Overthinking It)
Here’s the secret: you don’t have to be perfect at this. A compost pile will do its thing even if you’re not turning it on a schedule or monitoring the moisture levels obsessively.
That said, a few easy habits make it work a lot better:
Turn It Occasionally
Every couple of weeks (or whenever you remember), use a pitchfork or shovel to mix the pile up. This introduces oxygen and speeds up decomposition. In the Florida heat, things break down fast — sometimes we’ve had usable compost in as little as 6–8 weeks in the summer.
Keep It Moist, Not Wet
The pile should feel like a wrung-out sponge. Down here, summer rain usually handles this for us. In the drier winter months, you might need to water it a little.
Layer as You Go
When you add kitchen scraps, try to cover them with a layer of browns. This keeps smells down (important if your bin is near the back door) and helps balance the pile.
And if you want to take things even further, consider adding a worm composting bin for kitchen scraps — vermicomposting produces incredibly rich castings and is a great companion to a regular outdoor pile. We wrote a whole post on that: Best Worm Composting Bin for Beginners (What Actually Works and Why We Love It).
How the Chickens Fit In
If you’ve got backyard chickens, composting and chicken keeping go hand in hand in the best possible way. Chicken manure and bedding are some of the richest compost ingredients you can add, and the finished compost goes right back into the garden beds that grow food for the family.
We let our girls scratch through the older parts of the pile occasionally — they eat bugs, turn the material, and seem deeply satisfied with themselves afterward. It’s a whole little ecosystem happening right behind our house.
For more on keeping a healthy flock without a lot of fuss, Storey’s Guide to Raising Chickens is the book I recommend to every new chicken keeper. It covers everything from manure management to coop setup in a way that’s actually readable.
You Don’t Need a Perfect System — You Just Need to Start
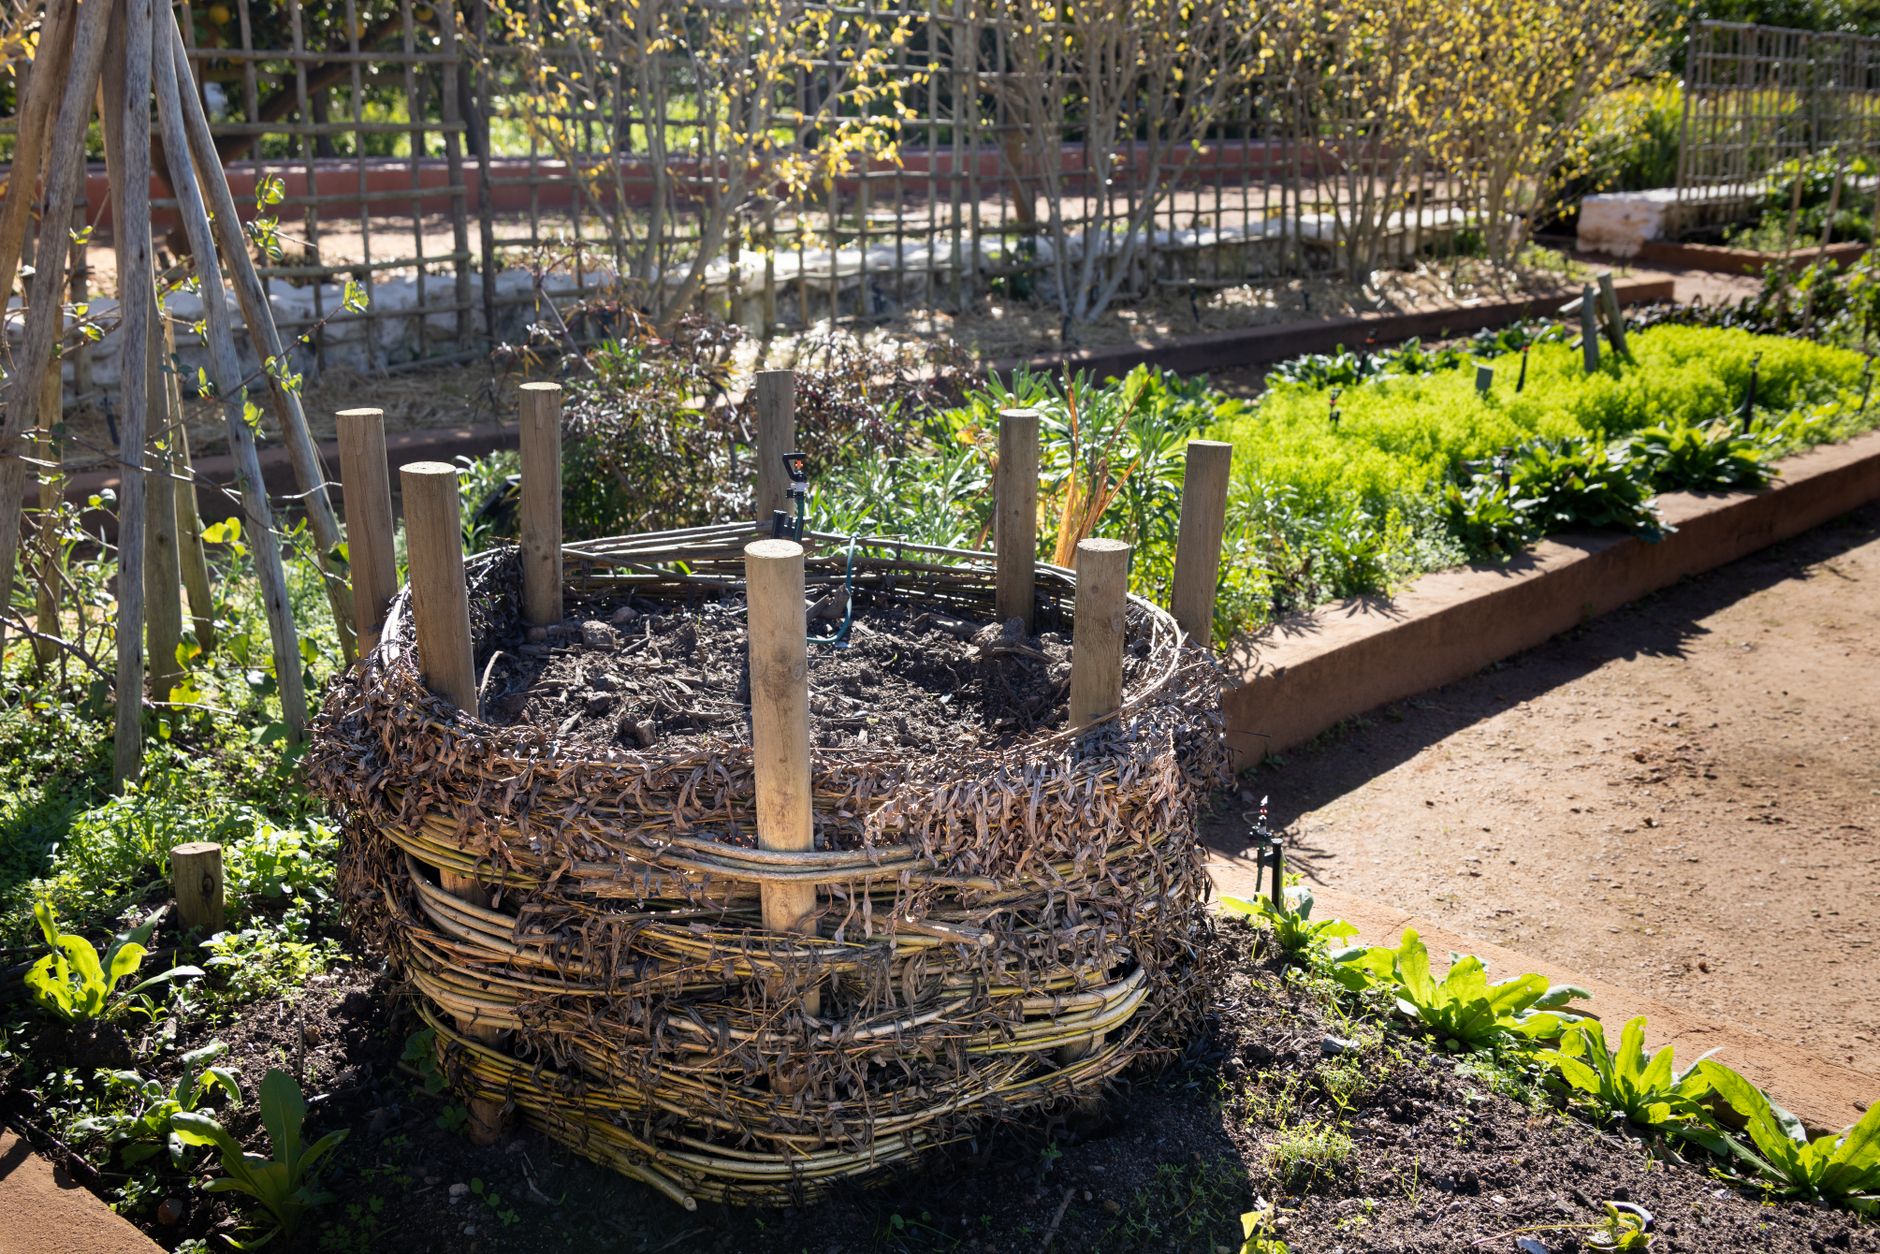
Here’s what I want you to take away from this: the best compost bin is the one you actually build and use. It doesn’t have to be pretty. It doesn’t have to be Pinterest-worthy. Ours is a slightly lopsided wire hoop in the corner of the yard, and I love it.
This is the kind of slow, purposeful, real thing I want my kids growing up doing. Turning scraps into soil. Watching things break down and become something useful again. Understanding in a very concrete way that nothing is wasted. That’s the 1990s-style childhood I’m always chasing — not the nostalgia, but the substance of it. Getting your hands in the dirt and knowing that what you do actually matters.
Start with whatever materials you have. Make it simple. Get the kids involved. The rest will follow.
📖 You Might Also Like:
- Best Worm Composting Bin for Beginners (What Actually Works and Why We Love It)
- Intentional Parenting: What It Actually Looks Like Day to Day
- How to Raise Grateful Kids in a Consumer Culture (Without the Lectures)
Frequently Asked Questions
What is the easiest compost bin to build for beginners?
The simplest option is a wire hoop bin — just form a circle with hardware cloth or welded wire fencing, secure the ends with zip ties, and stake it in place. It takes about 20 minutes to set up, costs very little, and works really well. If you want something sturdier, three wooden pallets wired together in a U-shape is another great beginner option that requires no special tools or skills.
What should you not put in a compost bin?
Avoid adding meat, fish, dairy, cooked foods with oils or sauces, pet waste (dog or cat), and diseased plants. These can attract pests, create odors, or introduce pathogens into your compost. Stick to raw fruit and vegetable scraps, coffee grounds, dry leaves, cardboard, and yard waste for best results.
How long does it take for compost to be ready?
It depends on your climate, how often you turn the pile, and what you’re adding. In a warm, humid climate like Northwest Florida, a well-managed pile can produce usable compost in as little as 6–8 weeks in the summer. In cooler weather or with less turning, it might take 3–6 months. You’ll know it’s ready when it looks dark, crumbly, and smells like earthy soil.
Can you compost chicken manure?
Yes — and it’s fantastic for your compost pile! Chicken manure is nitrogen-rich and breaks down beautifully when mixed with carbon-rich browns like straw, dry leaves, or cardboard. If you have backyard chickens, the used bedding from your coop is some of the best material you can add. Just make sure it gets well mixed and has time to decompose before adding it directly to garden beds.
How do I keep my compost bin from smelling bad?
A smelly compost bin usually means one of two things: too many greens (nitrogen-rich materials) without enough browns to balance them, or too much moisture. The fix is usually simple — add a layer of dry leaves, torn cardboard, or straw on top of any fresh scraps you add, and give the pile a turn to introduce some airflow. Aim for a ratio of roughly 2–3 parts browns to 1 part greens, and make sure your bin has some drainage so it doesn’t get waterlogged.
Leave a Reply