Thanksgiving Homeschool Activities With a Charlotte Mason Approach (Real Ideas We Actually Use)
This post contains affiliate links. I may earn a small commission at no extra cost to you.
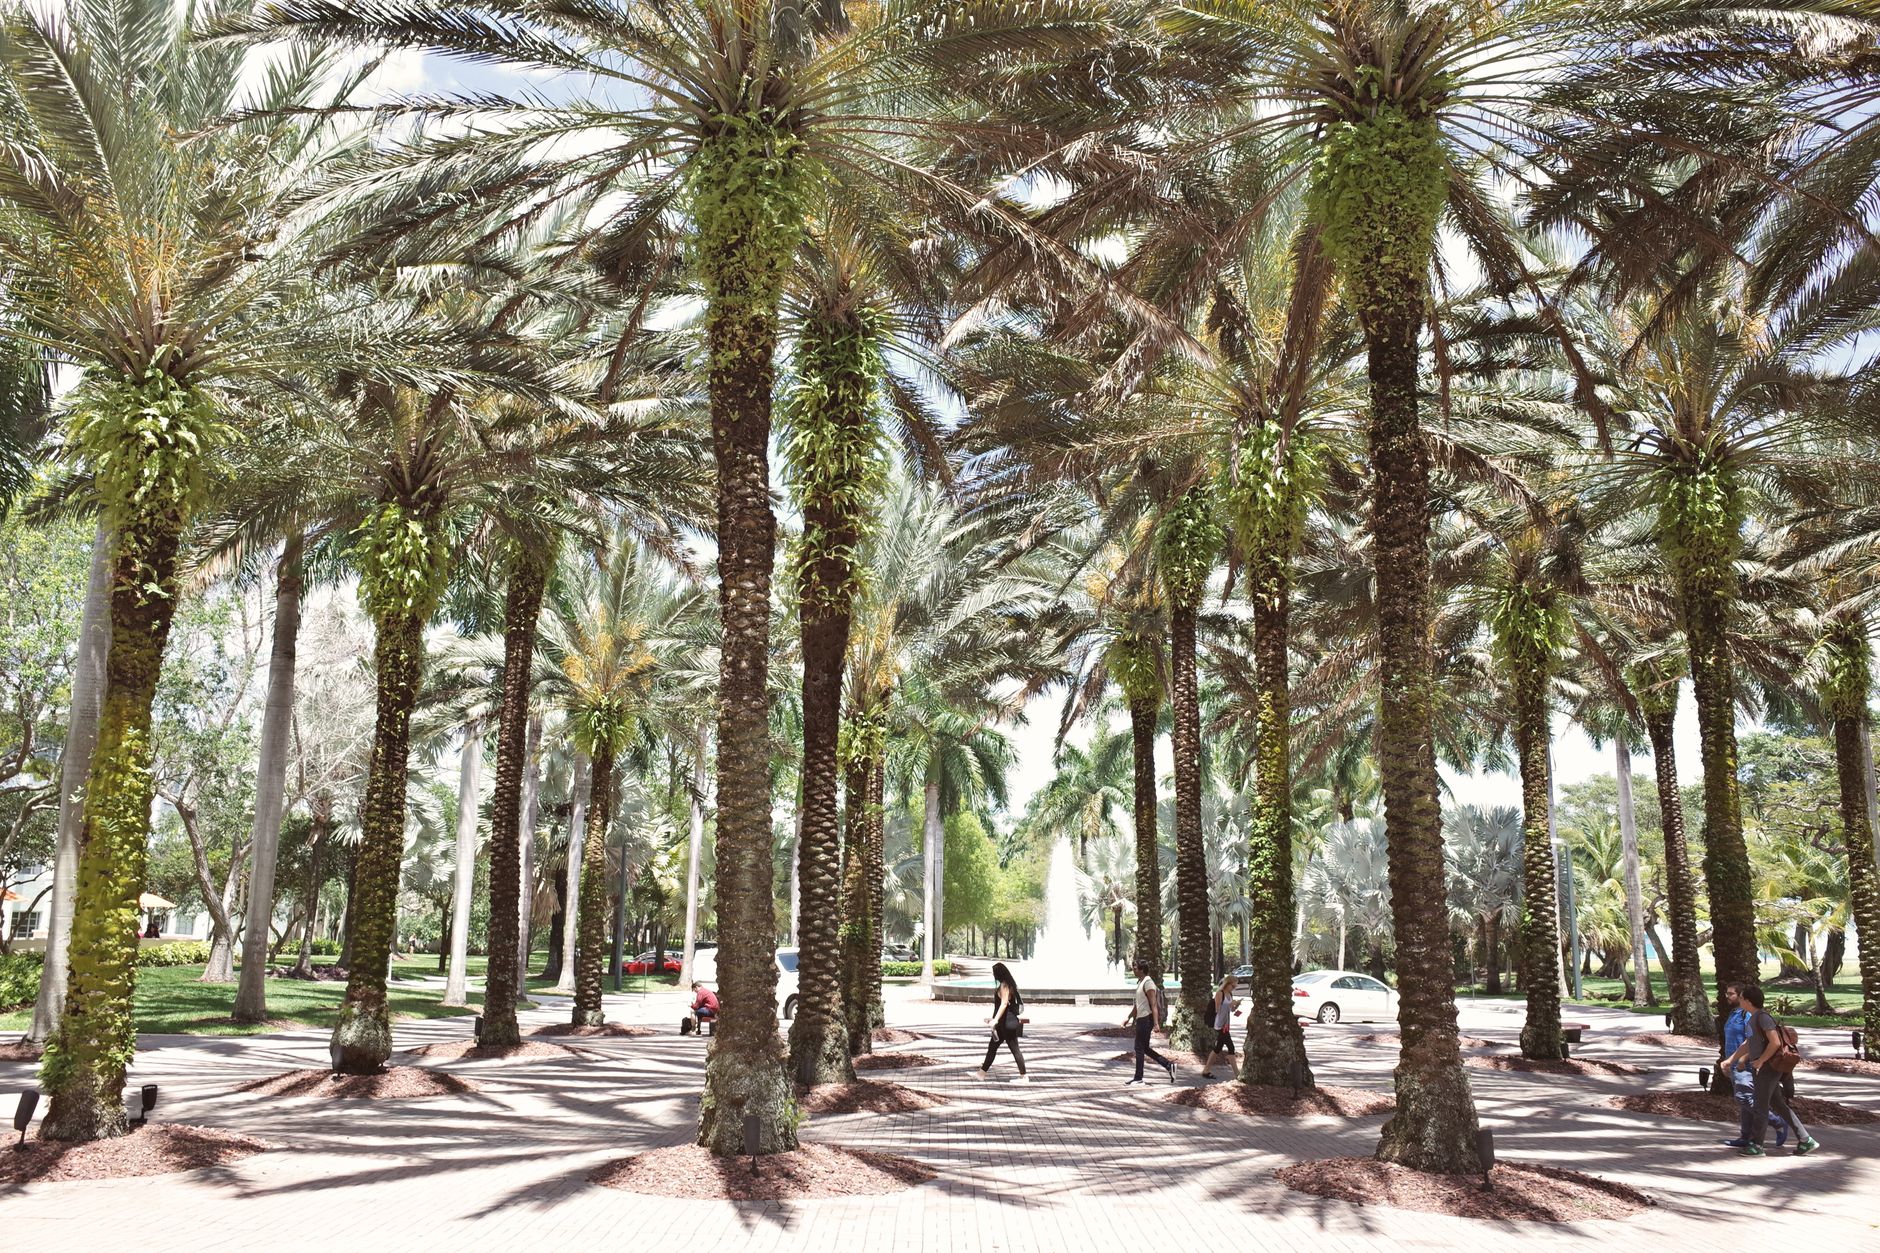
Every November, I feel this little pull toward slowing things down even more than we already do. The light shifts here in Northwest Florida — it’s still warm enough to be outside in a t-shirt most days, but there’s something in the air that feels different. Quieter. The kids notice it too. The chickens are molting, the garden is winding down, and somehow the whole pace of life just… softens a little.
That’s the exact energy I want to lean into for Thanksgiving homeschool time. Not a unit study crammed with worksheets about Pilgrims. Not a paper turkey traced from someone’s hand. Something real. Something that actually connects my kids to gratitude, to nature, to the rhythms of the season — the way Charlotte Mason always intended learning to feel.
If you’re looking for Thanksgiving homeschool activities that fit a Charlotte Mason or nature-based approach, here’s what we actually do in our home.
Start With Gratitude as a Daily Practice, Not a One-Day Event
Charlotte Mason was big on habit training, and gratitude is one of the most worthwhile habits we can cultivate — especially in kids who live in a world of constant want. We don’t save thankfulness for one Thursday in November. We build toward it all month long.
A simple way we do this: our nature journals become gratitude journals for a few weeks. Each morning, before we start any formal lessons, everyone (including me) writes or draws one thing they’re grateful for from the natural world. My youngest draws. My older one writes a few sentences. It takes five minutes and it genuinely sets a tone for the whole day.
If your kids don’t have a dedicated nature journal yet, this one is the one we’ve used for years — blank pages on one side, lined on the other, perfect for Charlotte Mason-style nature study at any age.
Take Learning Outside: A November Nature Walk
Here in Pensacola, late November nature walks are honestly some of my favorites. The crowds thin out, the humidity finally backs off, and we’re seeing things in the yard and woods that we don’t notice in the summer chaos. Migratory birds are passing through, fungi are popping up after rain, and the light is golden in a way that makes everything feel a little more intentional.
We bring our Sibley Birds guide and our journals. We look for signs of change. We sketch what we find. This is Charlotte Mason nature study in its simplest, purest form — no worksheet required.
For families who want a ready-made starting point, check out our Free Florida Nature Scavenger Hunt Printable for Kids — it’s designed specifically for the Florida environment and works beautifully as a November walk guide.
What to Look for on a November Nature Walk in Florida
- Migratory warblers and sparrows moving through
- Shelf fungi and mushrooms after rain
- Gopher tortoises still active in the warmth
- Wild persimmons and beautyberries
- The way the longleaf pine needles drop and carpet the ground
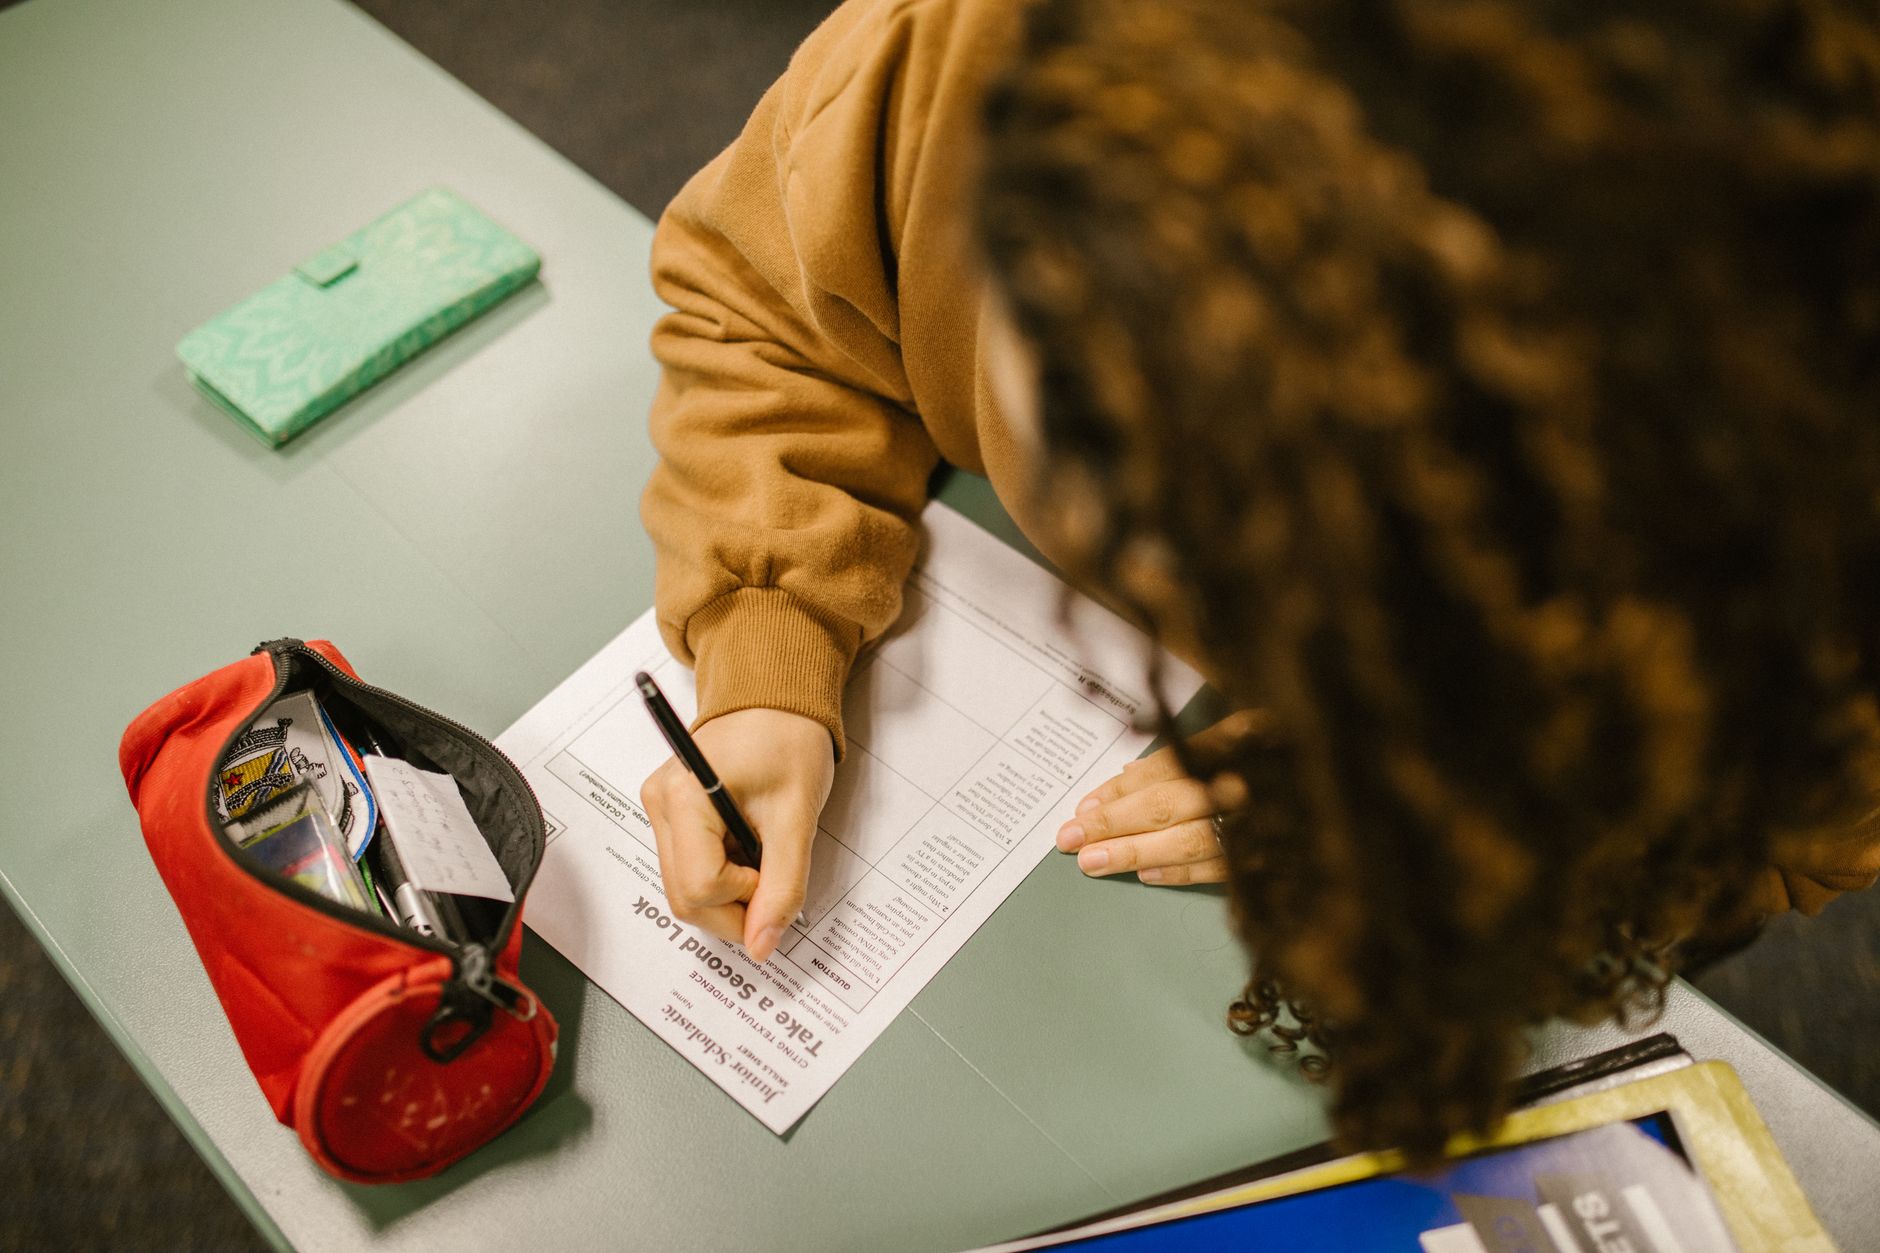
Everything they find becomes fodder for their nature journal pages. Sketch it, label it, write a sentence about it. That’s a full language arts and science morning right there.
Living Books for Thanksgiving Season
Charlotte Mason was clear: living books over dry textbooks, always. November is a beautiful time to fill your read-aloud basket with books that touch on harvest, gratitude, Native American history told with dignity, and the rhythms of autumn.
We skip the sanitized Pilgrim narratives and instead reach for books that honor the full, complicated story — books that treat history as something to sit with and think through, not just memorize. After reading aloud, we narrate. My kids tell back what they heard in their own words. No quiz, no worksheet. Just conversation and comprehension in the most natural way.
This kind of delight-directed, living book approach is something I talk about more in Delight-Directed Learning in Homeschool: How It Actually Works (And Why It’s Not Just Unschooling) if you want to go deeper on the philosophy.
Bring the Chickens Into It (Seriously)
Okay, hear me out. Thanksgiving and chickens might seem like a funny pairing, but our flock is genuinely one of the best nature study tools we have. November is a great time to talk about:
- How chickens (and turkeys — same family!) are birds with fascinating behaviors
- The molting process and why it happens seasonally
- What our hens eat and how that connects to the harvest season
- Where eggs come from, in the most real and un-sanitized way
If you have backyard chickens and haven’t pulled out a good reference book with your kids yet, Storey’s Guide to Raising Chickens is wonderful for older elementary kids to flip through with you, and the kids’ guide to chickens is perfect for younger ones. Learning about your own backyard animals counts as real science. Always.
Nature Crafts That Actually Connect to the Season
I’m not anti-craft — I’m anti-busy-work craft. There’s a difference. Charlotte Mason embraced handicrafts as a serious part of a child’s education, and I agree. The key is that the craft should connect to something real.
For November, we love:
Watercolor nature journaling pages — Press leaves from your walk, then paint around them with Faber-Castell watercolors. The result is stunning and the process is meditative.
Gratitude garlands from natural materials — Pine cones, seed pods, dried beautyberry sprigs, turkey feathers the chickens have dropped. String them up. Talk about what each piece represents.
Harvest art from the garden — If you’re winding down a fall garden, let the kids use the last of the dried seed heads, gourds, and herbs to make a simple table centerpiece. It’s beautiful and it’s theirs.
For more backyard-sourced craft ideas, I put together a whole post on Nature Crafts for Kids Using Backyard Materials (No Store Trip Required) that you’ll want to bookmark.
A Simple Thanksgiving Feast Study
Cooking together is one of the most underrated homeschool activities there is. In the days leading up to Thanksgiving, we involve our kids in actual meal prep — not as a cute photo op, but as a genuine learning experience.
Math happens in measuring. Science happens in understanding how yeast works or why cranberries pop when heated. History and culture happen when we talk about where our food comes from and who grew it. It’s living education at its finest, and it happens right in our kitchen over a cast iron skillet that’s been in our family for years.
Let them make the cornbread. Let them mash the potatoes. Let them see that real food comes from real effort — and real gratitude.
Keep It Slow. That’s the Point.
The Charlotte Mason approach to Thanksgiving homeschool activities isn’t really about what you do — it’s about the pace at which you do it. It’s narration instead of tests. Nature walks instead of videos. Handmade instead of store-bought. A real turkey in the oven instead of a craft turkey on the fridge.
We’re raising kids who know how to be present, how to notice things, how to feel genuine thankfulness for the world around them. That doesn’t come from a curriculum box. It comes from slow Novembers spent outside, in the kitchen, around the table, and yes — out in the chicken yard watching the flock scratch through the fallen leaves.
If you’re looking for more seasonal ideas for your nature-based homeschool, our Homeschool Fall Unit Study Ideas post has a full season’s worth of inspiration that pairs beautifully with everything here.
Happy Thanksgiving, friend. I hope your November is full of the good, slow, dirt-under-your-fingernails kind of learning.
📖 You Might Also Like:
- Homeschool Fall Unit Study Ideas: Nature-Based Themes Your Kids Will Actually Love
- Nature Crafts for Kids Using Backyard Materials (No Store Trip Required)
- Delight-Directed Learning in Homeschool: How It Actually Works (And Why It’s Not Just Unschooling)
Frequently Asked Questions
What is the Charlotte Mason approach to Thanksgiving in homeschool?
A Charlotte Mason Thanksgiving homeschool approach focuses on living books, nature observation, narration, gratitude journaling, handicrafts, and real-life experiences like cooking — rather than worksheets or craft templates. The goal is slow, meaningful engagement with the season rather than a checklist of activities.
What are some easy Thanksgiving homeschool activities for elementary kids?
Great Thanksgiving homeschool activities for elementary-age kids include nature walks with journaling, watercolor leaf art, gratitude journals, read-alouds about harvest and history, cooking real food together, and nature crafts using materials from your own backyard. All of these work beautifully within a Charlotte Mason framework.
How do I teach Thanksgiving history in a Charlotte Mason homeschool without using a textbook?
Use living books — well-written, narrative nonfiction and historical fiction that tells the story of the season with depth and honesty. Follow reading with oral narration, where your child tells back what they heard in their own words. You can supplement with primary source documents for older kids. No textbook or worksheet needed.
Can Thanksgiving activities count toward our homeschool curriculum?
Absolutely. Cooking involves math and science. Read-alouds and narration cover language arts and history. Nature walks and journaling count as science and writing. Handicrafts count as fine arts. A rich Thanksgiving week in a Charlotte Mason homeschool can cover nearly every subject through living, real-world experiences.
How do we build a gratitude practice into our homeschool in November?
Rather than saving gratitude for one day, build it in as a daily habit throughout November. Simple practices like morning gratitude journal entries (drawn or written), naming one thing from nature you’re thankful for before lessons begin, or adding a gratitude section to your nature journal are all low-pressure, high-impact ways to cultivate this habit in children.