How to Explain Homeschooling to Skeptical Family (Without Losing Your Cool at Thanksgiving)
This post contains affiliate links. I may earn a small commission at no extra cost to you.
You know the moment. You’re sitting around the table at some family gathering — maybe it’s Christmas, maybe it’s just a random Sunday cookout — and someone asks how school is going. You take a breath, mention you’re homeschooling, and watch the faces shift. The eyebrows go up. Someone clears their throat. And then it starts.
“But what about socialization?”
“Are you actually qualified to teach them?”
“Don’t you think they need to be around other kids?”
If you’ve been homeschooling for more than five minutes, you’ve heard at least one of these. And if your family is anything like mine was in the early days, you’ve felt that tight, defensive feeling rise up in your chest — the one where you want to either justify everything you’ve ever done or just change the subject entirely.
I’ve been there. More times than I can count. And here’s what I’ve learned: most skeptical family members aren’t trying to be cruel. They love your kids. They just have a picture in their head of homeschooling that looks like a kitchen table covered in worksheets and a kid who never sees the sun. Our job isn’t to win an argument — it’s just to gently show them something different.
Start With Your “Why,” Not Your Curriculum
The first mistake most of us make when we’re put on the spot is jumping straight into curriculum details. We start rattling off programs and schedules and co-ops and suddenly it sounds like we’re defending ourselves in court. That rarely helps.
Instead, start with your heart. Why did you choose this?
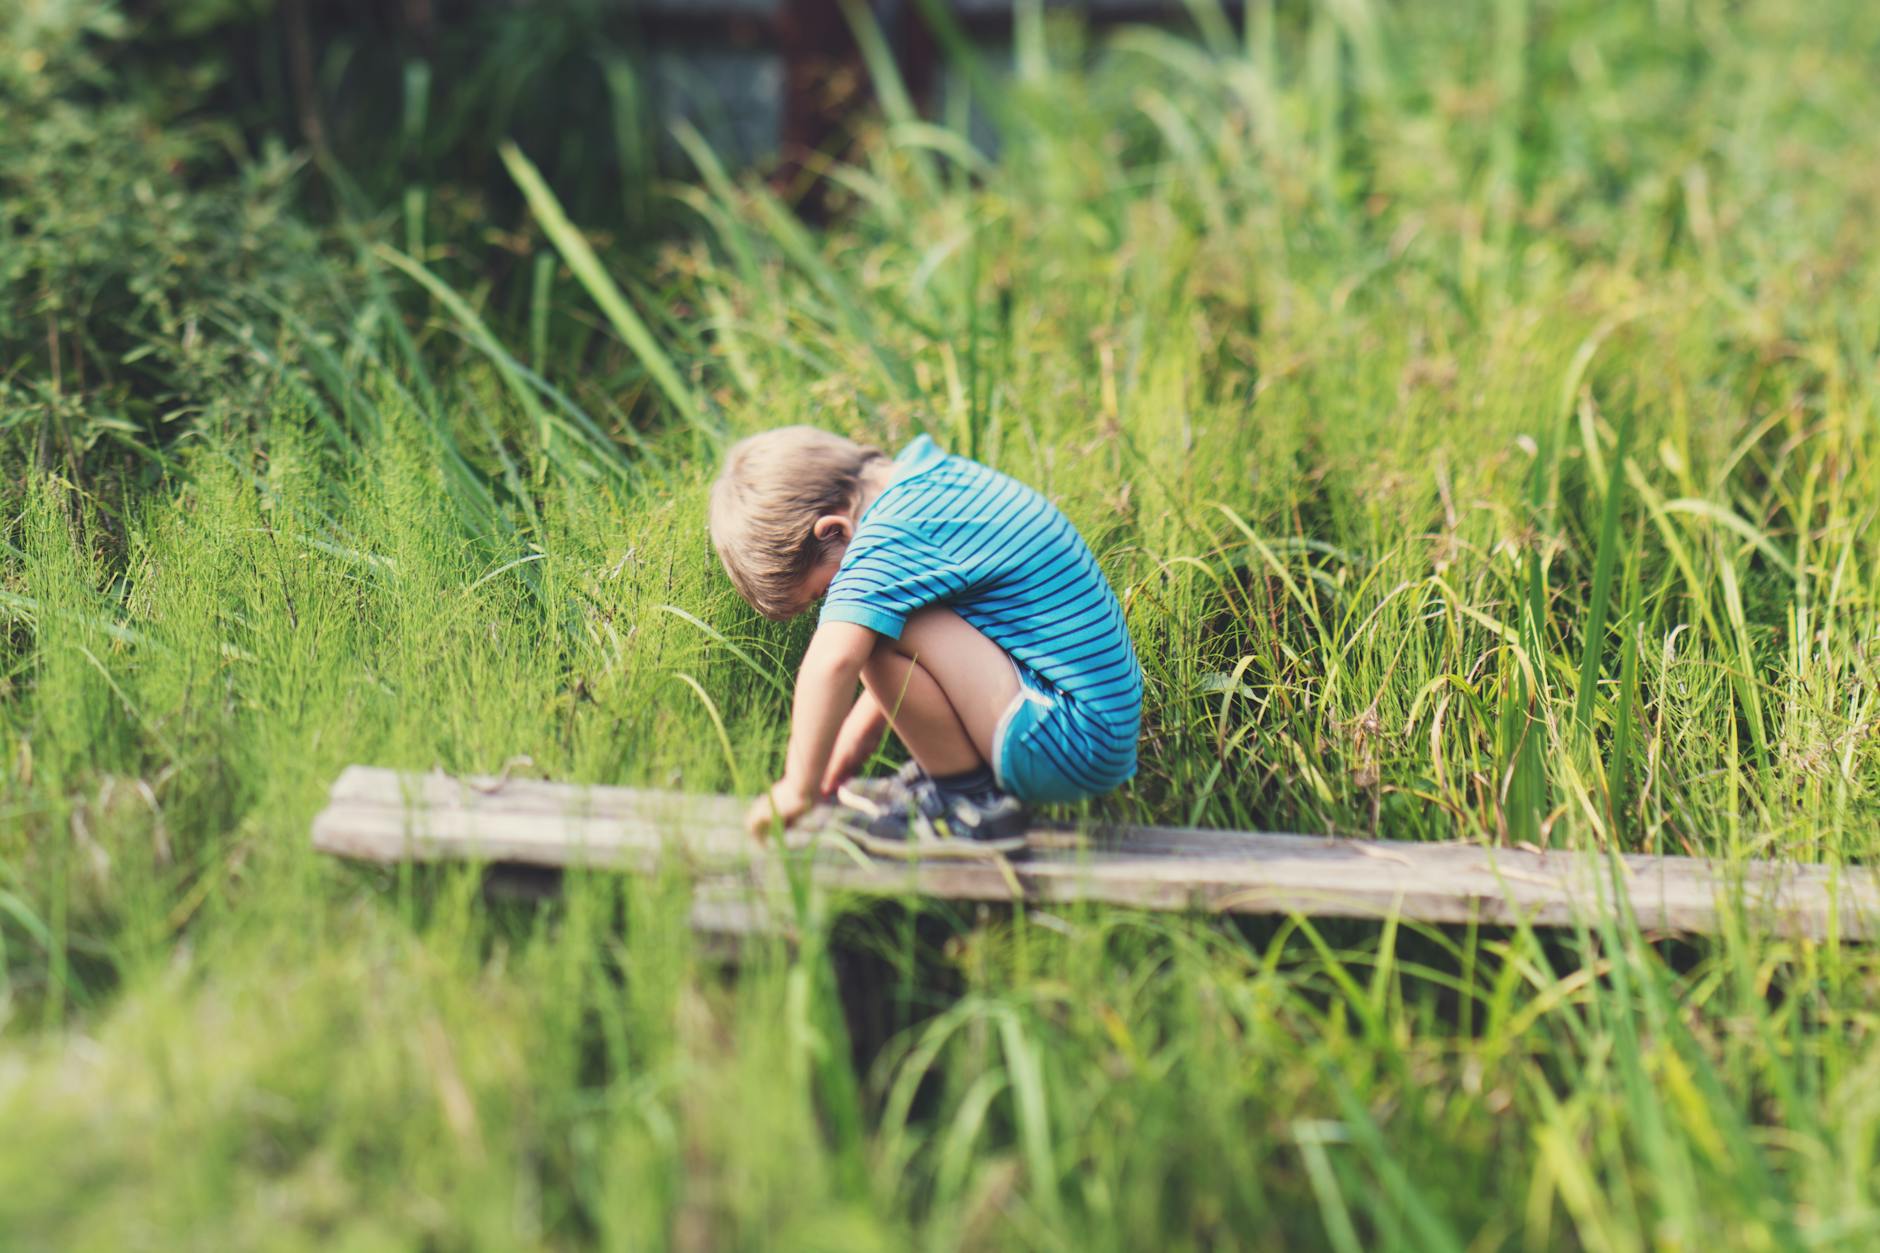
For us, the answer is simple: we want our kids to have a childhood. We want them outside catching bugs with a bug collection kit, drawing birds in their nature journals, helping collect eggs from our backyard chickens, and learning to read the world before they’re expected to sit still and memorize it. That’s not a knock on traditional school — it’s just who we are.
When you lead with values instead of logistics, people connect with that. Most grandparents especially — they remember when childhood looked more like the 1990s version we’re trying to bring back. Less screens, more dirt, more freedom. That tends to land better than explaining what All About Reading is.
Have a Few Simple Answers Ready
You don’t have to have a TED Talk prepared, but it helps to have calm, confident answers for the questions that come up most. Here are the ones we get the most — and how I usually respond.
“What about socialization?”
This one is almost always the opener. And honestly, I used to bristle at it. Now I just smile and say, “That’s actually one of the things we love most about homeschooling — we get to choose really intentional community.”
We have a co-op, neighborhood kids, church, sports, and a whole network of homeschool families here in Northwest Florida. My kids are not sitting at home alone — they’re just not spending six hours a day with the same 25 kids in a single age group. There’s a difference. (If you’re building out your own community, I wrote about it here: Homeschool Co-op Ideas: How to Start One (Without Losing Your Mind).)
“Are you actually qualified?”
This one stings a little if you let it. But here’s the truth: in Florida, you don’t need a teaching certificate to homeschool your children. The Florida PEP scholarship even helps cover curriculum costs, which shows there’s real state-level recognition of homeschooling as a legitimate path.
Beyond legality, though — you know your kids better than anyone. You know how they learn, when they’re frustrated, what lights them up. That’s not nothing. That’s actually everything.
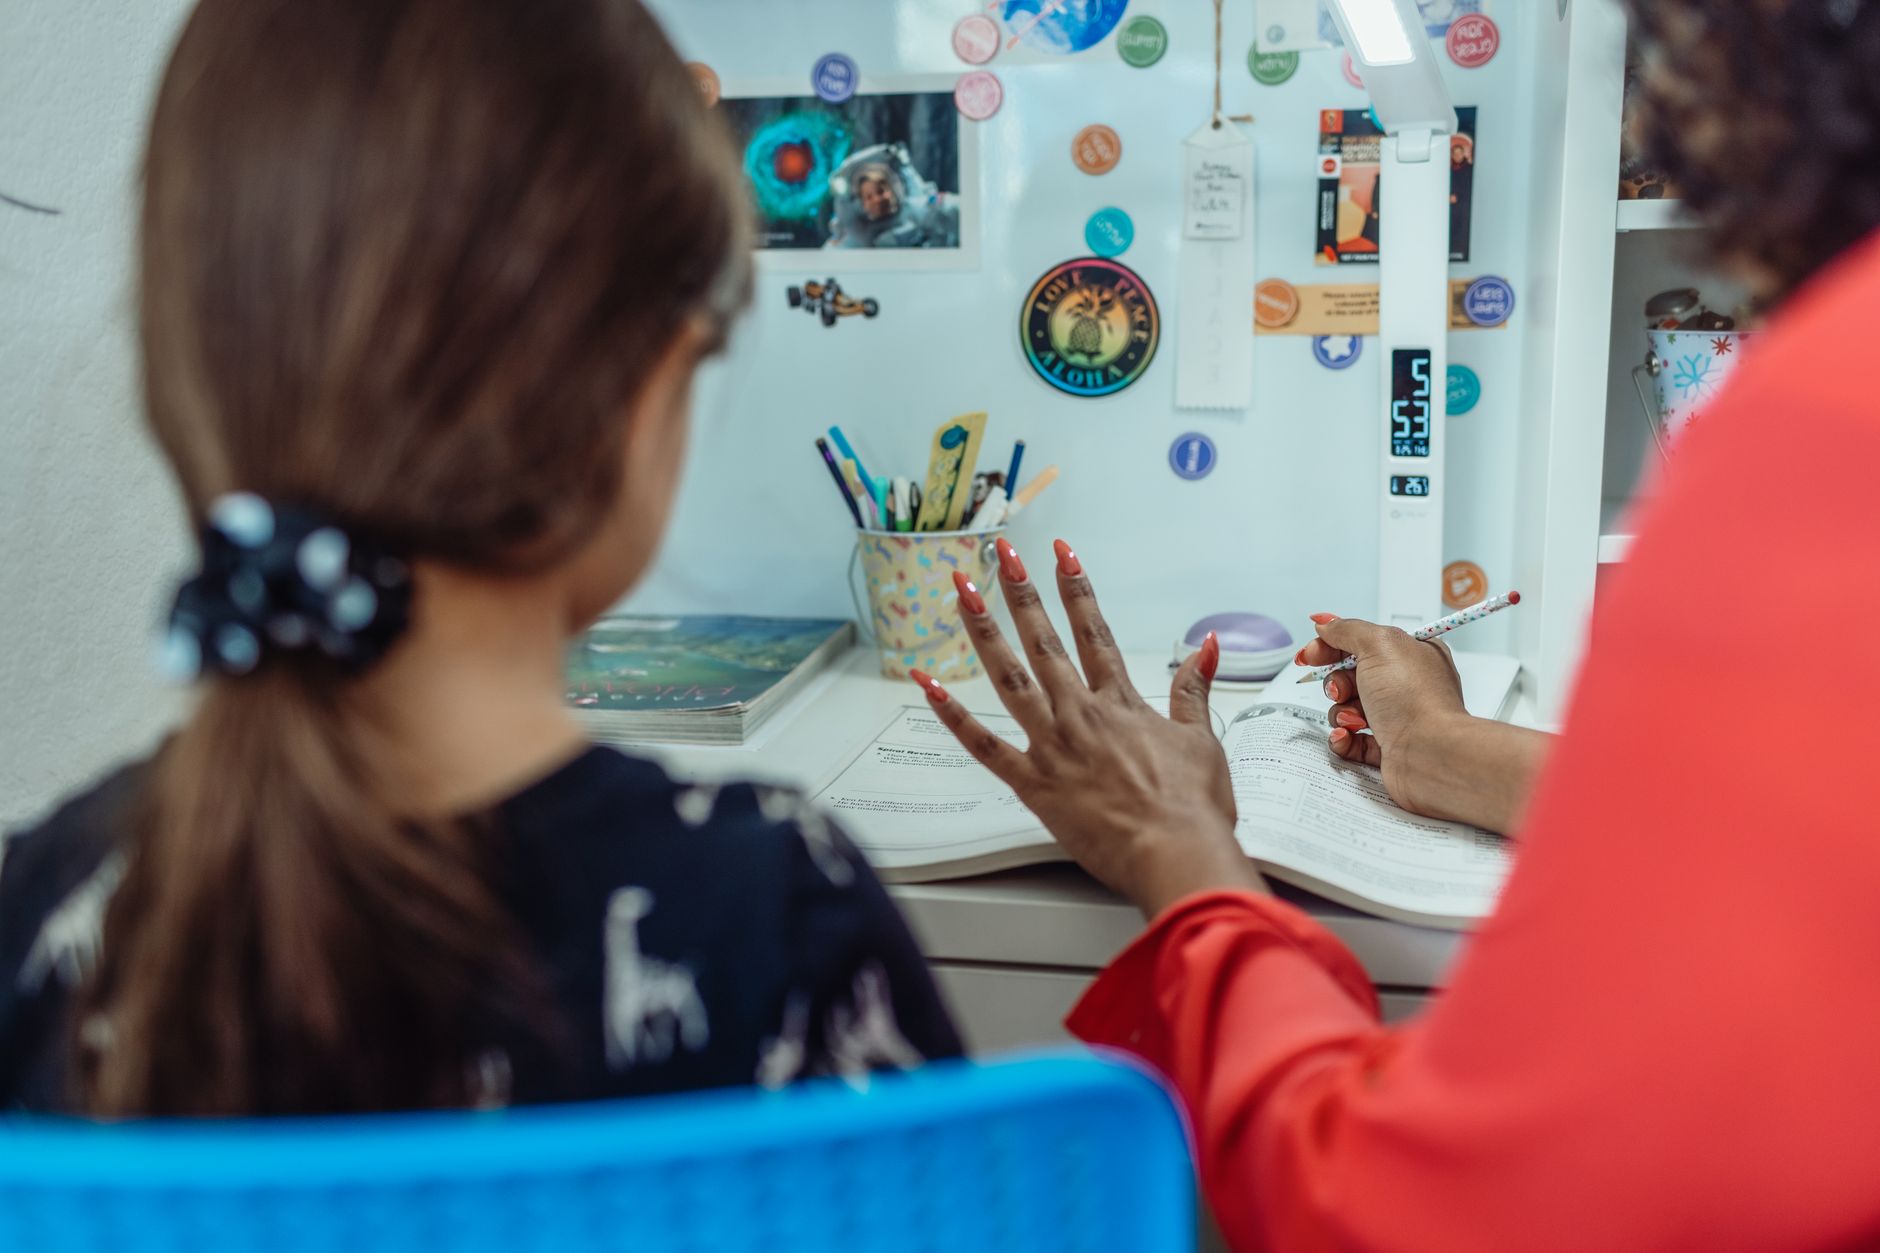
“How do you know they’re keeping up?”
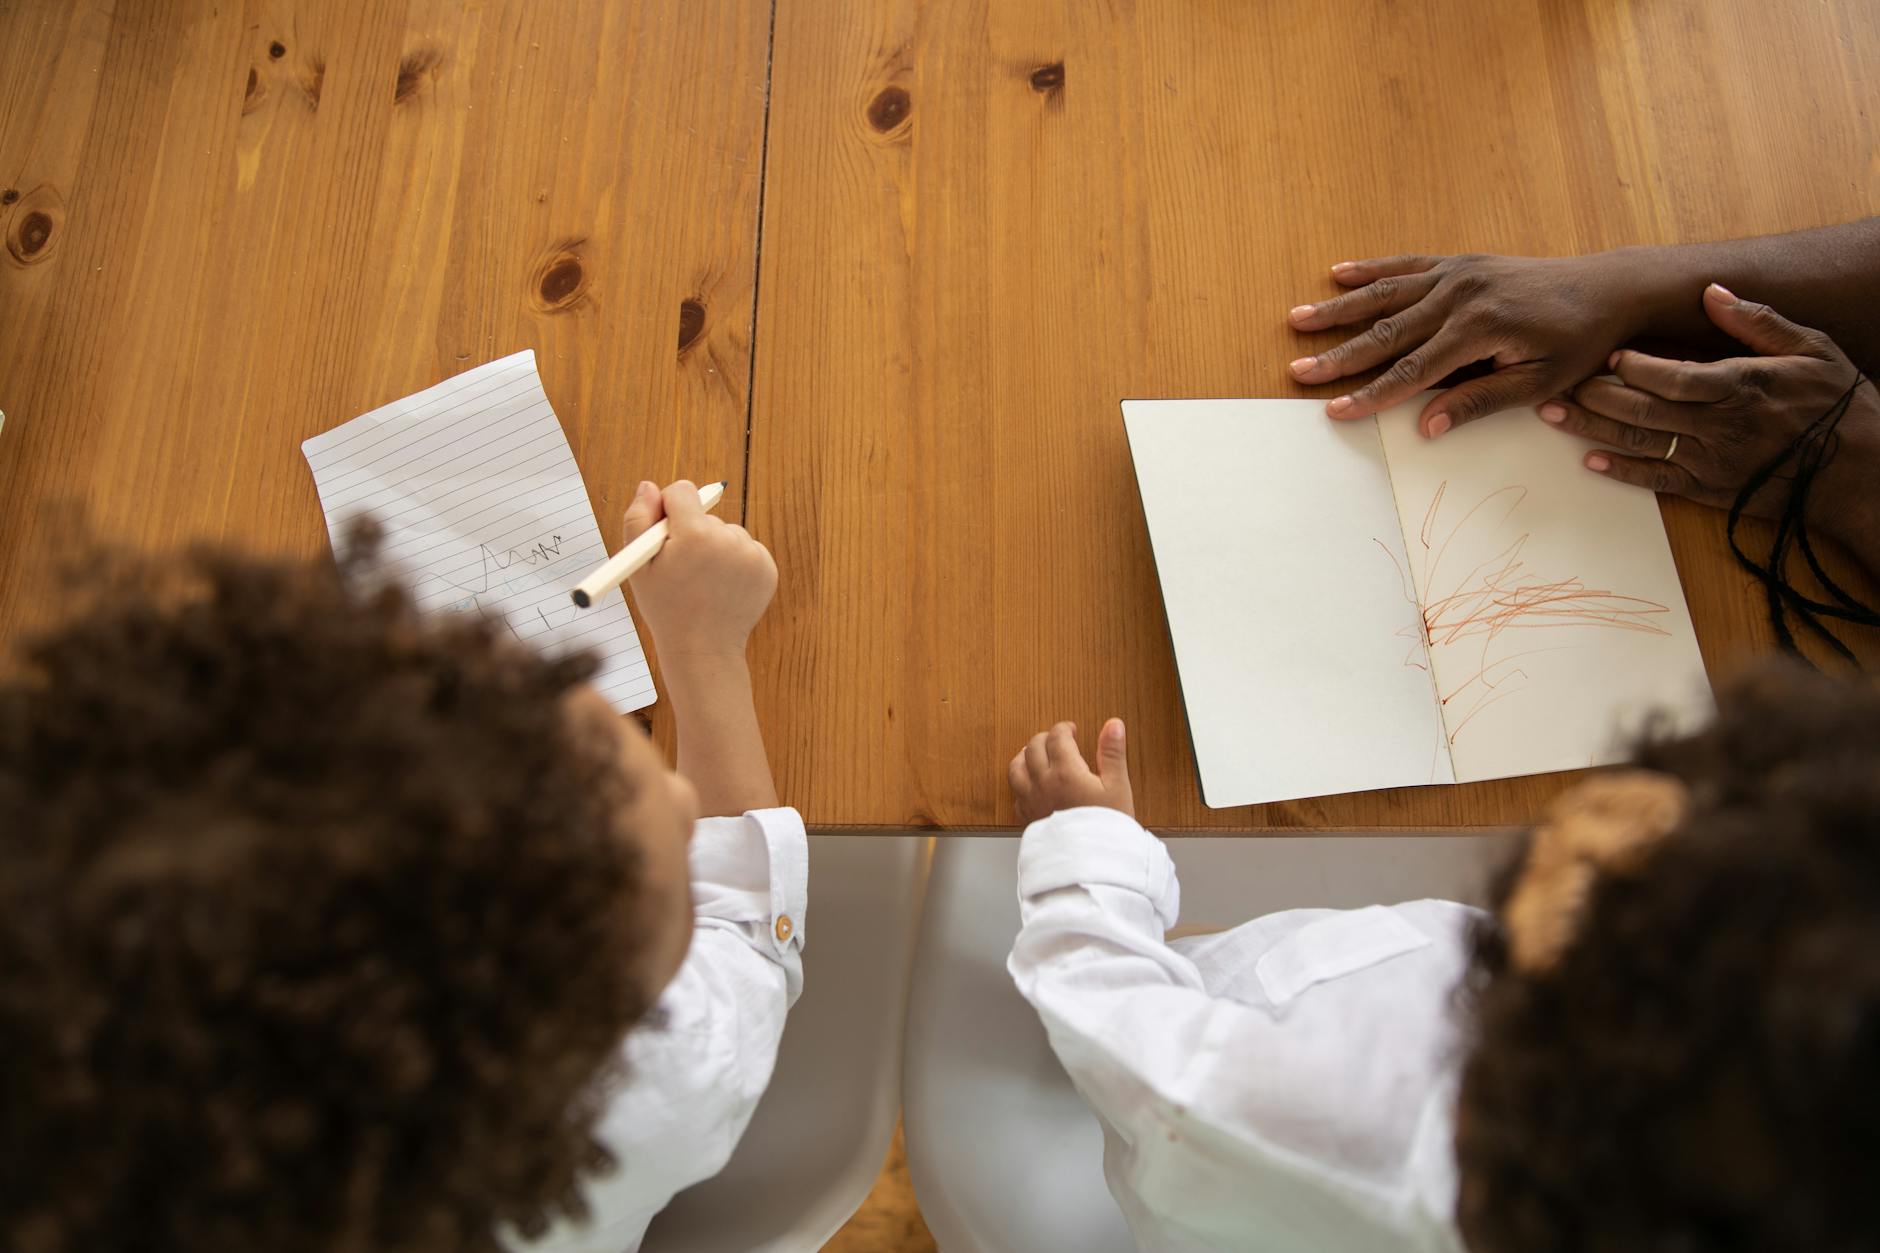
This is where you can share a little of your actual day if you want. Mention the curriculum you use. We use Math-U-See because it’s hands-on and visual and my kids actually understand the concepts instead of just memorizing procedures. We do nature study outside most mornings. We read together every day.
You don’t have to prove anything, but sharing a glimpse of your real life tends to reassure people more than statistics do.
Let Them See It in Action
Honestly? The best thing that ever changed my in-laws’ minds wasn’t a single conversation. It was watching my kids.
When they saw my daughter narrate back a whole chapter of a book she’d just heard, or watched my son identify a Carolina Wren in the backyard using the Sibley Birds guide he’d been studying, or noticed how confidently my kids talk to adults — that did more than any explanation I could have given.
If you have skeptical family nearby, invite them in. Let them sit in on a morning. Let them see the kids doing watercolor nature sketches with Faber-Castell watercolors or helping with the chicken coop chores. Real life is your best argument.
And on that note — our chickens have actually been one of the biggest conversation-changers. There is something undeniably wholesome about a kid who knows how to care for an animal, collect eggs, and explain the difference between a pullet and a hen. Hard to argue with that.
Know When to Stop Explaining
Here’s the part nobody tells you: sometimes the conversation just ends without resolution, and that has to be okay.
Some family members will come around. Mine did, slowly but surely — especially once the kids started thriving in ways that were hard to ignore. Others may never fully get it, and that’s theirs to carry, not yours.
You are not required to justify your family’s choices at every gathering. You can say, warmly and without apology, “We’ve really thought this through and it’s working well for our family,” and then redirect the conversation. That’s not avoidance — that’s a boundary, and it’s a healthy one.
If you’ve hit a wall and the pressure from people around you is starting to get into your head, go read my post on Homeschool Burnout: Signs You’re Headed There and How to Actually Recover. Sometimes the doubt isn’t really about them — it’s about us needing a reset.
A Few Things Worth Remembering
- You are not a weird outlier. Homeschooling has grown dramatically, and it’s increasingly common in Florida and across the South.
- Skepticism usually comes from love. Grandparents especially just want to know your kids are going to be okay. Reassure them with warmth, not defensiveness.
- You don’t have to have it all figured out to be doing it right. Homeschooling is a journey. Give yourself that grace.
- The kids are watching how you handle this. When you respond to hard questions with calm confidence, you’re teaching them something really important about holding your convictions with kindness.
You’ve Got This
If you’re sitting here having just survived a family dinner where someone questioned your choices, first — you’re not alone. Every homeschool parent I know has been through some version of this. And most of us come out the other side with a little more clarity about why we’re doing what we’re doing.
The skeptical aunt, the worried grandparent, the neighbor who keeps asking about “real school” — they don’t have to understand it completely. What matters is that your kids are learning, growing, playing outside in the Florida sunshine, and becoming the kind of people you’re raising them to be. That work is happening whether anyone at the cookout believes in it or not.
Keep going, mama. You know your people. Trust that.
📖 You Might Also Like:
- 1990s Childhood Activities We’re Bringing Back (And Why Our Kids Are Thriving Because of It)
- Raising Kids Without Constant Screens: Practical Tips That Actually Work for Real Families
- How to Raise Free-Range Kids in the Modern World (A Real Family’s Guide)
Frequently Asked Questions
How do I explain homeschooling to grandparents who don’t understand it?
Start with your ‘why’ — focus on your values and what you want for your kids rather than jumping straight into curriculum details. Share glimpses of your real daily life, invite them to see it in action if possible, and reassure them that your kids are thriving and well-connected socially. Most grandparents come around once they see the kids doing well.
What do I say when family asks about socialization and homeschooling?
Calmly explain that homeschooled kids often have rich, intentional social lives — co-ops, sports, community groups, church, and neighborhood friendships. Point out that homeschooling allows kids to interact with people of multiple ages rather than only same-age peers, which is actually closer to how real-world social life works.
Do I have to justify homeschooling to my family?
No, you don’t. You can answer questions kindly and share your reasoning, but you’re not obligated to defend your choices at every gathering. A warm, confident ‘We’ve thought this through and it’s working really well for our family’ is a complete answer. You don’t owe anyone a full explanation.
What are the most common concerns skeptical family members have about homeschooling?
The most common concerns are socialization, whether the parent is qualified to teach, whether the child is keeping up academically, and worry about the child missing out on ‘normal’ childhood experiences. Each of these has a genuine, reassuring answer — and usually, letting people see your kids thrive does more than any explanation.
Is homeschooling legal in Florida and do parents need a teaching degree?
Yes, homeschooling is completely legal in Florida and parents do not need a teaching certificate. Florida also offers the PEP (Personal Education Path) scholarship, which provides funding for eligible homeschool families to use toward approved curriculum and educational expenses, further demonstrating state-level support for homeschooling as a legitimate educational choice.