Cast Iron Cookware for Beginners: How to Choose It, Use It, and Actually Keep It
This post contains affiliate links. I may earn a small commission at no extra cost to you.
I remember the first time I cooked on my grandmother’s cast iron skillet. She’d had it since before my mom was born, and it was so well-seasoned it looked almost black. Eggs slid right off it. She’d never used a non-stick pan a day in her life, and honestly? Her food was better for it.
When we started really leaning into a more intentional, non-toxic home, cast iron was one of the first swaps I made in the kitchen. No more wondering what was flaking off the bottom of a Teflon pan into my kids’ scrambled eggs. No more replacing cheap cookware every couple of years. Just solid, simple, lasts-forever cookware that gets better with time.
If you’ve been curious but a little intimidated — I get it. Cast iron has a reputation for being “high maintenance.” But I promise, once you understand the basics, it’s genuinely one of the easiest things to take care of. Here’s everything I wish someone had told me when I started.
Why Cast Iron Makes Sense for a Non-Toxic Kitchen
Most non-stick cookware is coated with PTFE (Teflon) or other synthetic coatings that can break down over time — especially when overheated. Cast iron is just iron. That’s it. When it’s well-seasoned, it’s naturally non-stick without any of that.
It also lasts generations. We’re not buying and replacing it every few years, which fits right in with the whole less-waste, more-intentional way we try to run our home. And cast iron retains heat beautifully, which means everything from our morning eggs to a big Sunday skillet cornbread comes out better.
If you’re working toward a non-toxic kitchen, this is genuinely one of the best places to start — right alongside swapping out plastic wrap for beeswax wrap and making sure your cast iron skillet is actually doing the heavy lifting.
What to Buy First (Keep It Simple)
Here’s my honest advice: don’t go wild buying a whole cast iron set right out of the gate. Start with one piece and learn it before you expand.
The 10-Inch or 12-Inch Skillet
This is the workhorse of the cast iron world. A good 10 or 12-inch skillet will handle probably 80% of what you cook — eggs, bacon, sautéed vegetables, cornbread, seared chicken, pancakes. For most families, this is the only piece you need to start.
Lodge is the gold standard for beginners, and it’s made in the USA. It comes pre-seasoned from the factory, which means you’re not starting from scratch. A Lodge cast iron skillet is what I’d recommend to every single person who asks me where to begin.
What About Dutch Ovens?
A cast iron Dutch oven is wonderful — especially if you make soups, stews, or bone broth regularly. (We make bone broth almost every week around here — you can read about our method in Making Bone Broth at Home: Why We Do It Every Week.) But I’d still get the skillet first. Learn the basics, then expand.
How to Season Cast Iron (And What That Even Means)
“Seasoning” cast iron sounds fancy, but it’s really just baking a thin layer of oil onto the surface so it becomes naturally non-stick over time. The more you cook with it and maintain it, the better that seasoning gets.
First-Time Seasoning (If Needed)
If your pan came pre-seasoned (like Lodge), you may just need to do a light maintenance season before your first use. But if you bought a vintage piece at a thrift store — which is honestly a great option — here’s what to do:
- Wash the pan with warm soapy water and dry it completely.
- Rub a very thin layer of flaxseed oil, vegetable shortening, or Crisco all over the pan — inside, outside, handle, everything.
- Wipe off the excess. Seriously, less is more here. Too much oil = sticky, gummy pan.
- Place it upside down in a 450–500°F oven for one hour.
- Let it cool in the oven. Repeat 2–3 times for a new or stripped pan.
That’s it. You’re done.
Everyday Cast Iron Care (It’s Not That Hard, I Promise)
This is where people get tripped up, but the rules are simpler than the internet makes them seem.
The Basic Rules
Do: Rinse with warm water while the pan is still slightly warm. Use a stiff brush or a chainmail scrubber to get stuck bits off. Dry it thoroughly — either on the stove over low heat for a minute or two, or in a warm oven.
Do: Rub a tiny bit of oil on the surface after it’s dry. I just use a paper towel with a little avocado or coconut oil. Takes ten seconds.
Don’t: Let it sit wet. Rust is cast iron’s enemy, and here in Florida especially, that humidity is real. If your pan sits wet even for a few hours in our summer air, you’ll see surface rust pretty fast.
Don’t: Soak it in water or put it in the dishwasher. Ever.
Can You Use Soap?
This is the big debate in cast iron circles. The old rule was absolutely no soap — ever. The more modern thinking is that a little bit of mild dish soap now and then won’t ruin a well-seasoned pan. I occasionally use a drop when something really stuck on, and my skillet has been fine. Just rinse it off well and re-oil it after.
What to Do If It Rusts
Don’t panic. Rust on cast iron is not a death sentence. Scrub it off with steel wool or a rough scrubber, wash the pan, dry it completely, and re-season it. It’ll be good as new.
Getting Kids Involved
One of the things I love most about cooking this way is that it naturally pulls the kids in. There’s something so tangible and real about a big heavy skillet on a wood-burning stove (or even just our gas range) — it feels less disposable, more real.
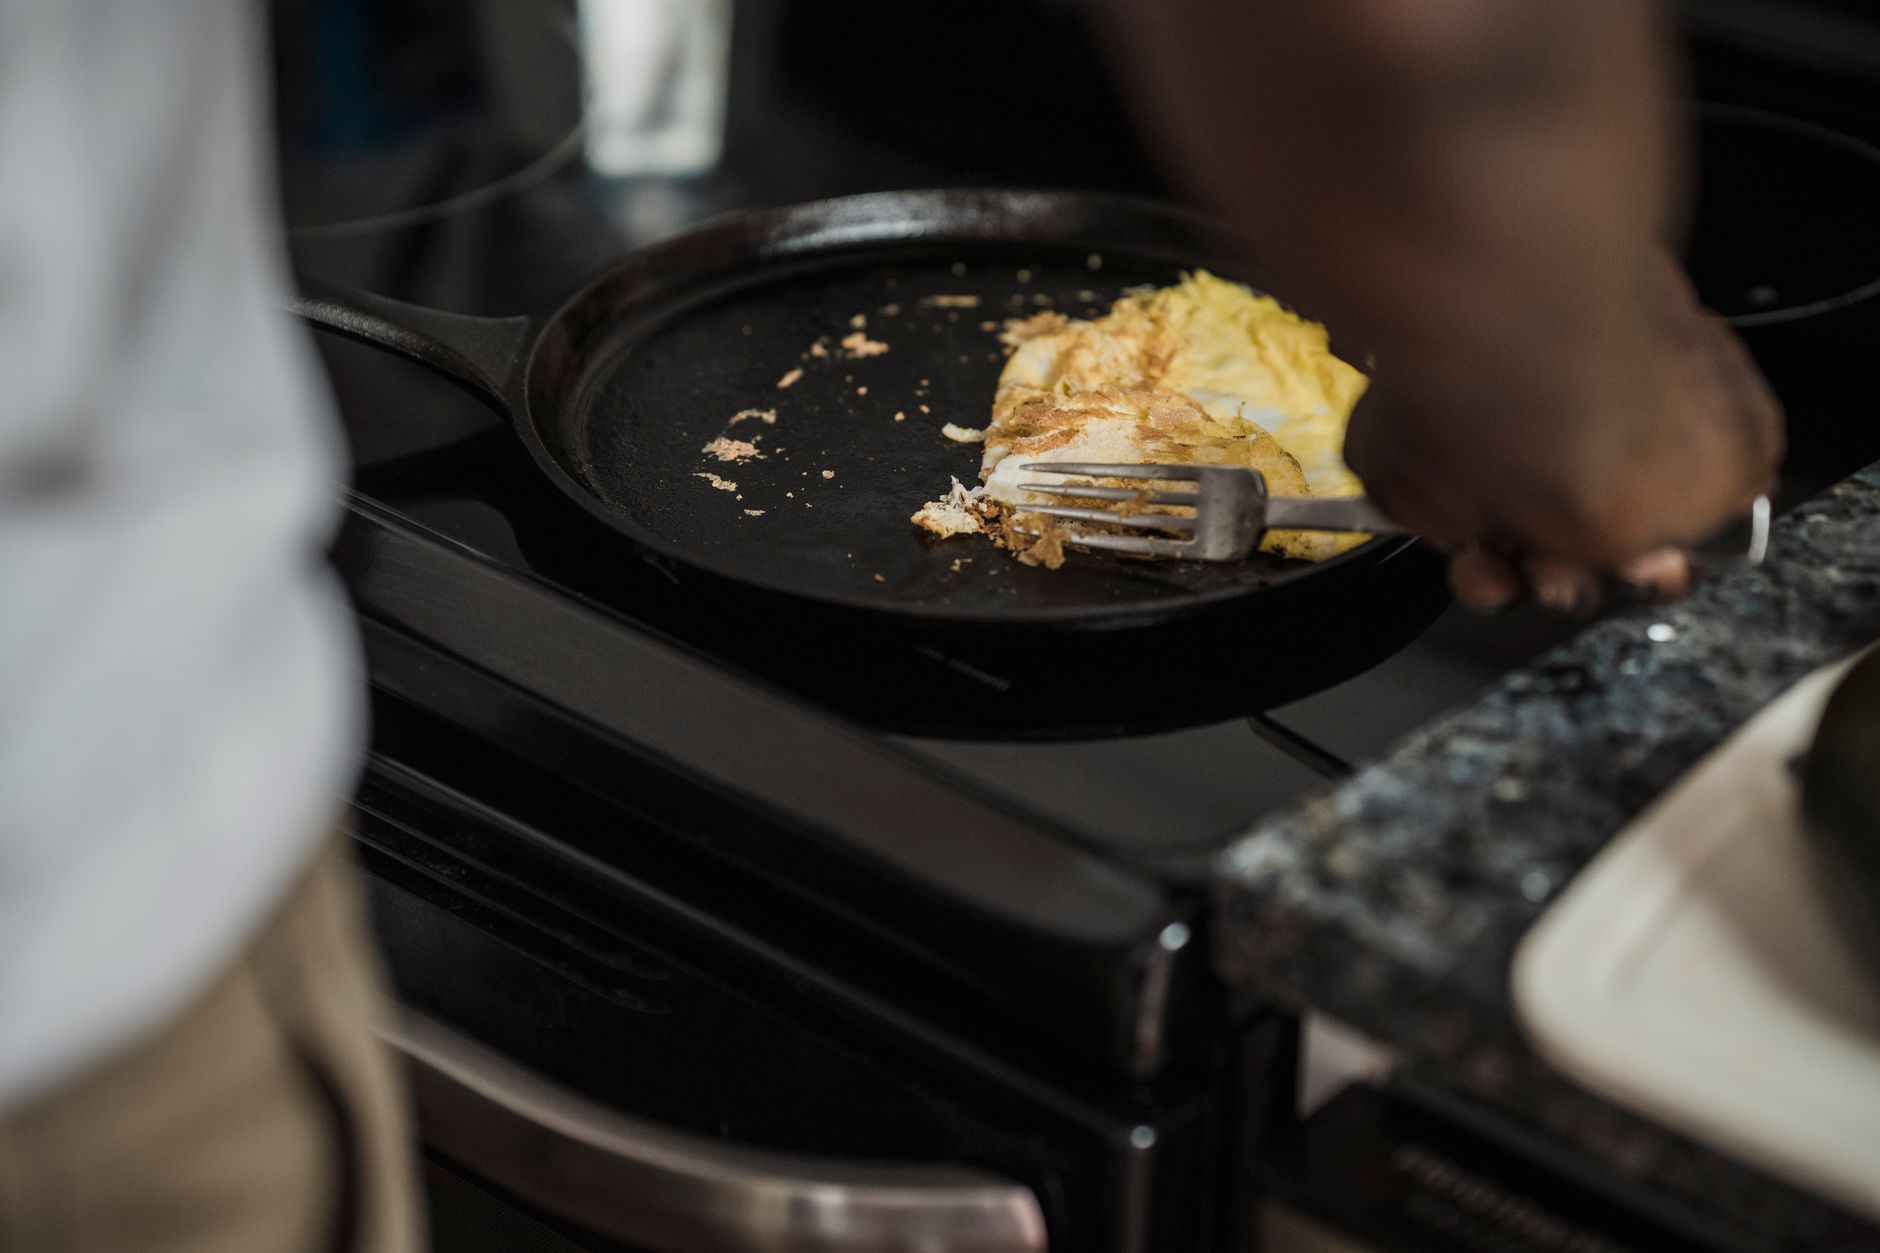
Our older kids help me fry eggs on the cast iron most mornings. They’ve learned that you let the pan heat up first, you don’t crank it too high, and you always dry it after washing. These are the kinds of practical life skills I want them to carry into adulthood — the same way I learned them from watching my grandmother.
If you want to build out those kitchen skills with your kids in a more intentional way, I’ve got a whole post on that: How to Teach Kids to Cook Basic Skills by Age (Without Losing Your Mind or Your Kitchen).
What We Actually Cook in Ours
In case you’re wondering if this thing will actually get used — here’s a peek at our real week:
- Breakfast: Scrambled eggs with fresh eggs from our girls out back, bacon, the occasional pancake
- Lunch: Quesadillas, grilled cheese, veggie hash
- Dinner: Seared chicken thighs, skillet cornbread, roasted potatoes, sautéed greens from the garden
- Weekend: Dutch baby pancake, fried fish when my husband has a good day on the water
If you’ve got backyard chickens like we do, you’ll be cooking eggs in this thing daily. It’s hands-down the best surface for it once that seasoning is built up.
A Few Things Worth Knowing Before You Buy
- Cast iron is heavy. A 12-inch skillet can weigh 8–10 pounds. If you have wrist or joint issues, look into enameled cast iron (like Le Creuset or Lodge’s enameled line) — it doesn’t need seasoning and is a little more forgiving, though pricier.
- It heats unevenly at first on some stove types, especially glass top. Let it preheat slowly.
- Acidic foods (tomatoes, citrus, wine-based sauces) can strip seasoning if cooked for long periods. Fine for a quick sauté, but don’t simmer tomato sauce in it for hours.
- It will look mottled and imperfect for a while. That’s normal. The more you use it, the more even and beautiful the seasoning gets.
The Bottom Line
Cast iron cookware is one of those things that rewards consistency over time. The more you use it, the better it gets. The more you care for it, the longer it lasts. And there’s something really satisfying about using a pan that’s been around for decades — or that you’re building up to pass down yourself.
We live in an era of disposable everything, and cast iron is just… the opposite of that. It fits with the way we’re trying to raise our family — intentionally, simply, and with tools that actually last. Whether you’re brand new to it or you just found your grandma’s rusty one in a garage sale box, I hope this helps you feel like it’s totally doable.
Because it really is. You’ve got this.
📖 You Might Also Like:
- How to Build a Simple Compost Bin for Beginners (No Skills Required)
- Seasonal Living Ideas for Families: Simple Ways to Celebrate Every Season All Year Long
- Simple Living with Kids: Practical Tips That Actually Work for Real Families
Frequently Asked Questions
Do I need to season cast iron before using it for the first time?
If you bought a Lodge skillet or another brand that says ‘pre-seasoned,’ you’re ready to cook right away — though doing one light seasoning in the oven before your first use never hurts. If you picked up a vintage or thrift store piece, you’ll want to scrub it clean and do a full seasoning (2–3 rounds in the oven with a thin coat of oil) before cooking on it.
Can you use soap on cast iron?
A small amount of mild dish soap used occasionally is fine and won’t ruin a well-seasoned pan — despite what you may have heard. The key is to rinse it off thoroughly, dry the pan completely (on the stove over low heat works great), and rub a thin layer of oil on it afterward. Just don’t soak it in soapy water or scrub it with harsh detergent regularly.
Why does my cast iron food stick?
Sticking usually comes down to three things: the pan wasn’t hot enough before you added food, the seasoning isn’t fully built up yet, or you didn’t use enough fat. Let the pan preheat for a few minutes on medium heat before adding oil or butter, then add your food. The more you cook with cast iron, the better the non-stick surface gets over time.
What’s the best oil to use for seasoning cast iron?
Flaxseed oil, Crisco vegetable shortening, and avocado oil are all popular choices. The most important thing is to apply a very thin layer — wipe it on, then wipe most of it back off before putting the pan in the oven. Too much oil leads to a sticky, gummy surface instead of a smooth seasoned one.
Can I use cast iron on a glass top stove?
Yes, but with some care. Cast iron can scratch glass top stoves if you slide it around, so always lift it rather than drag it. It also heats unevenly on glass tops, so preheat it slowly on low or medium before increasing the heat. Some manufacturers actually advise against it for warranty reasons, so check your stove’s manual — but many families use cast iron on glass tops without any problems.
Leave a Reply