How to Start Seed Saving for Your Garden (A Beginner’s Guide That Actually Makes Sense)
This post contains affiliate links. I may earn a small commission at no extra cost to you.
Somewhere between buying yet another packet of tomato seeds at the garden center and watching my kids crack open a dried pepper pod on the back porch, it clicked for me: we can just… keep the seeds. Like people have always done. Like our grandmothers did without even thinking about it.
That’s honestly where seed saving started for us — not with a big plan, but with a moment of oh, wait, this is actually simple. And now, a couple of seasons in, our seed saving setup has become one of those quiet, satisfying things that makes our whole homestead feel a little more self-sufficient and a lot more intentional.
If you’ve been curious about how to start seed saving for your garden but assumed it was complicated or required special equipment, I want to reassure you: it’s not, and it doesn’t. Here’s how we do it, what we’ve learned, and how we’ve made it a real part of our homeschool and home life.
Why Seed Saving Is Worth It (Especially Down Here in Florida)
First, the practical stuff. Seeds add up fast. If you’re planting a real kitchen garden — tomatoes, peppers, squash, herbs — you can easily spend $30–$50 on seed packets before you’ve even touched the soil. Saving your own seeds cuts that cost dramatically over time.
But beyond the money, there’s something else: when you save seeds from plants that thrived in your yard, in your specific microclimate, you’re slowly selecting for plants that are adapted to your conditions. Here in Northwest Florida, that means heat tolerance, humidity resilience, and the ability to survive our weird late-summer rainstorms. Over time, your saved seeds genuinely outperform store-bought ones for your specific garden.
And then there’s the homeschool angle, because of course there is. Seed saving is living science. It covers plant biology, life cycles, classification, botany — all the things Charlotte Mason said children should learn through direct experience with living things, not through a textbook. My kids are way more invested in a plant they watched go from seed to seed than anything we’ve ever read about.
We use our nature journals to sketch and record seeds as we harvest them — what plant they came from, what the seed looks like up close, when we collected them. Pair that with a pocket microscope and suddenly you’ve got a full nature study lesson happening over a bowl of dried beans on the kitchen table.
Start Here: Which Seeds Are Easiest to Save
Not all seeds are created equal when it comes to saving. Some require isolation or special processing. Others practically save themselves. If you’re just starting out, stick to these:
Open-Pollinated and Heirloom Varieties
This is the big one. You must start with open-pollinated or heirloom seeds — not hybrids. Hybrid seeds (labeled F1 on the packet) won’t reliably reproduce the parent plant. Open-pollinated varieties will. Look for “heirloom” or “OP” on the seed packet, or source from a seed company that specializes in them.
The Easiest Beginner Seeds
Tomatoes — Tomatoes are self-pollinating, which means you don’t have to worry much about cross-pollination. They’re one of the most forgiving seeds to save. More on processing below.
Peppers — Let a pepper fully ripen (past the stage you’d normally eat it) until it’s deeply red, orange, or yellow. Then scoop the seeds, dry them on a paper plate, and store.
Beans and peas — Honestly the easiest. Just let the pods dry on the plant, then shell them out. Done.
Squash and zucchini — Let one fruit go well past eating stage — it’ll get huge and almost waxy. Scoop seeds, rinse, dry.
Herbs — Basil, cilantro, dill, and fennel will literally drop seeds on their own if you let them bolt. You’re just collecting what nature’s already doing.
How to Actually Process and Dry Seeds
The Wet Method (For Tomatoes)
Tomatoes have a gel coating around each seed that inhibits germination — you need to remove it. Here’s the quick version:
- Squeeze seeds and pulp into a jar with a little water.
- Let it sit on the counter for 2–3 days, stirring daily. A layer of mold will form on top — that’s normal and good. It breaks down the gel.
- After fermentation, pour off the moldy top layer. Viable seeds will sink.
- Rinse seeds well, then spread on a ceramic plate or parchment paper to dry completely — at least 1–2 weeks in a warm, ventilated spot.
Do NOT use paper towels for drying tomato seeds — they stick and you’ll lose half of them trying to peel them off. Ask me how I know.
The Dry Method (For Everything Else)
For peppers, beans, squash, and herbs, it’s much simpler:
- Harvest when fully mature and dry on the plant if possible.
- Spread seeds in a single layer on a plate or screen.
- Dry in a warm, low-humidity spot for 1–2 weeks.
- Seeds should snap, not bend, when fully dry.
Here in Florida, our humidity makes this trickier in summer. I run a fan near them or dry them inside with the AC on.
Storing Seeds the Right Way
Once your seeds are bone dry, storage is simple. The enemies of seed viability are heat, humidity, and light — so you want cool, dark, and dry.
We use canning jars with tight-fitting lids for our seed storage. A small silica gel packet inside helps with any residual moisture (save the ones that come in shoe boxes — they work perfectly).
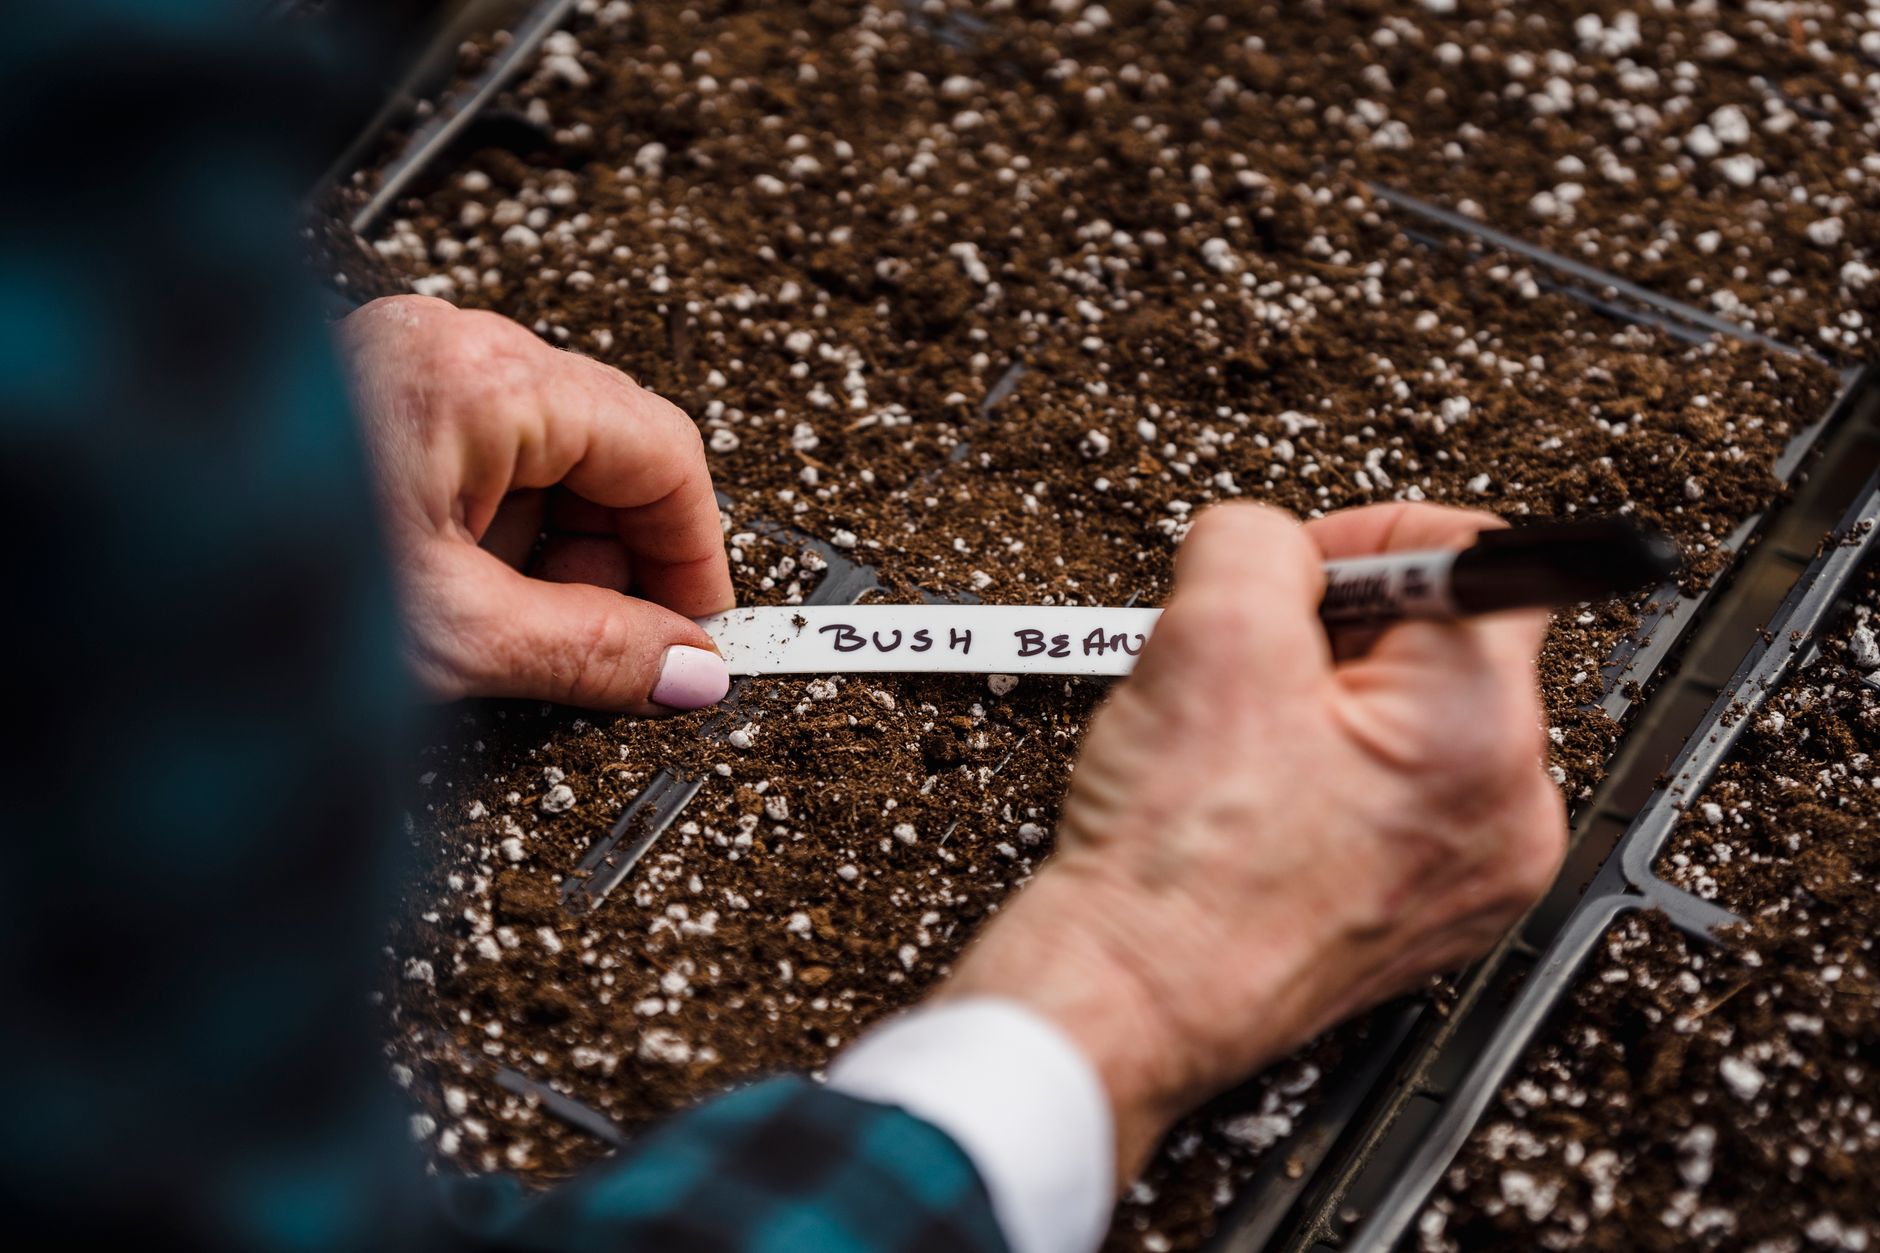
Label everything with:
- Plant variety name
- Date harvested
- Any notes (“best producer,” “grew huge,” “resistant to that weird wilt we had”)
We use a seed saving kit for smaller quantities — little envelopes that fit neatly inside a jar or a small box. My kids love writing the labels. It becomes part of our fall rhythm, right alongside canning and putting the garden to bed.
Store your jars somewhere cool — a pantry shelf works fine. If you want maximum longevity, the fridge or freezer works for many types of seeds, though for most home gardeners, a cool pantry is plenty.
Making It Part of Your Homeschool (And Your Kids’ Actual Childhood)
This is the part I love most about seed saving — it connects kids to something real. Not a worksheet about plant life cycles, but actual plant life cycles playing out in their hands.
We’ve made seed saving part of our Charlotte Mason nature study in a few ways:
- Sketching and journaling seeds at harvest time (the Faber-Castell watercolors are perfect for painting detailed botanical sketches)
- Examining seeds under the microscope — even simple bean seeds look incredible up close
- Keeping a seed inventory as a practical math and record-keeping exercise
- Reading about where our food comes from and why seed diversity matters
This is the 1990s-kid way of learning, honestly. You go outside, you do a thing, you pay attention to what’s happening. My kids are learning more about biology through seed saving and our backyard chickens than any curriculum could teach them sitting at a table. (And if you want more ideas for weaving nature into your days, check out Charlotte Mason Nature Study Journal Prompts by Season — it’s one of my most-used posts.)
We also tie our composting and garden cycles together — kitchen scraps go to the compost bin, compost feeds the garden, the garden produces seeds, seeds start next year’s garden. The kids see the whole loop. That’s real education.
And if you’re growing vegetables to eventually preserve — we’re big on putting things up in Florida’s brief cool-season harvest windows — check out how to start composting with kids and cover crops for a Florida summer garden to round out your whole-garden approach.
One More Thing: Grow More Than You Need
Here’s the simple rule for seed saving: always grow a little extra with the intention of letting some plants go to seed. You can’t save seeds from produce you’ve already eaten — at least not for most vegetables. So plant a few extra tomatoes, let one zucchini get away from you (honestly, that’s not hard), and leave a few pepper plants to fully ripen past eating stage.
Once you get into the rhythm, it becomes second nature. You start looking at your garden differently — not just as food, but as a living seed bank that belongs to your family.
Seed saving is one of those practices that sounds like it requires more than it does. The truth is it’s just attention and a little patience — two things our kids are building every day they spend time outside, in the garden, watching things grow. If our great-grandmothers could do this with a paper envelope and a cool cellar, we can absolutely do it with a mason jar and a Florida pantry.
Start small. Save a few tomato seeds this season. Label them, put them away, and pull them out next spring. That one small act connects you to generations of people who fed their families the same way — and it’ll mean more to your kids than you expect.
📖 You Might Also Like:
- How to Make Homemade Yogurt from Scratch (The Simple Way Our Family Actually Does It)
- Best Cover Crops for a Florida Garden in Summer (What Actually Works in the Heat)
- Charlotte Mason Nature Study Journal Prompts by Season (For Real Kids Who’d Rather Be Outside)
Frequently Asked Questions
What seeds are easiest to save for beginners?
Beans, peas, peppers, and tomatoes are the best starting points for beginner seed savers. Beans and peas are the simplest — just let the pods dry on the plant and shell them out. Tomatoes require a short fermentation process but are very forgiving. Stick to open-pollinated or heirloom varieties, not hybrids, or your saved seeds won’t reliably reproduce the parent plant.
Can I save seeds from grocery store vegetables?
Sometimes, but it’s hit or miss. Most grocery store produce comes from hybrid varieties, which means the seeds won’t reliably grow true to the parent plant. Your best bet is to save seeds from heirloom or open-pollinated varieties you’ve grown yourself from a reputable seed source. The exception is things like dried beans from the bulk aisle — many of those will actually sprout just fine.
How long do saved seeds last?
It depends on the type of seed and how you store them. Most vegetable seeds stored in a cool, dry, dark place will remain viable for 2–5 years. Onions and parsnips tend to lose viability faster (1–2 years), while tomatoes and squash can last 4–5 years if stored well. Always do a simple germination test — lay 10 seeds on a damp paper towel and count how many sprout in a week — before planting a large amount of older seeds.
Do I need to worry about cross-pollination when saving seeds?
For some plants, yes. Corn, squash, melons, and brassicas (like kale, broccoli, and cabbage) cross-pollinate easily with other varieties of the same species, which can give you unpredictable results. Tomatoes and beans are largely self-pollinating and much easier to save without worrying about isolation. If you’re growing multiple varieties of squash, for example, you’d need to hand-pollinate and cover flowers, or grow only one variety if you want to save true seeds.
How do I know if my saved seeds are still good?
Do a simple germination test before planting season. Place 10 seeds on a damp paper towel, fold it over, seal it in a zip-lock bag, and put it somewhere warm (on top of the fridge works great). Check after 5–10 days and count how many have sprouted. If 7 or more germinate, you’re in great shape. If fewer than 5 sprout, either plant more densely to compensate or start fresh with new seeds.
Leave a Reply