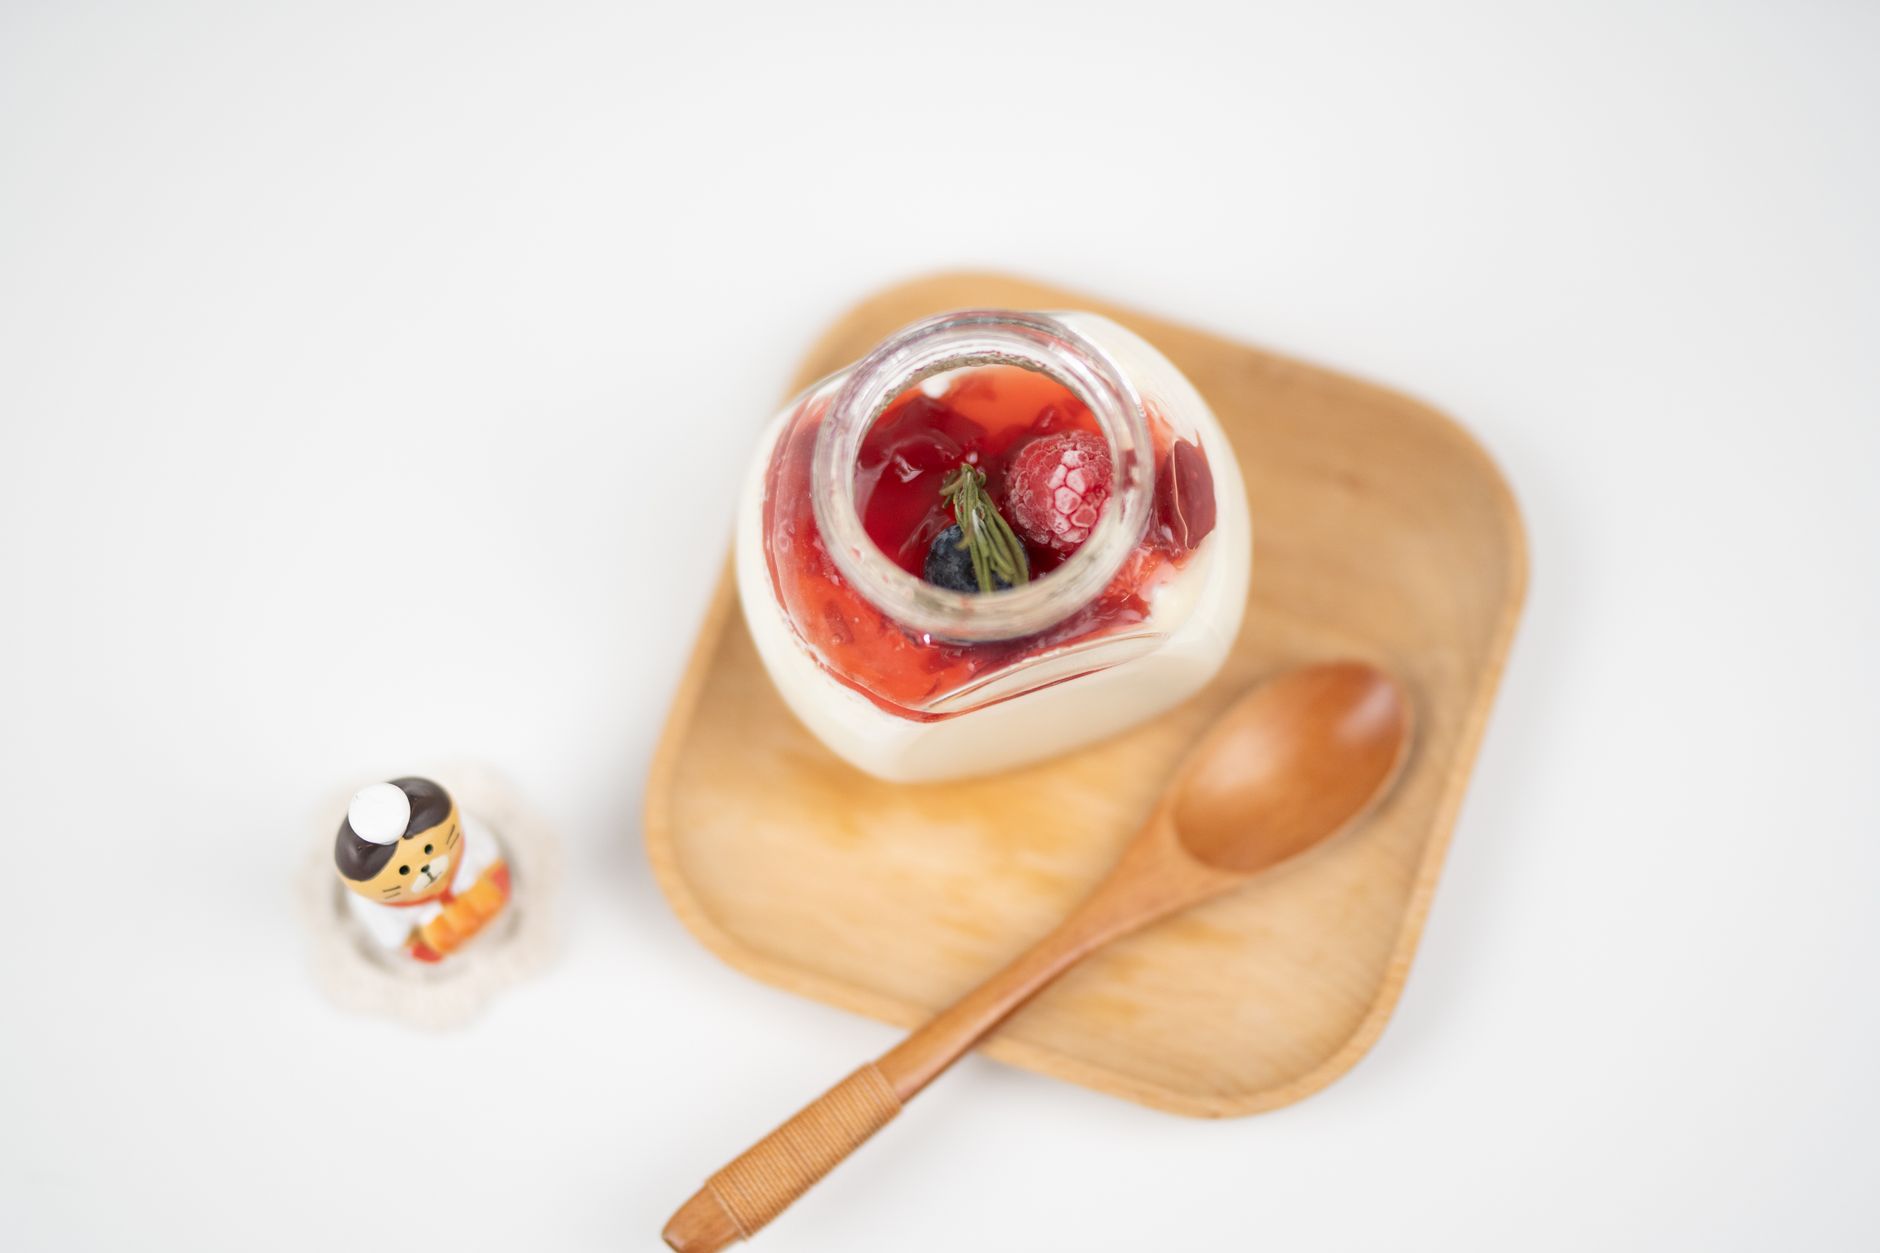
How to Make Homemade Yogurt from Scratch (The Simple Way Our Family Actually Does It)
This post contains affiliate links. I may earn a small commission at no extra cost to you.
I honestly cannot tell you how many years I bought those little plastic tubs of yogurt at the grocery store before I finally just… made it myself. And when I did, I stood there in my kitchen thinking why did I wait so long? It is genuinely one of the simplest real-food swaps we’ve made in this house, and it costs a fraction of what we used to spend.
With a family that goes through yogurt like it’s a competitive sport — on granola, in smoothies, in my oldest’s lunchbox, mixed with a drizzle of honey for an after-outdoor-school snack — making it at home just made sense. Plus, it fits right into what we’re already doing: teaching our kids that real food isn’t complicated, and that they can make most things from scratch if they slow down enough to try.
If you’ve been curious about how to make homemade yogurt but felt like it was some fancy fermented-food thing that required special equipment and a culinary degree, I promise you — it is not that. Come sit down. Let me walk you through it.
What You Actually Need
This is the part where I want to reassure you: the ingredient list is two items long.
- Whole milk (we use a half-gallon at a time — full fat gives you the best texture)
- Plain yogurt with live active cultures (store-bought is fine to start; after your first batch, you’ll use your own yogurt as the starter)
That’s it. For equipment, you need a heavy-bottomed pot, a thermometer, and something to incubate the yogurt in while it sets. We use our slow cooker method most of the time, but I’ll share a few options below.
One thing that helps us stay consistent: a good kitchen scale for measuring out our starter culture when we’re scaling up the batch. Not strictly necessary, but if you’re the kind of person who likes a little precision in your kitchen experiments, it’s worth having around.
The Basic Method (Step by Step)
Step 1: Heat the Milk
Pour your milk into a heavy-bottomed pot and heat it over medium heat, stirring occasionally, until it reaches 180°F. This step is important — it denatures the proteins in the milk so your yogurt sets up thick instead of thin and weepy. Use a thermometer. Don’t skip this.
Once it hits 180°F, take it off the heat.
Step 2: Cool It Down
Let the milk cool to between 110°F and 115°F. This is the sweet spot where the cultures will thrive without being killed off by heat. In the summer here in Northwest Florida, our kitchen stays warm enough that this happens faster than you’d think. In the winter? Give it a little longer.
You can speed things up by setting the pot in a sink of cold water and stirring gently.
Step 3: Add Your Starter
Scoop out about a cup of the warm milk into a separate bowl. Whisk in 2–3 tablespoons of your plain yogurt (with live active cultures) until it’s smooth, then pour that back into the main pot and stir everything together gently.
Step 4: Incubate
This is where the magic happens, and you do basically nothing. You just need to keep your yogurt warm (around 110°F) for 6–10 hours. Here are the methods that work for us:
- Slow cooker method: Turn your slow cooker on low for 2–3 hours, then off. Wrap it in a big towel and leave it overnight. This is our most-used method.
- Oven method: Turn your oven on its lowest setting for a minute or two, then turn it off. Leave the light on. Set your yogurt in there, covered, and walk away.
- Instant Pot: If you have one with a yogurt function, use it. It’s foolproof.
After 6–8 hours, you’ll have yogurt. Check it — it should be set and slightly tangy. The longer you let it go, the tangier it gets. We usually aim for 8 hours overnight.
Step 5: Strain (Optional, But Highly Recommended)
If you like thick Greek-style yogurt — which we absolutely do — pour your finished yogurt into a cheesecloth-lined colander set over a bowl and let it drain in the fridge for another couple of hours. The liquid that drips out is whey, and it’s gold. We save it for smoothies, sourdough bread, or give it to the chickens. (Yes, they love it.)
Making It a Homeschool Moment
Okay, this is one of my favorite things about this recipe — it is a living science lesson. We talk about bacteria (the good kind), fermentation, and why temperature matters. My kids have started using words like cultures and incubate in casual conversation, and that genuinely delights me.
If you’re doing any kind of Charlotte Mason-style nature study or living books approach, connecting food to science is so natural here. We’ve used our yogurt days as a jumping-off point for talking about how fermentation works — and if your kids are already into that kind of thing, check out our post on How to Ferment Chicken Feed (Benefits, Method, and What We Actually Do) because it’s the same basic idea, just applied to the backyard flock.
My kids also love having a notebook to record their observations — what the yogurt looked like before, the smell after incubation, the texture changes. It’s simple living science that doesn’t need a curriculum. That said, if your kids love to document things, a good nature journal works great for kitchen science observations too, not just outdoor study.
Flavoring and Using Your Yogurt
Once you’ve got plain yogurt, the world is yours. We keep ours plain and let everyone sweeten their own bowls — raw honey, fresh fruit, a little vanilla. My youngest loves stirring in some homemade jam. During strawberry season (hello, March in Florida), we’ll make a simple strawberry sauce and swirl it right in.
We also use plain yogurt in:
- Smoothies (instead of store-bought kefir sometimes)
- As a sour cream substitute
- Mixed into muffin or pancake batter
- As a marinade base for grilled chicken
And yes, we save a couple tablespoons every batch to use as next week’s starter. You can keep this going indefinitely — we’ve been running the same culture chain for months.
A Note on Non-Toxic Kitchen Choices
One of the small things I feel good about with homemade yogurt is knowing exactly what’s in it. No thickeners, no added sugars, no preservatives. For a family that’s worked hard to simplify our ingredient lists and reduce what we’re bringing into the house, this is just one more win.
If you’re on a similar journey of cleaning up your kitchen and home, Grove Collaborative has been a staple around here for non-toxic cleaning and household supplies — I order from them regularly and it pairs really well with this whole “know what’s in your stuff” approach we try to live by.
For storing your yogurt, we use wide-mouth canning jars — quart-sized for the big batch, pint-sized for grab-and-go portions during the week. They stack neatly in the fridge, they’re easy to see through, and there’s no plastic involved. Win-win-win.
And if you’re into the whole batch-cooking, real-food, intentional kitchen world, our post on How to Make Elderberry Syrup at Home (The Simple Way Our Family Actually Does It) follows the same kind of rhythm — low effort, big reward, and the kids can help.
Troubleshooting (Because It Doesn’t Always Go Perfectly)
Yogurt didn’t set? Your temperature was probably too hot when you added the starter (you killed the cultures) or too cold during incubation. Thermometer check on both ends.
Too thin? Strain it longer, or try using whole milk next time instead of 2%.
Too sour? Reduce incubation time by an hour or two. Eight hours is usually our sweet spot.
Separated and watery? That’s just whey. Stir it back in or pour it off — totally normal.
You’ve Got This
If you are a real-food mama trying to do right by your family without losing your mind in the process, homemade yogurt is one of those things that just clicks once you do it the first time. It becomes part of the rhythm of your week — like feeding the chickens in the morning or doing a nature walk before lunch. Low effort, high reward, and genuinely good for your people.
I hope you give it a try this week. And when you do — report back. I love hearing when this stuff actually works for other families. That’s the whole point of sharing it.
📖 You Might Also Like:
- How to Ferment Chicken Feed (Benefits, Method, and What We Actually Do)
- How to Make Elderberry Syrup at Home (The Simple Way Our Family Actually Does It)
- Morning Basket Ideas for Charlotte Mason Homeschool Families (What We Actually Do Each Day)
- How to Detox Your Home from Toxins Room by Room (A Real Family’s Guide to Getting Started)
Frequently Asked Questions
How long does homemade yogurt last in the refrigerator?
Homemade yogurt will keep well in the fridge for up to 2 weeks when stored in a clean, sealed container. We use wide-mouth mason jars and they work perfectly. The yogurt may get a little tangier as the days go on, but it’s still totally good.
Can I use ultra-pasteurized milk to make homemade yogurt?
Technically yes, but the results are often thinner and less reliable. Ultra-pasteurized milk (UHT) has been heated at such high temperatures that it can interfere with how the cultures set. Whole, regular pasteurized milk gives you the best, thickest results.
Do I need a yogurt maker to make yogurt at home?
Nope! A yogurt maker is a nice convenience but absolutely not required. We’ve made yogurt successfully using a slow cooker wrapped in a towel, an oven with just the light on, and even a well-insulated cooler with warm water. The key is just maintaining a steady warm temperature around 110°F during incubation.
What is whey and what can I do with it after straining yogurt?
Whey is the thin, yellowish liquid that drains off when you strain yogurt to make it thicker. It’s full of protein and probiotics — don’t throw it away! We use it in smoothies, add it to sourdough bread, use it as a base for fermenting grains, or give it to our backyard chickens as a probiotic boost.
How much yogurt starter do I need per batch?
For a half-gallon of milk, you need about 2–3 tablespoons of plain yogurt with live active cultures. Make sure your store-bought starter (or saved yogurt from your last batch) actually says ‘live and active cultures’ on the label — that’s what does the work of culturing your fresh milk into yogurt.
Leave a Reply