How to Make Elderberry Syrup at Home (The Simple Way Our Family Actually Does It)
This post contains affiliate links. I may earn a small commission at no extra cost to you.
Every fall — or what passes for fall here in Northwest Florida, which is basically just slightly-less-swampy August — I start getting that familiar urge to stock the medicine cabinet. Not with a cart full of drugstore bottles, but with real, whole-food things I can make myself and actually recognize the ingredients of.
Elderberry syrup was one of the first things I learned to make when we started simplifying our home, and honestly? It’s become one of those non-negotiable staples I keep on hand from October through spring. The kids take it daily during cold and flu season without complaint (it tastes like a slightly tart berry jam situation), and I love that I know exactly what’s in it.
If you’ve been buying the bottled stuff at the health food store and wincing at the price tag, good news: you can make a big batch at home for a fraction of the cost, and it genuinely doesn’t take long.
What You’ll Need to Make Elderberry Syrup at Home
The ingredient list is short and humble. That’s one of the things I love most about this recipe — nothing weird, nothing requiring a specialty store run.
The basics:
- 1 cup dried black elderberries
- 3 cups water
- 1 cup raw local honey (added after cooking — heat kills the good stuff)
- 1 cinnamon stick
- 4-5 whole cloves
- 1 tablespoon fresh or dried ginger
That’s really it. You can find dried elderberries on Amazon or at most natural health stores. I order mine with the elderberry syrup making kit that comes with everything measured out — it’s genuinely convenient when you’re making a batch with kids underfoot.
For storing, I use wide-mouth canning jars — the pint size is perfect. It keeps in the fridge for two to three months, though ours never lasts that long.
The Step-by-Step Process
This is a stovetop recipe. No pressure canner needed, no fancy equipment. (If you’re into canning and want to preserve things longer-term, check out How to Can Tomatoes at Home — same kind of approachable, beginner-friendly energy.)
Step 1: Simmer the berries
Combine your dried elderberries, water, cinnamon stick, cloves, and ginger in a medium saucepan. Bring it to a boil, then reduce heat and let it simmer uncovered for 45 minutes to an hour. You want the liquid to reduce by about half.
Step 2: Mash and strain
Take the pot off the heat and let it cool a bit. Use a potato masher or the back of a spoon to mash the berries and get all that good juice out. Then strain the whole thing through a fine mesh strainer or cheesecloth into a bowl. Squeeze those berries — don’t waste a drop.
Step 3: Add the honey
Once the liquid has cooled to warm (not hot — you want to preserve the enzymes and benefits in raw honey), stir in your cup of honey until fully dissolved. This is the step where it goes from “medicinal herb water” to “my kids are asking for more.”
Step 4: Bottle it
Pour into your clean jar, cap it, and refrigerate. Done.
How Much to Take and When
We use this as a daily preventive during cold and flu season, not just when someone’s already sniffly.
- Kids: 1 teaspoon daily for maintenance; 1 teaspoon 3x a day if someone’s coming down with something
- Adults: 1 tablespoon daily; up to 1 tablespoon 3x a day when sick
A quick note: elderberries should always be cooked before consuming — raw or underripe berries can cause stomach upset. This recipe takes care of that with the simmering step.
Also — if you have little ones under one year old, skip the honey or use a different sweetener like maple syrup. You already know this, but worth saying.
Why We Make It Instead of Buy It
The bottles you find at the store — even the good ones — often run $20-30 for a small amount that lasts maybe two weeks for a family our size. A big bag of dried elderberries plus honey runs me maybe $15 and makes enough syrup to last us through December. That math makes sense.
But beyond the money, there’s something about making it yourself that feels right. We involve the kids in the whole process — they help measure, they watch it simmer, they get to taste-test. My oldest has started asking why each ingredient is in there, which has turned into some genuinely great impromptu lessons about herbs, immune function, and why we choose honey over refined sugar.
It fits naturally into our Morning Basket rhythm on the days we make it — a little living science, a little practical life skill, all wrapped up in a kitchen afternoon. Very Charlotte Mason of us, truly.
Making It a Learning Moment
If your kids are anything like mine, they are infinitely more interested in something they helped make. Here’s how we turn elderberry syrup day into a mini nature study:
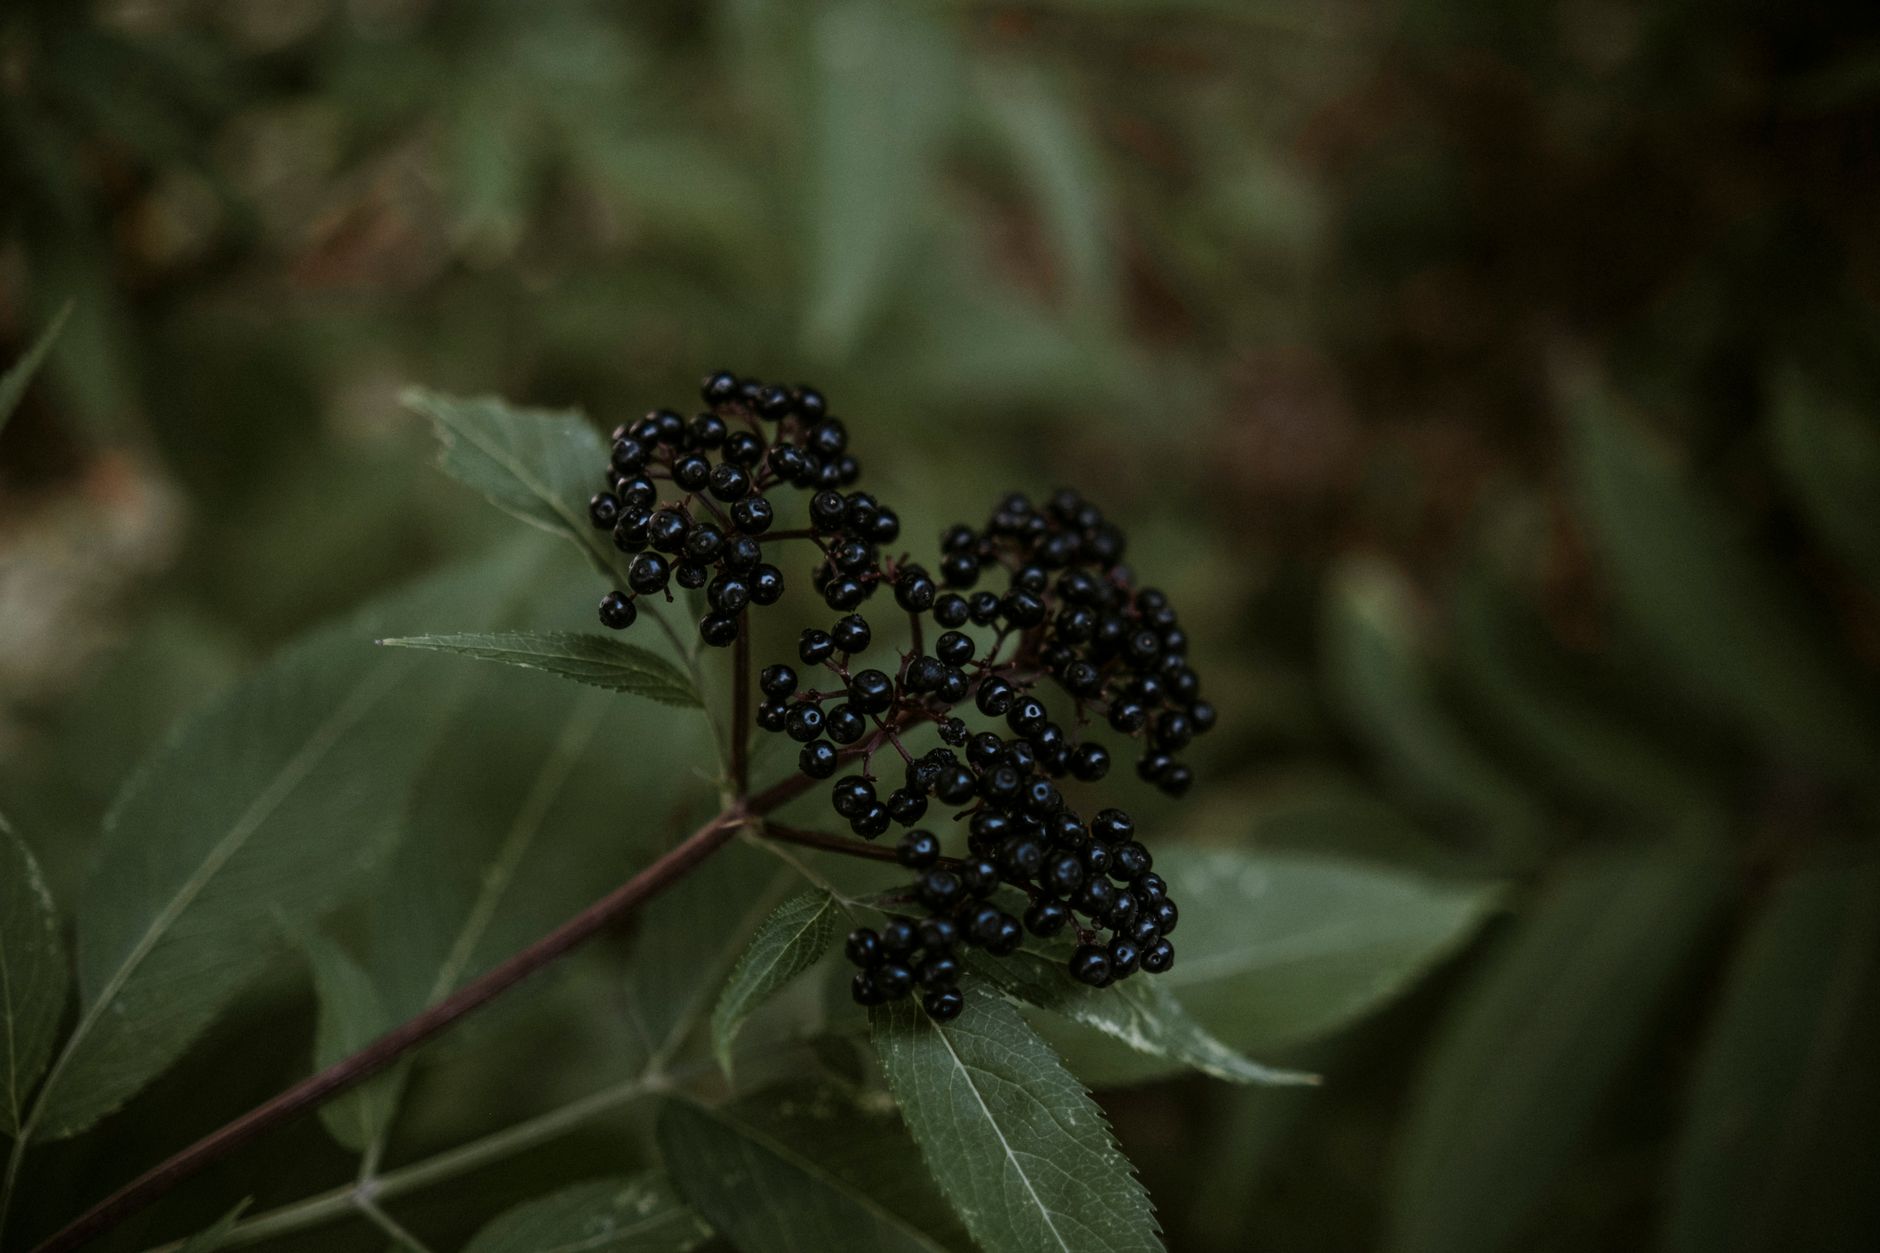
- Talk about what elderberries are, where they grow, and what part of the plant we’re using
- Look up the elderberry bush in a field guide or nature reference
- Have them sketch the berries and write a sentence about what the syrup is for in their nature journal
- Talk about bees and honey — where it comes from, why raw honey is different, why we keep it local when we can
This is the kind of stuff that sticks. Way more than a worksheet about the immune system, I promise.
If you’re looking for more ways to weave natural health and herbal knowledge into your homeschool days, we have a whole post on Natural Remedies for Kids’ Cough and Cold This Florida Winter that you might love.
A Few Tips From Our Kitchen
Use a slow cooker if you want hands-off. You can throw everything in a slow cooker on low for 8 hours instead of simmering on the stove. I do this sometimes when mornings are chaotic — start it when we sit down for school, strain and finish it after lunch.
Double the batch. Seriously. If you’re going to the trouble, make two jars. Give one to your neighbor, your sister, whoever. It’s a genuinely thoughtful gift and people are always surprised you made it.
A kitchen scale helps with consistency. If you make this regularly, weighing your elderberries instead of volume-measuring gives you a more reliable result batch to batch.
Florida humidity is real. Our jars sometimes get a little condensation on the outside in the fridge. That’s fine. Just keep the lid tight and don’t let it sit out at room temperature.
Storing and Shelf Life
Refrigerated, this syrup keeps for 2-3 months. You can also freeze it in ice cube trays and pop the cubes into a freezer bag — each cube is roughly one dose and it keeps for up to a year that way. I started doing this last winter and it was a game-changer for keeping a consistent supply without making a new batch every month.
You’ve Got This
I know it can feel like there’s a lot to learn when you’re trying to do things more intentionally — the homeschool, the garden, the chickens, the non-toxic everything. It can get overwhelming fast. But elderberry syrup is genuinely one of the simplest, most satisfying things you can add to your routine. It takes less than an hour of active time, the ingredients are inexpensive and shelf-stable, and there is something quietly wonderful about spooning something into your kids’ mouths each morning that you made yourself from actual plants.
We’re not trying to be perfect over here. We’re just trying to be a little more rooted. This is one small way we do that, and I hope it becomes one of yours too.
📖 You Might Also Like:
- How to Detox Your Home from Toxins Room by Room (A Real Family’s Guide to Getting Started)
- Best Books on Simple Living and Homesteading for Families (Our Actual Favorites)
- How to Start a Homestead Garden in Florida for Beginners (What Actually Works Down Here)
Frequently Asked Questions
How long does homemade elderberry syrup last in the fridge?
Homemade elderberry syrup typically keeps for 2 to 3 months when stored in a sealed glass jar in the refrigerator. If you want to extend the shelf life, freeze it in ice cube trays — frozen elderberry syrup will keep for up to a year. Always check for any off smell or appearance before using.
Can I give elderberry syrup to toddlers?
Yes, elderberry syrup is generally considered safe for toddlers over the age of one. For children under one year old, omit the honey and use maple syrup instead, as honey carries a risk of botulism for infants. Always check with your pediatrician if you have concerns, especially for very young children or kids with immune conditions.
Do I have to use raw elderberries or can I use dried?
Dried black elderberries are actually what most people use for syrup — they’re shelf-stable, easy to order online, and available year-round. Raw elderberries can be used when in season, but they must always be cooked first. Never eat raw or underripe elderberries, as they can cause nausea and stomach upset.
Is homemade elderberry syrup really cheaper than store-bought?
Yes, significantly. A quality bottle of elderberry syrup at a health food store can cost $20–$30 for a small amount. Making it at home with dried elderberries and raw honey typically costs $12–$18 for a batch that produces two to three times as much syrup. The savings add up quickly for a family taking it daily through cold and flu season.
Can I make elderberry syrup in a slow cooker instead of on the stove?
Absolutely — a slow cooker works great for elderberry syrup. Add the elderberries, water, and spices and cook on low for 8 hours or high for 4 hours. Let it cool, mash and strain the berries, then stir in your honey once the liquid is warm but not hot. It’s a wonderful hands-off option on busy homeschool mornings.
Leave a Reply