How to Preserve Herbs from Your Garden (Simple Methods That Actually Work)
This post contains affiliate links. I may earn a small commission at no extra cost to you.
If you’ve ever gone out to your herb garden in the middle of summer, snipped a huge handful of basil or rosemary, and then stood in your kitchen wondering what on earth to do with all of it — you’re in good company. That used to be me every single year. I’d grow beautiful herbs, let them bolt in the Florida heat, and then scramble to use them before they went to mush.
Now? I actually look forward to that moment. Because I know exactly what to do with a big harvest, and it doesn’t involve hours of complicated canning or anything that requires me to buy a bunch of fancy equipment.
Whether you’ve got a full raised bed situation going on, a few pots on the back porch, or herbs tucked into the corners of your chicken run (yes, some herbs do great near the flock — more on that in a sec), this is the guide I wish someone had handed me three years ago.
Why Herb Preservation Is Worth Your Time
Here’s the honest truth: fresh herbs from the store are expensive, usually stored in plastic, and taste like a pale imitation of what you can grow yourself. When you preserve your own, you’re saving money, reducing waste, and keeping something genuinely nourishing on your shelf.
For our Charlotte Mason-style homeschool, herb preservation has also become one of those beautiful, living lessons that doesn’t feel like school at all. The kids help harvest, we talk about what the plant does — culinary uses, old folk remedies, what pollinators love it — and then they’re part of the preserving process too. It’s botany, home economics, and practical life skills all wrapped into one afternoon. My kids know what rosemary smells like when it crumbles between their fingers. That’s the kind of learning I’m here for.
If you want to dig into more nature-based learning like this, check out our post on Charlotte Mason Nature Journal Ideas for Kids (What We Actually Do Year-Round in Florida) — herb study fits right in.
When to Harvest Herbs for Best Flavor
Timing matters more than most people realize. The best time to harvest is in the morning, right after the dew has dried but before the heat of the day sets in. That’s when the essential oils — the stuff that actually carries the flavor and fragrance — are most concentrated in the leaves.
Harvest before the plant bolts or flowers if you can, especially for leafy herbs like basil and cilantro. Once they go to flower, the leaves start to taste more bitter. In Florida, this can happen fast — our heat doesn’t mess around.
Method 1: Air Drying (The Old-Fashioned Way)
This is the method your grandmother probably used, and honestly? It still works beautifully for woody herbs like rosemary, thyme, oregano, sage, and lavender.
How to do it:
- Bundle 5-10 stems together with a rubber band or piece of twine
- Hang them upside down in a warm, dry spot with good airflow — out of direct sunlight
- Let them dry for 1-2 weeks until the leaves crumble easily off the stems
In Florida, humidity is your enemy here. If you’re in the thick of summer and your house stays on the humid side, you might have better luck with the oven method (below) or a dehydrator. I’ve lost more than one batch to mold because I forgot about that.
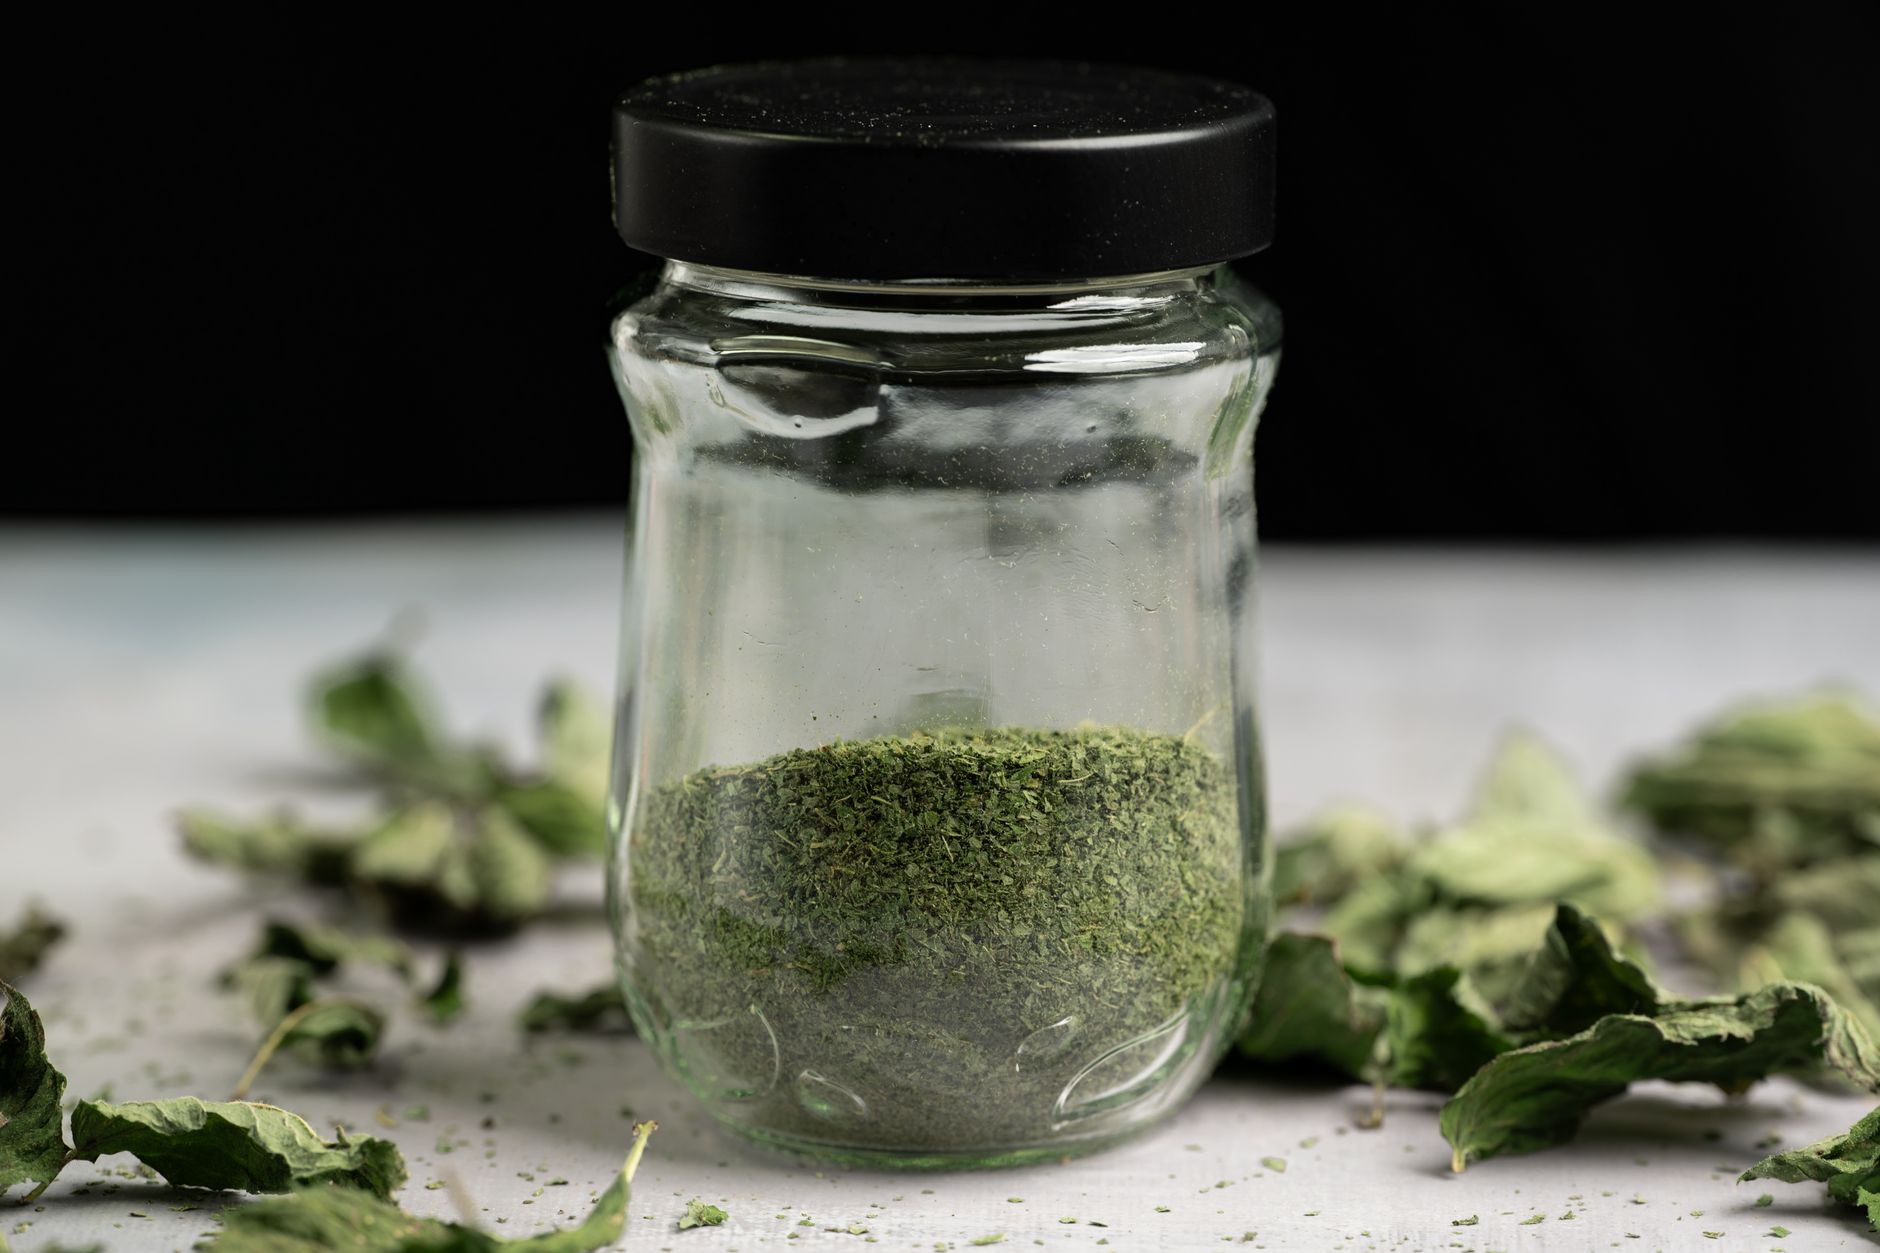
Once dry, crumble the leaves off the stems and store in airtight containers — canning jars work perfectly for this. Keep them away from heat and light.
Method 2: Oven Drying (Faster and More Reliable in Humid Climates)
Spread clean, dry herb leaves in a single layer on a baking sheet. Set your oven to its lowest temperature — ideally 95–115°F. If yours only goes to 170°F, prop the door open slightly with a wooden spoon.
Check every 30 minutes. Most herbs are done in 1-4 hours. You want them dry and crumbly, not brown or toasted.
This method works especially well for basil, mint, and lemon balm — the softer-leafed herbs that don’t do as well hanging.
Method 3: Freezing Herbs (Best for Basil, Cilantro, and Parsley)
Freezing is my personal favorite for tender herbs because it’s genuinely the easiest thing in the world and the flavor holds up remarkably well.
The ice cube method:
- Chop herbs roughly and pack them into an ice cube tray
- Cover with water or olive oil and freeze solid
- Pop the cubes out and store in a labeled freezer bag
When you’re making soup, sauces, or sautéed vegetables, just drop a cube right in. It’s like having summer in your freezer.
For herbs you use in larger quantities — like basil for pesto — you can also blend a big batch with olive oil and freeze it flat in a zip bag. Break off pieces as needed.
Method 4: Herb-Infused Oils and Salts
Okay, these feel fancy but they are so simple, and they make the most beautiful homemade gifts too.
Herb salt:
Blend fresh or dried herbs with coarse sea salt in a food processor until combined. Spread on a baking sheet to dry for a day or two, then jar it up. Rosemary salt on roasted vegetables is life-changing.
Infused oil:
Use dried herbs only for oil infusions (fresh herbs can introduce moisture and lead to botulism — please don’t skip this step). Pack dried herbs into a clean jar, cover completely with a neutral oil like olive or avocado, and let it infuse for 1-2 weeks in a cool, dark place. Strain and store.
We use our infused oils for cooking and also in homemade salves and skin care. If you’re into making more of your own home products, our post on How to Detox Your Home from Toxins Room by Room is a good next read.
Method 5: Making Herbal Syrups and Tinctures
For medicinal herbs like elderberry, lemon balm, echinacea, or holy basil, you might want to go a step further than just culinary preservation. Simple syrups and honey infusions are a great place to start.
We make elderberry syrup every fall — it’s become a whole family ritual. If you haven’t tried making your own yet, I wrote a full guide on it: How to Make Elderberry Syrup at Home (The Simple Way Our Family Actually Does It). An elderberry syrup kit makes it even simpler if you’re just getting started.
Herbs That Do Well in a Florida Garden (and Preserve Beautifully)
Not all herbs are created equal down here. These are the ones I actually grow and preserve successfully in Northwest Florida:
- Rosemary — thrives in our heat, dries perfectly
- Basil — grows like crazy in summer, freeze it fast before it bolts
- Lemon balm — spreads enthusiastically (fair warning), great dried for tea
- Mint — keep it in a pot or it will take over your yard
- Oregano — tough, heat-tolerant, dries beautifully
- Chives — easy, freeze well
- Thyme — loves the sandy soil, wonderful for air drying
For getting a new herb garden started, an herb garden kit or a seed starting kit gives you a solid foundation without having to figure it all out from scratch.
Getting the Kids Involved
This is honestly one of the best low-key school days we have. My kids each have their own kids’ garden gloves, and they know they’re allowed to harvest anything that’s ready. We smell everything, talk about what each plant is used for, and they help strip leaves off stems and load ice cube trays.
My oldest has started sketching the herb plants in her nature journal — noting what stage of growth they’re in, whether they’ve flowered, what insects are visiting. It’s gentle, natural, 1990s-style learning at its best. No worksheet required.
And as a side note — several herbs like oregano, thyme, and lavender are actually beneficial near your chicken coop. They act as natural pest deterrents and some have mild antimicrobial properties. We tuck dried bundles into nesting boxes sometimes. For more on keeping a healthy flock the natural way, check out Best Chicken Coop Predator-Proof Latches (What Actually Keeps Your Flock Safe at Night) — and we also use diatomaceous earth in the coop for pest control, which is as natural as it gets.
A Few Quick Tips Before You Go
- Label everything. Dried herbs look surprisingly similar in a jar. Date it too — most dried herbs are best within a year.
- Less is more when storing. Don’t crumble your dried herbs until you’re ready to use them — whole leaves hold flavor longer.
- Start small. You don’t need a huge harvest to make this worth it. Even one big bunch of rosemary will give you months of seasoning.
- Grow what you actually cook with. Sounds obvious, but I grew lemon verbena for two years before admitting I had no idea what to do with it.
There is something genuinely satisfying about opening your cabinet in January and reaching for a jar of rosemary you dried yourself back in October. It’s one of those small, quiet wins that makes you feel like you’re actually living intentionally — not just talking about it. If you’ve been growing herbs and letting them go to waste, I hope this gives you the push to start preserving this season. It doesn’t have to be perfect. It just has to be started.
📖 You Might Also Like:
- Best Container Vegetable Garden for Florida Summer Heat (What Actually Grows When It’s 95 Degrees Outside)
- Florida Food Forest Beginner Guide: What to Plant (And How to Actually Make It Work Down Here)
- How to Start a Homestead Garden in Florida for Beginners (What Actually Works Down Here)
Frequently Asked Questions
What is the best way to preserve fresh herbs from the garden?
It depends on the herb. Woody herbs like rosemary, thyme, and oregano preserve best by air drying or oven drying. Tender herbs like basil, cilantro, and parsley hold their flavor better when frozen — either chopped into ice cube trays with water or olive oil, or blended and frozen flat. Both methods are simple and don’t require any special equipment.
How do you dry herbs in a humid climate like Florida?
Humidity is the biggest challenge for drying herbs in Florida. Air drying works best during drier months, but in summer, it’s safer to use your oven on its lowest setting (around 95–115°F) or a food dehydrator. This prevents mold from developing on the herbs before they can fully dry. Always make sure herbs are completely dry and crumbly before storing them in jars.
How long do dried herbs last?
Most dried herbs are best used within 6 to 12 months. After that, they don’t go bad, but they lose potency and flavor. Store them in airtight containers — mason jars work great — away from heat, light, and moisture. Label and date your jars so you know what you’re working with.
Can kids help preserve herbs from the garden?
Absolutely, and it’s a wonderful hands-on activity. Kids can help harvest, strip leaves from stems, load ice cube trays, and label jars. It’s a natural fit for nature study, botany, and practical life skills — especially in a Charlotte Mason or nature-based homeschool. Even young elementary kids can participate meaningfully with simple supervision.
Which herbs are easiest to preserve for beginners?
Rosemary, thyme, and oregano are the most forgiving for beginners because they dry easily and hold their flavor well. Basil is easy to freeze but doesn’t dry as beautifully — it tends to turn black. Mint and lemon balm are also beginner-friendly and make wonderful dried teas. Start with whichever herbs you already cook with most.
Leave a Reply