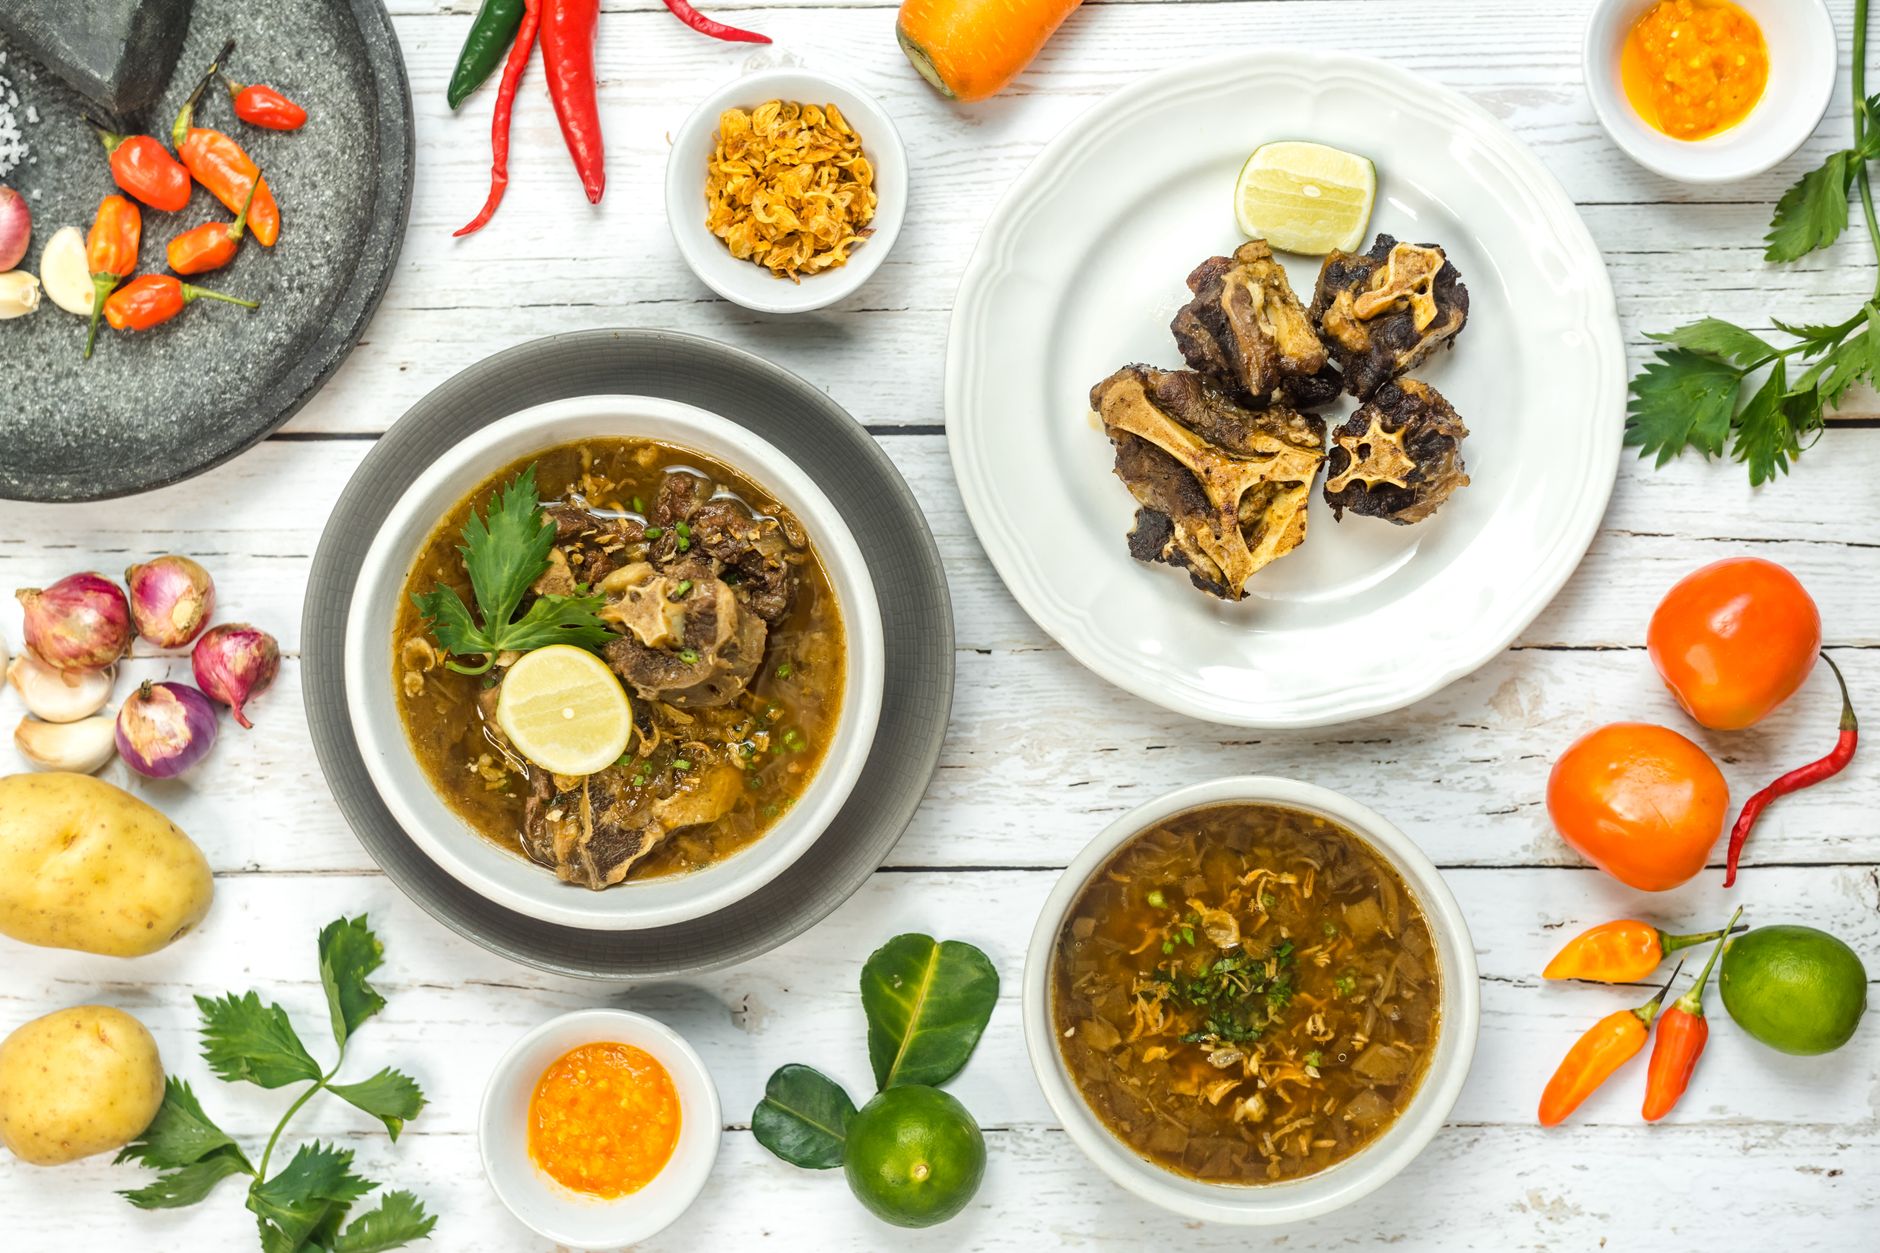
How to Make Bone Broth in a Slow Cooker (The Easy Way That Actually Tastes Like Something)
This post contains affiliate links. I may earn a small commission at no extra cost to you.
I’ll be honest — I put off making bone broth for way too long because I thought it was some complicated, all-day-hovering-over-the-stove kind of thing. Turns out it’s about the most hands-off thing I cook. You basically do five minutes of prep, walk away, and come back to liquid gold.
We started making it regularly a couple years ago when I was trying to get more nourishing, real-food staples into our weekly rhythm. Our kids eat it in soups, we cook rice and grains in it, and on a chilly Northwest Florida morning (yes, we get those — all twelve of them), there’s nothing better than a warm mug of broth with a little salt and butter.
If you’ve been curious but haven’t tried it yet, this is your sign. Let’s do it.
Why Bone Broth Is Worth Making at Home
Store-bought broth is fine in a pinch, but most of it is watery, over-salted, and doesn’t have anywhere near the gelatin content of a good homemade batch. When your broth gels in the fridge — and it will, if you do it right — that’s the collagen and minerals that came straight from the bones. That stuff is genuinely good for gut health, joints, skin, and immunity.
For our family, it’s also a zero-waste win. We save bones in a zip-lock bag in the freezer all week — from roasted chickens, pork chops, whatever — and when the bag gets full, it’s broth time. Nothing gets wasted, and we’re stretching every dollar from the meat we buy.
And yes — if you have backyard chickens like we do, the carcass from a spent hen makes the most incredibly rich broth you’ve ever tasted. I wrote more about our flock over in Best Chicken Breeds for Egg Color Variety (And Which Ones Actually Thrive in Florida), but just know — dual-purpose birds earn their keep even at the end.
What You’ll Need
The Bones
You’ve got options here:
- Chicken — whole carcass, backs, necks, and feet (feet are magic for gelatin)
- Beef — knuckles, oxtail, short rib bones, marrow bones
- Pork — trotters, neck bones
- Mixed — whatever you’ve been saving in the freezer
For the richest flavor and most gelatin, use a mix of knuckle or joint bones (high collagen) and marrow bones (deep flavor). If you can roast the bones in the oven for 20–30 minutes at 400°F first, do it — it deepens the flavor so much. But if you’re just tossing in a leftover roasted chicken carcass, you’re already ahead.
The Vegetables and Aromatics
This is where you just clean out your vegetable drawer. Truly:
- 2–3 carrots (or carrot peels)
- 3–4 stalks of celery
- 1 large onion, halved (skin on is fine)
- A whole head of garlic, cut in half horizontally
- A handful of fresh or dried herbs — thyme, parsley, bay leaves, rosemary
- 1–2 tablespoons apple cider vinegar (this is important — it helps pull the minerals out of the bones)
- Salt and peppercorns to taste
The Equipment
A slow cooker is genuinely the easiest way to do this. Set it, forget it, go do your morning basket with the kids, feed the chickens, live your life. A 6-quart works great for a chicken carcass or 2–3 pounds of beef bones.
How to Make Bone Broth in a Slow Cooker — Step by Step
Step 1: Add Your Bones
Place your bones in the slow cooker. If you’re using raw bones, roasting them first is optional but recommended for beef. For chicken carcasses straight from a roasted chicken, just toss them in.
Step 2: Add Vegetables and Aromatics
Throw in your carrots, celery, onion, garlic, herbs, and peppercorns. Don’t overthink it — this isn’t precise cooking, it’s more like a long, slow extraction.
Step 3: Add Apple Cider Vinegar
Pour in 1–2 tablespoons. Let everything sit for about 20–30 minutes before turning it on if you can — the vinegar starts working on those minerals right away.
Step 4: Cover with Cold Water
Fill the slow cooker with cold, filtered water — leaving about an inch of headspace. Cold water helps the broth stay clear.
Step 5: Cook Low and Long
- Chicken broth: 12–18 hours on low
- Beef broth: 18–24 hours on low
That’s it. You literally just let it go. I usually start mine in the evening and strain it the next morning. The house smells incredible.
Step 6: Strain and Store
Strain through a fine mesh strainer into a large bowl or pot. Discard the solids. Let it cool, then portion into wide-mouth canning jars for the fridge (good for 5 days) or freeze for up to 6 months.
When it’s cold, a good broth should look like Jell-O in the jar. That gel is everything. That’s your collagen.
Tips for the Best Broth Every Time
Don’t let it boil. A hard boil makes cloudy, sometimes bitter broth. Low and slow is the whole point — that’s why the slow cooker is so perfect for this.
Skim the foam. In the first hour or two, some grey foam may rise to the top. Skim it off with a spoon. It’s not harmful, just not pretty.
Use cold water. Starting with cold water and a slow heat-up keeps the broth clearer.
Add feet if you can. Chicken feet are high in collagen and make for an incredibly gelatinous broth. Our local farm store carries them — worth asking around.
Don’t salt heavily until the end (or at all before storing). The broth concentrates as it cooks, so season when you’re ready to use it.
How We Use Bone Broth in Our Home
Once you have a steady supply in the fridge or freezer, you’ll start putting it in everything:
- Cooking rice, quinoa, and lentils instead of water
- As the base for soups and stews (our go-to slow cooker chicken soup in fall and winter)
- Sipping warm from a mug with a pinch of salt when someone’s feeling under the weather
- Deglazing the cast iron skillet for pan sauces
- In the kids’ mac and cheese instead of water
This kind of simple, intentional kitchen practice is exactly what I talk about in Simple Living with Kids: Practical Tips That Actually Work for Real Families — it doesn’t have to be complicated to be meaningful.
Making It a Learning Moment
If you homeschool, this is such a natural kitchen science moment. My kids have learned about:
- Why the broth gels (collagen, gelatin, protein chains — yes, even my seven-year-old gets this now)
- What apple cider vinegar does to the minerals in bones (basic chemistry!)
- How traditional cultures have made broth for centuries, all over the world
- Where our food comes from — especially when we’re using bones from our own chickens
It connects so naturally to our Charlotte Mason approach of learning through real life and living experiences. And if your kids are into nature journaling, they can sketch the process, label the ingredients, and observe how the broth changes from liquid to gel overnight — we use a nature journal for all kinds of kitchen and garden observations like this.
For more on that kind of seasonal, real-life learning, check out Charlotte Mason Nature Study Journal Prompts by Season (For Real Kids Who’d Rather Be Outside).
A Note on Non-Toxic Storage
We store our broth in glass — always. Wide-mouth mason jars are our favorite because they stack neatly and are easy to pour from. Avoid plastic containers, especially for hot liquids. If you’re freezing, leave an inch of headspace so the glass doesn’t crack as the broth expands.
For more on swapping out plastics and choosing safer options in the kitchen, you might like my post on Non-Toxic Baby Products: What to Actually Buy (and What’s Just Marketing Hype) — a lot of those principles apply to the whole family’s kitchen, not just babies.
You Don’t Have to Do It Perfectly
Here’s the thing I want you to walk away with: bone broth doesn’t require a recipe in the precise sense. It’s more of a practice. The bones, the water, the time — that’s really it. Everything else is just adding flavor and nourishment.
Our grandmothers (and their grandmothers) didn’t follow a carefully measured recipe. They just saved the bones, covered them with water, and let them simmer. It’s one of those old-fashioned kitchen habits that got lost somewhere in the convenience-food era, and bringing it back just feels right.
If you’ve got a slow cooker, some saved bones, and a free evening to get it started — you’ve got everything you need. Give it a try this week. I think you’re going to love it.
📖 You Might Also Like:
- Florida Homeschool Graduation Ceremony Ideas (That Actually Feel Special)
- How to Grow Sweet Potatoes in Your Florida Backyard (What Actually Works Down Here)
- Simple Living with Kids: Practical Tips That Actually Work for Real Families
Frequently Asked Questions
How long should I cook bone broth in a slow cooker?
For chicken bone broth, cook on low for 12–18 hours. For beef bone broth, go 18–24 hours on low. The longer it simmers, the more minerals and collagen you’ll extract from the bones. Avoid cooking on high — a gentle, slow simmer is what gives you a clear, rich broth.
What bones are best for making bone broth?
A mix of joint or knuckle bones (high in collagen) and marrow bones (great for flavor) gives you the best results. For chicken, a whole carcass, necks, backs, and feet work beautifully. For beef, try oxtail, knuckles, or short rib bones. Roasting raw bones in the oven first adds deeper flavor.
Why does bone broth gel when it cools?
That gel is collagen that’s been extracted from the connective tissue and cartilage in the bones during the long cooking process. When it cools, it solidifies into a gel — and that’s exactly what you want. A gelatinous broth is a sign of a nutrient-rich, well-made batch. It liquefies again when heated.
Do I need to add apple cider vinegar to bone broth?
It’s not strictly required, but it’s highly recommended. Apple cider vinegar is mildly acidic and helps break down the bone matrix so more minerals — like calcium, magnesium, and phosphorus — leach into the broth. You only need 1–2 tablespoons, and you won’t taste it in the final broth.
How do I store homemade bone broth and how long does it last?
Store cooled bone broth in glass jars in the refrigerator for up to 5 days, or freeze it for up to 6 months. Wide-mouth mason jars work great for both fridge and freezer storage — just leave an inch of headspace if freezing so the glass doesn’t crack as the liquid expands.
Leave a Reply