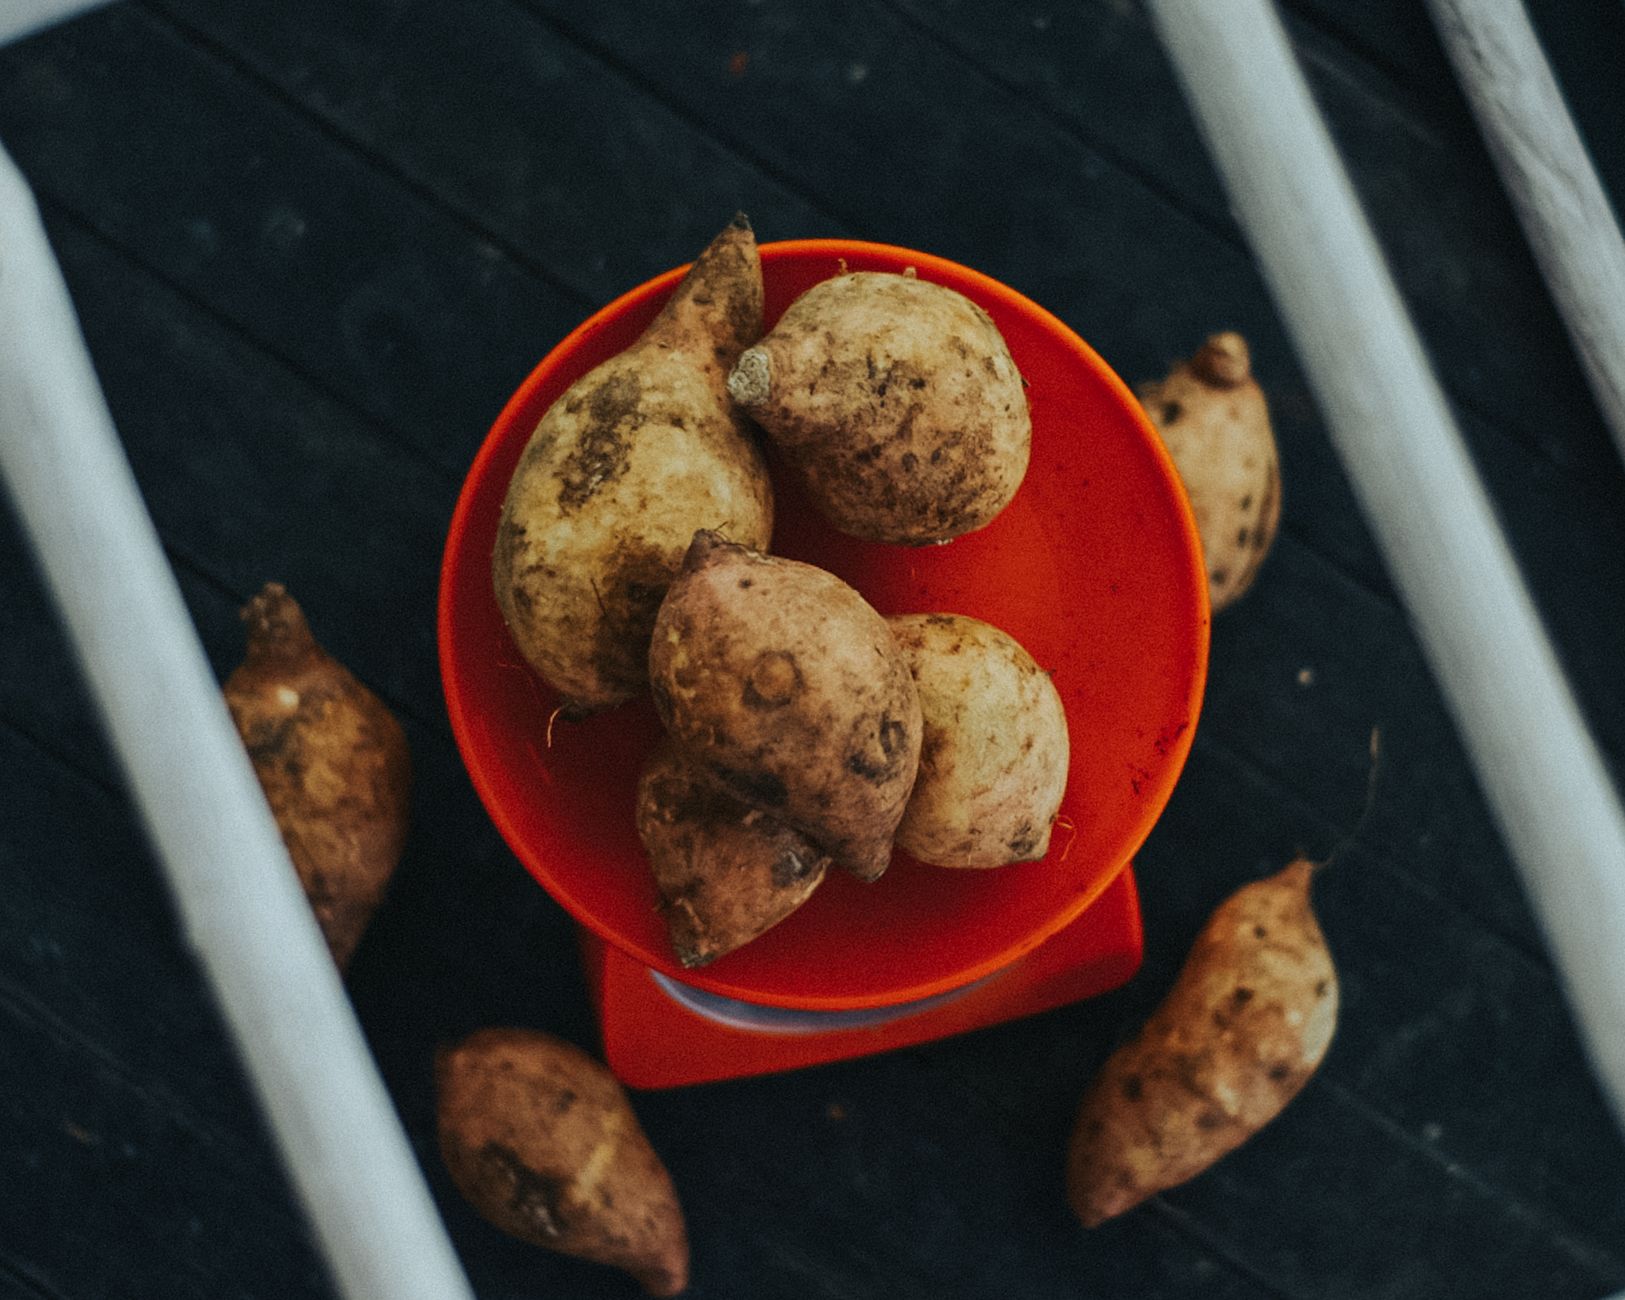
How to Grow Sweet Potatoes in Your Florida Backyard (What Actually Works Down Here)
This post contains affiliate links. I may earn a small commission at no extra cost to you.
If you’ve ever stood in the produce section paying $3 for a single sweet potato and thought I bet I could just grow these myself — you’re right. You absolutely can. And if you’re in Northwest Florida or anywhere in the Panhandle, you’re sitting in one of the most ideal sweet potato climates in the entire country. Our long, hot summers that make everything else feel like a battle? Sweet potatoes are living for it.
We started growing sweet potatoes a couple of years ago as part of our summer garden, and honestly it’s become one of our favorite homeschool projects. The kids get to start the slips, watch them vine out like crazy across the bed, and then — best part — do a full-on treasure hunt at harvest time. My kids talk about sweet potato digging day the way some kids talk about Christmas morning. That’s not an exaggeration.
Let me walk you through what we actually do, what works in our sandy Florida soil, and how to turn this into a real learning moment for your kids.
Why Sweet Potatoes Are Perfect for Florida Backyards
Sweet potatoes (Ipomoea batatas) are a warm-season crop that thrives in heat, tolerates our humidity, and doesn’t ask for much once it gets going. They’re also one of the few vegetables that does great in Florida’s sandy, well-draining soil — which is actually their preferred growing medium. They hate waterlogged roots, and since our soil drains quickly, that’s a feature, not a bug.
The Florida growing window for sweet potatoes is late spring through summer — typically April through June for planting, with harvest coming around 90 to 120 days later. Here in the Pensacola area, we usually get our slips in the ground in early May and harvest sometime in August or September before it starts to cool off.
Another reason I love this crop: the vines are beautiful and lush, the flowers look like morning glories (they’re in the same family!), and the whole plant becomes a living nature study. We’ve sketched the leaves and flowers in our nature journals more than once.
Starting Your Own Slips (This Is the Fun Part)
You can buy sweet potato slips from a local nursery or garden center, but starting your own from a grocery store sweet potato is genuinely easy — and it’s a fantastic project to do with kids.
What you need:
- 1-2 organic sweet potatoes (organic matters here — conventional ones are sometimes treated to prevent sprouting)
- Toothpicks
- A jar of water
- A sunny windowsill
How to do it:
Jab 3-4 toothpicks into the middle of the sweet potato and suspend it halfway in a jar of water — pointy end down, if there is one. Set it in a warm, sunny spot. Within a couple of weeks, you’ll see purple shoots emerging from the top and roots growing into the water.
Once those slips are about 6 inches long, you twist them off and set them in a separate jar of water to develop their own roots — usually takes another week or so. When you see good root development, they’re ready to go in the ground.
This whole process takes about 4-6 weeks, so we usually start ours in late March or early April. It becomes its own little Charlotte Mason nature study — we sketch the sweet potato at different stages, note changes in our journals, and it naturally leads to conversations about root systems, plant propagation, and why plants grow toward light.
Planting Sweet Potatoes in Florida Soil
Bed Prep
Sweet potatoes need loose, well-draining soil to form big, smooth roots. In our sandy Northwest Florida soil, this is actually pretty natural — but I still like to mound the soil up into raised rows about 8-10 inches high. This gives the roots room to expand without running into compacted ground.
We skip synthetic fertilizers entirely. A layer of finished compost worked in before planting is all they really need. If you’re not already composting at home, it’s worth starting — I wrote about how we do it with the kids in Composting at Home for Beginners: How to Start with Kids (and Actually Keep It Going).
Our chickens also help us here — their composted manure goes into the garden beds and the results speak for themselves.
Planting the Slips
Plant slips about 12-18 inches apart in your mounded rows, burying the stem and leaving just the top leaves above ground. Water them in well and then — mostly leave them alone. Sweet potatoes are not a high-maintenance crop. They’ll spread, they’ll vine, they’ll do their thing.
Make sure your kids have a good pair of kids’ garden gloves for planting day. My kids take garden work much more seriously when they have their own gear.
Watering
Water regularly for the first couple of weeks while they establish. After that, sweet potatoes are surprisingly drought-tolerant. In the middle of a Florida summer, we water about once a week unless we’ve had good rain — which in July and August, we usually have. The afternoon thunderstorm season basically waters our sweet potatoes for us.
Keeping Things Natural (Pests and Weeds)
Sweet potato vines spread fast and wide — which is actually great because they shade out weeds on their own. Once the vines get going, you’ll barely have to weed at all.
For pests, we deal mainly with sweet potato weevils and the occasional caterpillar. We keep things non-toxic — Wondercide is our go-to for pest control around the garden and the chicken yard. We also use food grade diatomaceous earth around the base of plants when we’re dealing with crawling insects. It’s the same stuff we use in the chicken coop — you can read more about our coop routine in Natural Chicken Coop Deodorizer and Cleaning Routine (What Actually Works for a Backyard Flock).
Our chickens free-range near the garden in the evenings and help with bug control too — though we make sure the vines are protected because those girls will absolutely munch them if given the chance.
Harvest Day — The Best Homeschool Field Trip Ever
Here’s how you know sweet potatoes are ready: the leaves start yellowing, the vines die back a little, and if you peek under the soil near the base of the plant, you can see the tops of roots peeking up. Around the 90-110 day mark, we do a test dig.
Harvest day in our family looks like this: everyone goes out in the morning before it gets too hot, the kids get their kids’ rain boots on (because the soil is always a little damp from morning dew), and we dig. I use a garden fork to loosen the soil a couple feet away from the base and then the kids get in there with their hands.
The gasps when a huge sweet potato comes out of the ground — every single time. It genuinely never gets old. They’re always amazed that something that big was hiding under there the whole time. That’s the 1990s childhood magic right there. No screen is going to replicate that.
Curing Your Harvest
Before you cook them, sweet potatoes need to cure. Spread them in a single layer somewhere warm (80-85°F) with good airflow for 10-14 days. This hardens the skin, heals any nicks from digging, and actually makes them sweeter. We usually cure ours in the garage. After curing, they’ll store for several months in a cool, dark spot.
Turning It Into a Real Homeschool Unit
This is where it gets fun if you’re a CM family. Sweet potatoes can anchor a whole unit study:
- Botany: Draw and label the plant at different growth stages in your nature journal
- History: Learn about how sweet potatoes moved around the world — they have a fascinating history with indigenous cultures and global trade routes
- Math: Weigh and measure the harvest, calculate how many pounds per plant, graph it
- Life skills: Cook with your harvest — sweet potato soup, roasted sweet potatoes, sweet potato muffins
If you want to extend the nature study even further, a pocket microscope lets kids look at the root structure and soil up close. My kids have spent a good hour looking at what comes up on a magnified sweet potato skin. It’s more interesting than it sounds, I promise.
A Few Quick Tips Specific to Florida
- Don’t plant too late. If you’re in the Panhandle, anything in the ground after mid-June is pushing it. You want a full 90-120 days before temps drop in the fall.
- Mulch matters. A layer of straw mulch around the vines helps retain moisture during dry spells and keeps soil temperatures more stable.
- Sandy soil is your friend — don’t try to amend it into clay. The natural drainage is exactly what sweet potatoes want.
- Save a sweet potato from your harvest to start next year’s slips. It’s free, it’s fun, and the kids feel proud that they’re continuing the cycle.
There’s something really grounding about growing food that your family actually eats. My kids helped plant those slips, they watched the vines spread across the bed all summer, they dug up the harvest with their bare hands — and then they ate sweet potato soup at dinner and they knew where it came from. That kind of connection to food and to the earth is exactly what we’re going for with this whole homeschool, backyard-farm, intentional-family life we’re building. It doesn’t have to be complicated. You just need a little space, a sunny window, and a sweet potato from the grocery store. That’s really all it takes to get started.
Go try it. I think you’ll love it.
📖 You Might Also Like:
- Composting at Home for Beginners: How to Start with Kids (and Actually Keep It Going)
- How to Start an Herb Garden in Florida Heat (What Actually Grows and When to Plant It)
- Morning Basket Ideas for Charlotte Mason Homeschool Families (What We Actually Do Each Day)
Frequently Asked Questions
When should I plant sweet potatoes in Florida?
In North and Northwest Florida (including the Pensacola area), the best time to plant sweet potato slips is late April through mid-June. You want at least 90-120 frost-free days for the roots to fully develop before fall arrives. Starting your slips indoors in March or April gives you a nice head start.
Do sweet potatoes grow well in Florida’s sandy soil?
Yes — actually better than in heavier soils. Sweet potatoes prefer loose, well-draining soil so the roots can expand without resistance. Florida’s naturally sandy soil is close to ideal. Just mound your rows up 8-10 inches high, work in some compost, and you’re in great shape.
How do I start sweet potato slips at home?
Suspend an organic sweet potato halfway in a jar of water using toothpicks (pointy end down). Set it on a warm, sunny windowsill. In 2-4 weeks, sprouts will emerge from the top. Once they’re about 6 inches long, twist them off and place them in a fresh jar of water to develop roots. When the roots are an inch or two long, they’re ready to plant. The whole process takes about 4-6 weeks.
How long does it take to grow sweet potatoes in Florida?
Sweet potatoes typically take 90-120 days from planting slips to harvest. In Florida’s warm climate, they can sometimes be ready closer to the 90-day mark. Start checking around day 85-90 by doing a test dig near the base of one plant to see how the roots are developing.
Do I need to cure sweet potatoes after harvesting?
Yes, and it makes a big difference! After harvest, lay your sweet potatoes in a single layer somewhere warm (around 80-85°F) with good airflow for 10-14 days. Curing hardens the skin, heals any cuts from digging, converts starches to sugars (making them sweeter), and dramatically extends their shelf life. After curing, they’ll keep for several months in a cool, dark location.
Leave a Reply