How Often Do Chickens Lay Eggs — and What Actually Affects Production
This post contains affiliate links. I may earn a small commission at no extra cost to you.
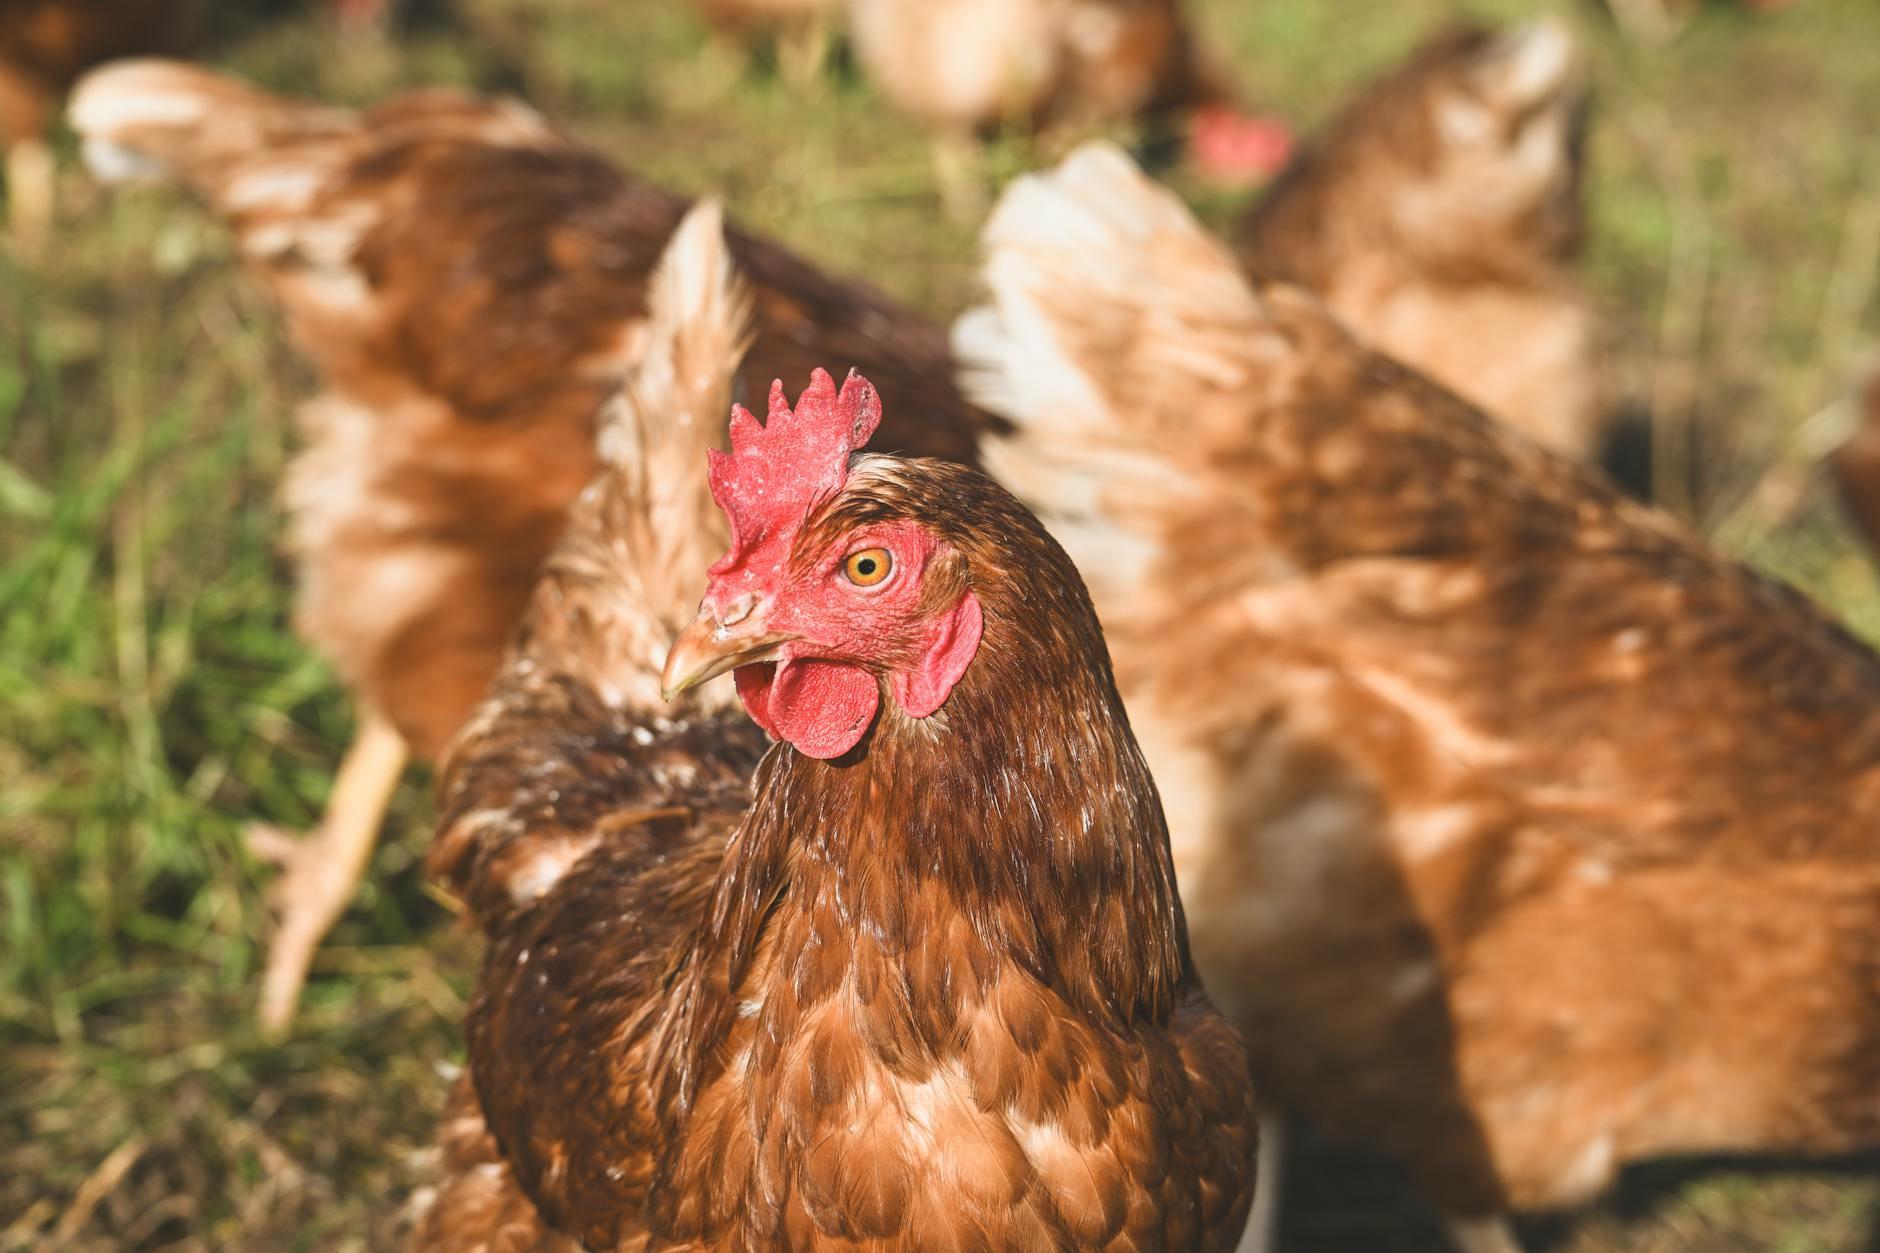
If you’ve ever gone out to the coop expecting a full nest box and found… two eggs and a grumpy hen staring back at you, you’re not alone. We’ve been there more times than I can count. When we first started our little backyard flock here in the Pensacola area, I honestly thought chickens just laid an egg every single day like clockwork. One hen, one egg, done. Easy math.
Spoiler: it does not work that way.
Egg production is actually one of the most interesting little biology lessons hiding right in your backyard — and if you’ve got kids, especially curious elementary-age ones, this stuff is gold for nature study. We’ve had so many great conversations out by the coop that turned into full Charlotte Mason observation moments. But first, let’s actually answer the question, because I know you’ve got a carton to fill.
So How Often Do Chickens Actually Lay Eggs?
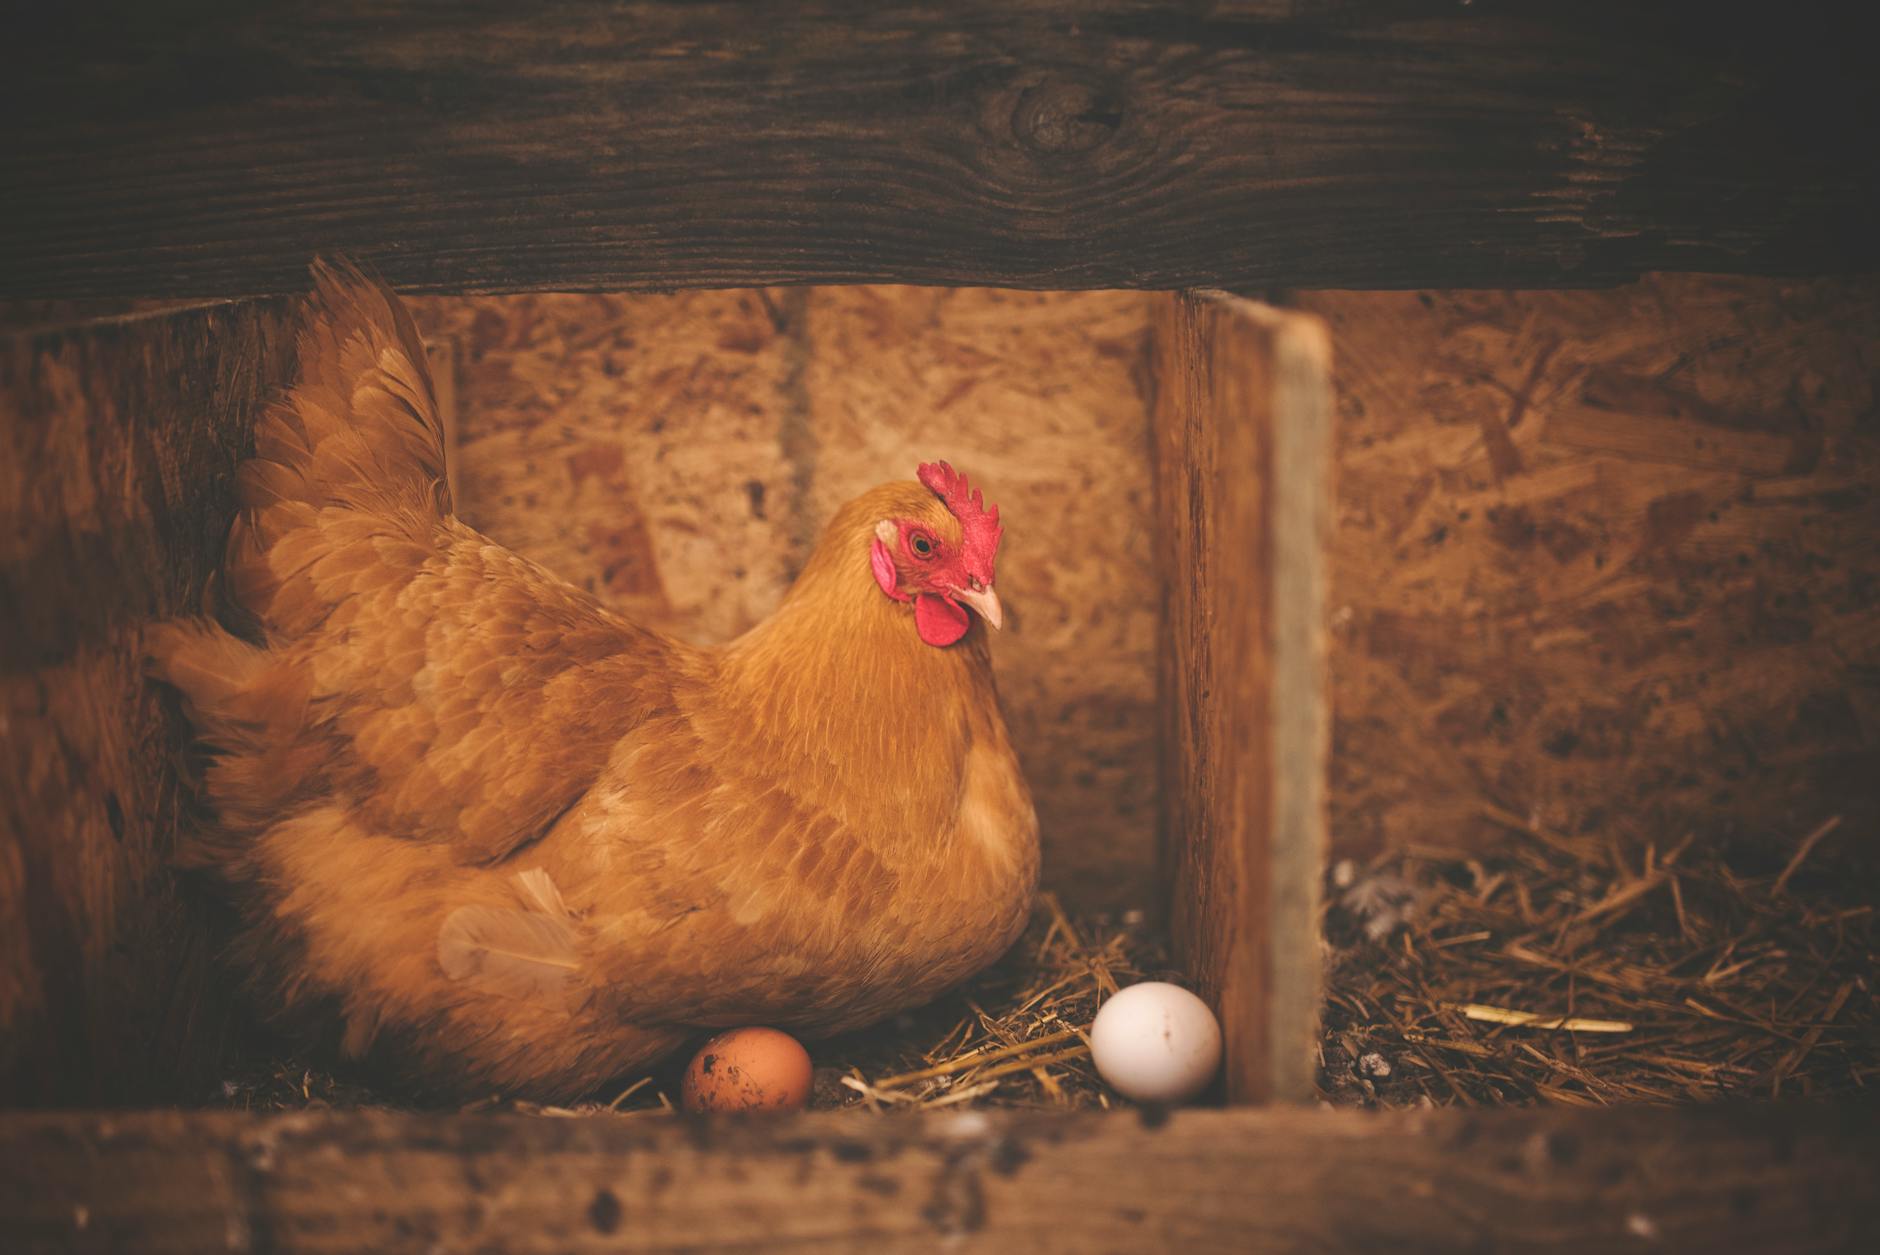
At peak production, a good laying hen will give you roughly 4 to 6 eggs per week — not 7, even though she has 7 days to work with. A hen’s reproductive cycle runs about 24 to 26 hours, which means even your best layer naturally skips a day here and there. Over the course of a year, a high-producing breed like a Leghorn or a Golden Comet can lay somewhere between 250 to 300 eggs. That’s genuinely impressive for an animal that also has to deal with Florida heat, molting season, and whatever chaos your kids are bringing to the backyard that day.
But that “peak production” window? It doesn’t last forever, and a whole lot of things can push it up or pull it way down.
What Actually Affects How Often Chickens Lay
1. Breed Makes a Huge Difference
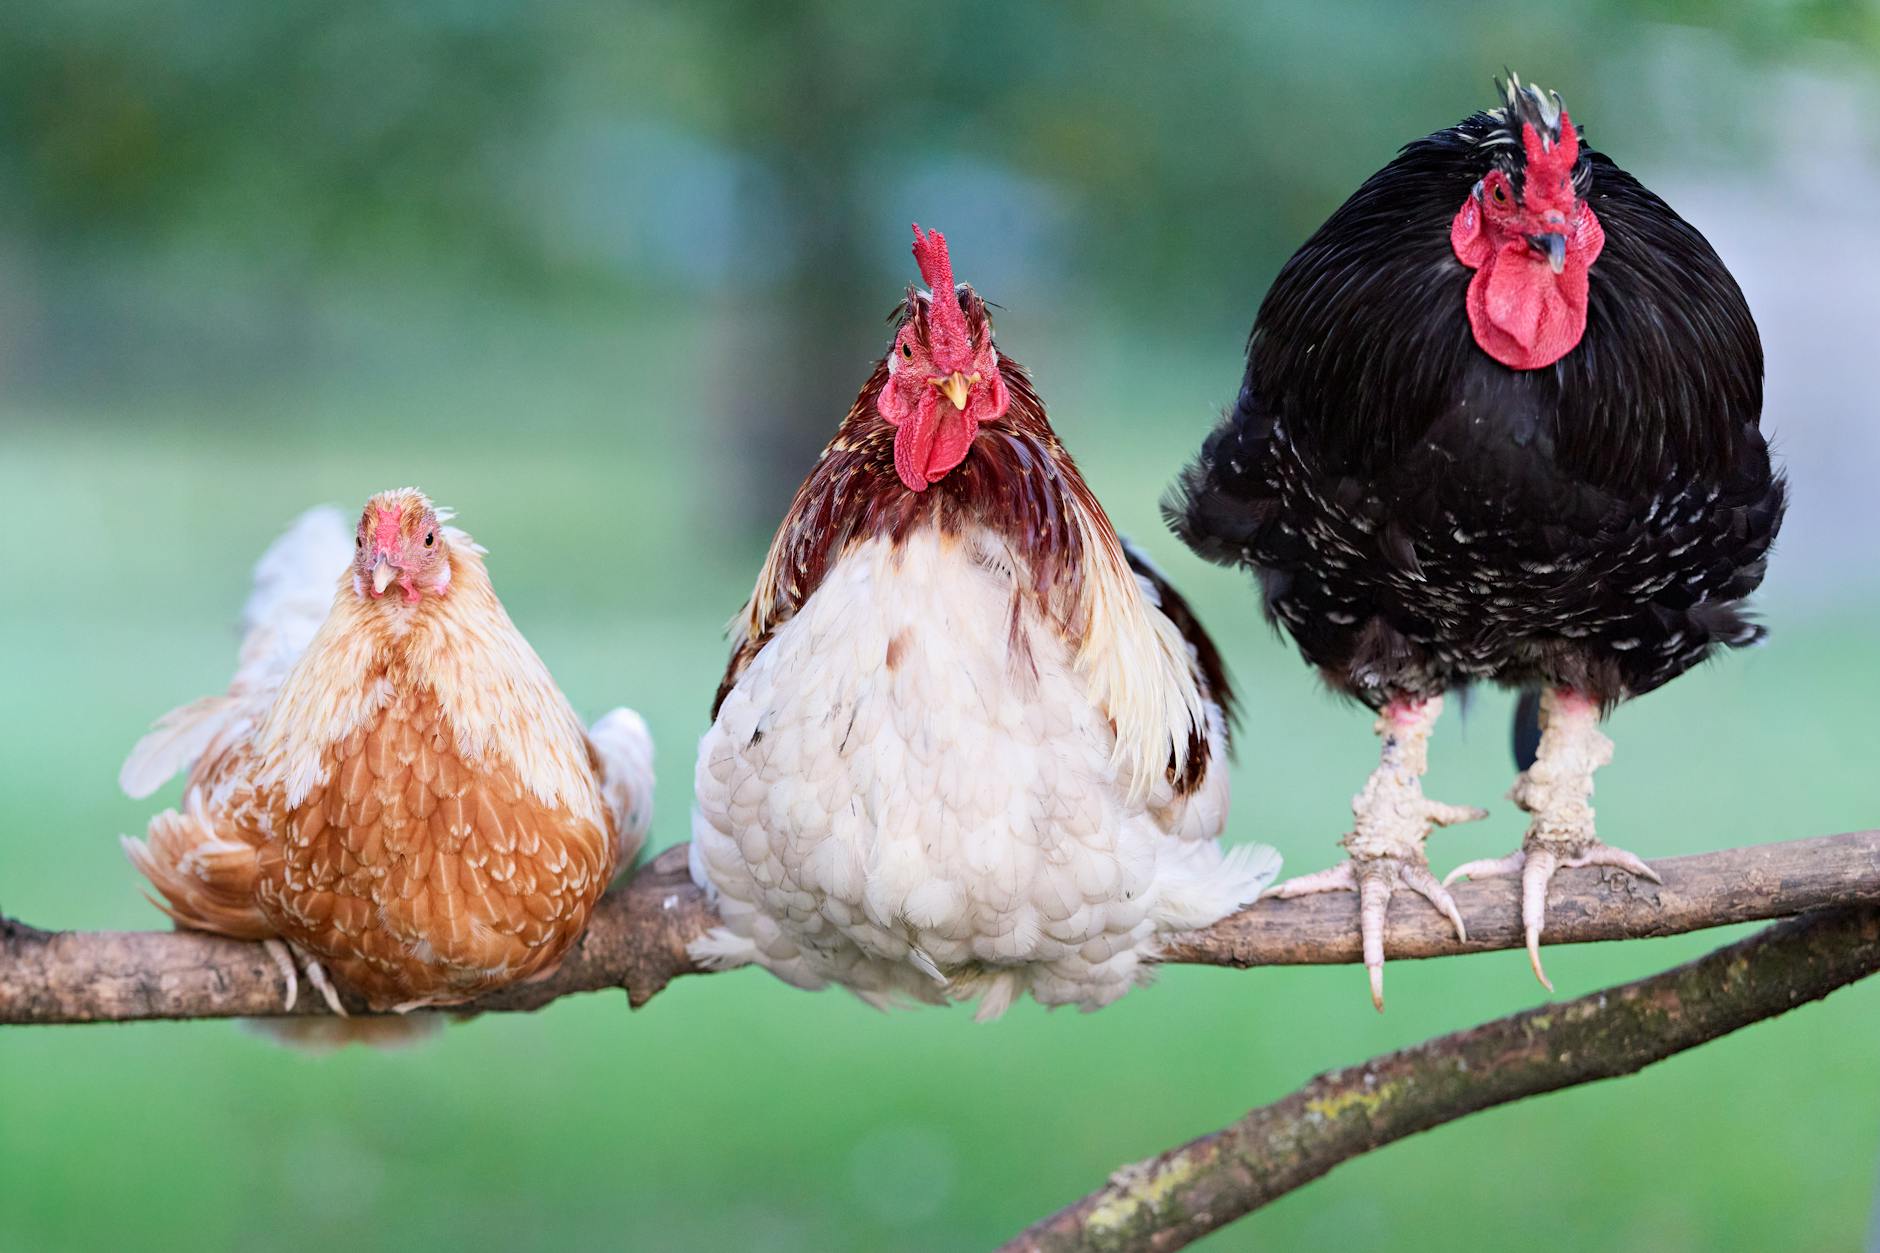
This is probably the biggest factor most new chicken keepers underestimate. Not all chickens are egg-laying machines. Dual-purpose breeds like Orpingtons and Wyandottes are beautiful and friendly, but they’ll typically give you 3 to 4 eggs a week, not 6. Production breeds — think Rhode Island Reds, Australorps, or Sex-Links — are specifically bred to lay heavily and consistently.
We’ve got a mix in our flock, and the difference in output between our Australorp and our Silkie is not even close. If you’re trying to figure out which breeds actually perform well here in the South, I’ve got a whole post on Best Egg Laying Chickens for a Small Backyard Flock (What Actually Works for Our Family) that goes deep on this.
2. Light — Especially Here in Florida
Chickens need roughly 14 to 16 hours of light per day to maintain strong egg production. Light signals a hen’s brain to release the hormones that trigger the laying cycle. This is why most flocks slow down in winter — shorter days mean fewer eggs.
Now, here in Northwest Florida, our winters are mild compared to, say, Ohio. But we do get shorter days from November through January, and we absolutely notice a dip in production during that stretch. Some folks add a coop light on a timer to extend laying through winter. We’ve gone back and forth on it — right now we let our girls take their natural break, partly because I think they need the rest and partly because my kids have turned our seasonal egg drop into its own little nature study observation. We actually track it in their nature journals each season. It’s a really cool way to see the light-cycle connection play out in real time.
3. Age
A hen hits her laying peak around 18 to 24 months old. After that, production gradually declines — usually about 10 to 20 percent less each year. By year three or four, you’ll notice the shift. This doesn’t mean your older hens aren’t worth keeping (ours are basically family pets at this point), but it’s good to have younger pullets coming up behind them if consistent egg supply matters to you.
4. Florida Heat — This One Is Real
Y’all, heat stress is no joke for chickens, and anyone raising a flock in the Florida Panhandle in July knows what I’m talking about. When temperatures climb above 85–90°F, hens divert energy away from egg production just to regulate their body temperature. We see our numbers drop noticeably every summer, and it happens fast.
Making sure they have shade, fresh cool water, and good coop ventilation is non-negotiable down here. I’ve written a lot about this — How to Keep Chickens Cool in Florida Summer Heat (What Actually Works) is one of the most-read posts on this site for a reason. Also, a good nipple waterer keeps water cleaner and cooler than open dishes, which makes a real difference in hot months.
5. Nutrition
Hens need a quality layer feed with around 16 to 18 percent protein to lay consistently. When they’re in molt, that protein requirement goes up even higher because feather regrowth is demanding on their bodies. We also supplement with oyster shell for calcium — thin or soft-shelled eggs are usually a calcium deficiency issue.
If your hens free-range, they’re supplementing their own diet, which is great. But free-ranging alone isn’t enough nutrition for strong, consistent laying. And if you’re in the thick of learning the nutrition side of chicken keeping, Storey’s Guide to Raising Chickens is genuinely one of the best references I’ve found — it’s thorough without being overwhelming.
6. Stress and Flock Dynamics
Chickens are more sensitive to stress than most people realize. A predator scare, a new flock member disrupting the pecking order, too much noise, a dog that won’t stop barking at the run (yes, our labradoodle has absolutely done this) — all of it can cause hens to pause or slow their laying. Even moving a hen to a new space can interrupt her cycle for a week or two.
This is one reason we’ve been really intentional about our coop setup — reducing stress sources makes a measurable difference. An automatic coop door has been one of our best investments because it keeps the routine consistent and gives the girls a secure night without us having to remember to close up every single evening.
7. Molting
Once a year — usually in the fall — hens go through a molt. They drop their old feathers and grow new ones, and egg production stops almost entirely during this time. It can last anywhere from 4 to 12 weeks. It looks alarming if you’ve never seen it before. My kids thought something was terribly wrong the first time. Now they track it like the little naturalists they are.
The Homeschool Angle (Because Of Course There Is One)
Honestly, chickens have given us some of the richest nature study material we’ve stumbled into. Tracking egg production, observing molt cycles, learning about how light affects hormones — this is real biology happening in our own backyard. My kids keep notes in their nature journals, we use our pocket microscope to look at feather structure during molt season, and we’ve done some great narration work around what we observe. If you want ideas for bringing the coop into your learning days more intentionally, Raising Backyard Chickens with Young Kids Safely: What Actually Works for Our Family has a lot of practical ideas for exactly that.
For older kids who want to go deeper, A Kid’s Guide to Keeping Chickens is written right at their level and covers the full lifecycle in a way that keeps them engaged.
The Bottom Line on Egg Production
If someone asks you “how often do chickens lay eggs,” the honest answer is: it depends. A young, healthy laying breed in good conditions, eating well, with adequate light and manageable temperatures? Four to six eggs a week is totally realistic. Add in Florida summer heat, a molt, or a stressed-out hen and that number can drop fast — and that’s completely normal.
The best thing you can do is learn your individual birds, pay attention to what’s happening seasonally, and give them what they need to thrive. Not every week will look the same, and that’s okay. We’ve learned to appreciate the slow weeks as much as the abundant ones. There’s something really grounding about a food source that follows natural rhythms instead of a factory schedule.
That’s the kind of thing we want our kids to grow up understanding — that food comes from living things that have good days and hard days, just like the rest of us.
📖 You Might Also Like:
- Best Egg Laying Chickens for a Small Backyard Flock (What Actually Works for Our Family)
- Common Chicken Health Problems in Florida Humidity — and How We Actually Fix Them
- What to Feed Backyard Chickens in Florida Year Round (A Real Mama’s Guide)
Frequently Asked Questions
How many eggs does a chicken lay per day?
Most hens don’t lay one egg every single day — their laying cycle runs about 24 to 26 hours, so even the best layers naturally skip a day here and there. At peak production, a good laying hen typically produces 4 to 6 eggs per week, not 7.
Why did my chicken stop laying eggs?
The most common reasons hens stop laying include molting (seasonal feather loss), reduced daylight hours in fall and winter, heat stress, nutritional deficiency, age, illness, or disruption to their routine. In Florida, summer heat is one of the biggest culprits — hens often slow or stop laying when temperatures consistently exceed 85–90°F.
At what age do chickens start laying eggs?
Most pullets (young hens) begin laying between 18 and 24 weeks of age, depending on breed. Production breeds like Leghorns and Sex-Links tend to start on the earlier end, while heritage and dual-purpose breeds may take a little longer. You’ll know it’s getting close when you see them squatting and their combs start turning a deeper red.
How long do chickens lay eggs?
Hens lay most productively in their first two to three years. After that, production gradually declines — usually around 10 to 20 percent per year. Most hens can continue laying in smaller amounts for 5 to 7 years, though many backyard flock keepers keep their hens well beyond their laying years as pets.
Does Florida heat affect how often chickens lay eggs?
Yes, significantly. Heat stress is one of the top reasons backyard flocks in Florida slow down during summer months. When temperatures rise above 85–90°F, hens divert energy away from egg production to regulate their body temperature. Providing shade, cool fresh water, and proper coop ventilation can help minimize the drop in production during hot Florida summers.