Florida Backyard Birds Identification Guide for Kids (What We’ve Actually Spotted From Our Own Yard)
This post contains affiliate links. I may earn a small commission at no extra cost to you.
Some of our best school mornings start before we ever open a book. One of the kids will be out feeding the chickens and come running back in — “Mama, there’s a huge red bird on the fence!” — and just like that, we’ve got a science lesson on our hands.
Living in Northwest Florida, we are genuinely spoiled when it comes to backyard birds. The mix of coastal habitat, pine flatwoods, and live oak canopy means we get an incredible variety of species right outside our back door — year-round residents, winter visitors, and migratory birds just passing through. And honestly? Helping kids learn to identify birds might be the most natural, low-prep, high-reward nature study there is.
You don’t need a fancy setup. You need your eyes, maybe a good field guide, and a little patience. Here’s what we’ve actually found in our own Pensacola-area backyard and how we’ve turned it into real learning for our elementary kids.
Why Bird Identification Is Perfect for Charlotte Mason Nature Study
Charlotte Mason believed that children learn best through direct observation of the living world — not worksheets about it. Birds are honestly a perfect entry point for this. They’re everywhere, they’re active, they’re visually interesting, and they behave in ways kids naturally want to talk about.
We keep a nature journal on the kitchen table, and drawing a bird from observation — really looking at the shape of the beak, the color of the wing bars, the way it holds its tail — is exactly the kind of slow, attentive learning that Charlotte Mason championed. Add a written or narrated description, and you’ve covered science, language arts, and fine motor all before lunch.
If your kids like to paint what they see (mine absolutely do), a set of Faber-Castell watercolors is perfect for nature journal illustrations. The colors are vibrant enough to capture a painted bunting, which — I’m telling you — is a spiritual experience when you see one for the first time.
For a real field guide that works for this age, we love the Sibley Birds guide. It’s detailed without being overwhelming, and my kids have spent hours just flipping through the illustrations.
Common Florida Backyard Birds Kids Can Learn to Identify
The Ones You’ll See Almost Every Single Day
Northern Cardinal — The one my kids spotted on the chicken fence. The male is that unmistakable all-red bird with the crest on top of his head. The female is a warm brown with red highlights — equally beautiful, just more subtle. Cardinals love sunflower seeds and will come to a feeder reliably. A great starter bird because they’re so recognizable.
Carolina Wren — Tiny, loud, and bossy. These little brown birds with the upturned tail have a surprisingly huge voice. We have a pair that nests near our back porch every spring. Kids love how much sound comes out of such a small bird.
Mourning Dove — Soft gray-brown with a gentle, cooing call. They forage on the ground under feeders and are calm enough that you can watch them for a while without them spooking. Great for early bird watchers because they move slowly and stay put.
Blue Jay — Loud, flashy, opinionated. Blue jays are bossy at the feeder and fascinating to watch. My kids have strong feelings about them (half love them, half think they’re too aggressive), which makes for great nature journaling — observations and opinions.
Red-bellied Woodpecker — This one always confuses kids at first because the red part is actually mostly on the head, not the belly. They’re regulars on our oak trees and have a distinctive churring call. A pocket microscope is a fun way to look at a feather up close if you ever find one on the ground.
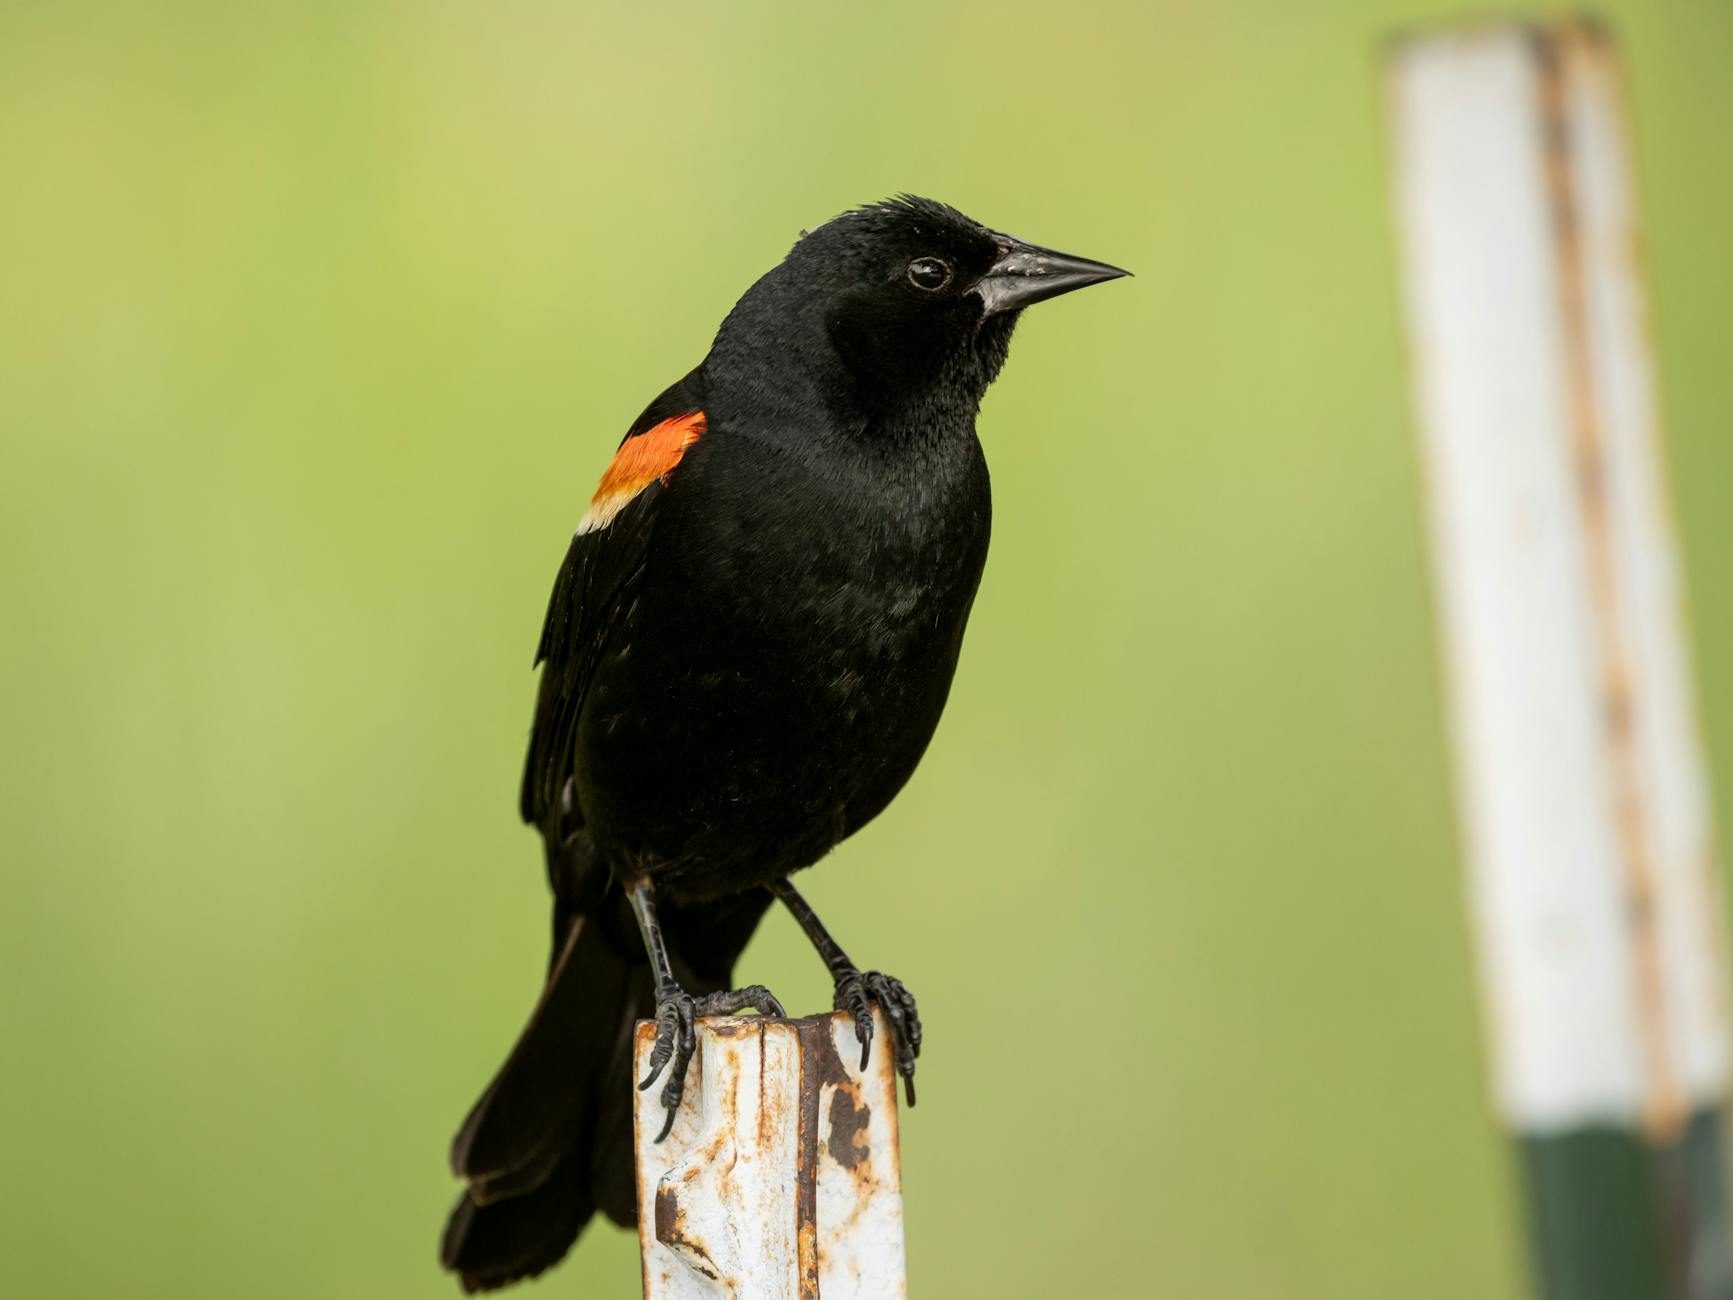
American Crow — Big, black, smart as a whip. Crows are genuinely one of the most intelligent bird species, and there’s so much to learn about their behavior. We’ve watched them use tools and solve problems right in the yard. Great conversation starter.
Seasonal and Special Visitors
Painted Bunting — If you’ve never seen one, prepare yourself. The male is arguably the most colorful bird in North America — electric blue head, red chest, green back. They show up in our area in fall and winter, and every single time my kids see one at the feeder, someone gasps. This is the bird that turns kids into birders.
Ruby-throated Hummingbird — Summer visitors that pass through during migration. They’re attracted to red tubular flowers — plant native salvia or firebush in your yard and you’ll see them regularly. Kids are always amazed by how small and fast they are.
Yellow-rumped Warbler — A common winter visitor in Northwest Florida. Small, active, and they flit around constantly. Look for the yellow patch on the rump (yes, that’s what it’s named for — kids find this hilarious). Great for teaching about migration.
Osprey and Red-tailed Hawk — We see these regularly soaring overhead. Hawks and ospreys offer a great lesson on raptors versus songbirds — different body shapes, different hunting strategies, different habitats. If you’re near the coast or any water body, osprey are almost guaranteed.
American Robin — Up north they’re the first sign of spring, but in Florida we see them in winter flocks. Big flocks of robins rolling through the yard always get the kids excited.
How We Actually Do Bird Study With Elementary Kids
Honestly, the 1990s approach works best here. No structured lesson plan. No app doing the work for them. Just: go outside, look, wonder, come back and figure it out.
Here’s the loose rhythm that works for our family:
Morning observation time. Before structured school starts, kids spend 10-15 minutes in the yard or watching from the porch. They’re already out there doing chicken chores anyway — we’ve got a nipple waterer that makes that quick — so bird watching happens naturally while they’re already outside.
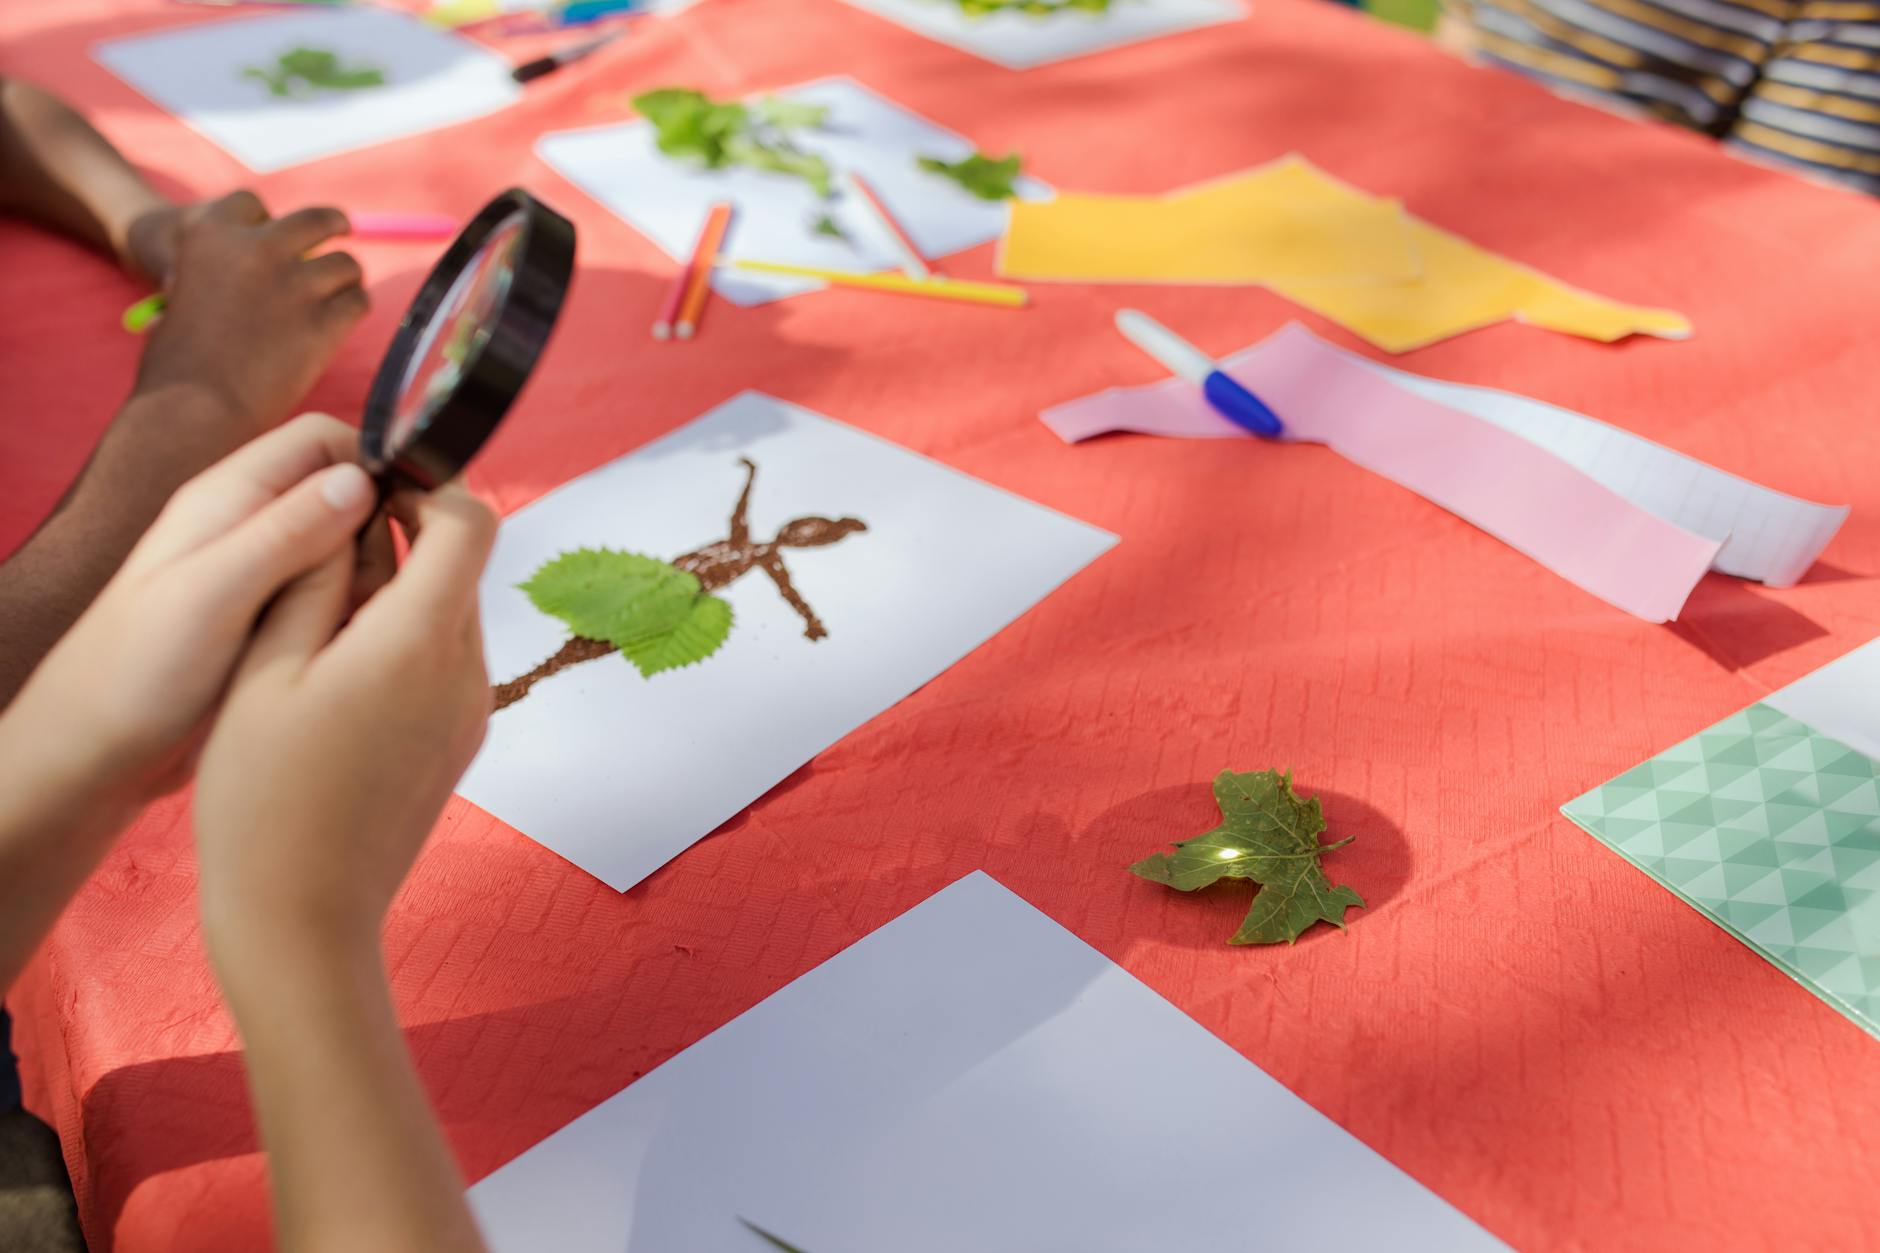
Sketch and narrate. Come inside and draw what they saw. Describe it in words. What color was it? How big? What was it doing? This is straight Charlotte Mason narration, and it builds real observational skills over time.
Look it up together. Pull out the Sibley guide and find it. This is the exciting part — flipping through pages, comparing illustrations, arguing about whether it had one wing bar or two.
Record it. Add it to the nature journal with the date and any notes. Over a year, kids can see patterns — “We always see yellow-rumped warblers in December” — and that’s real science happening.
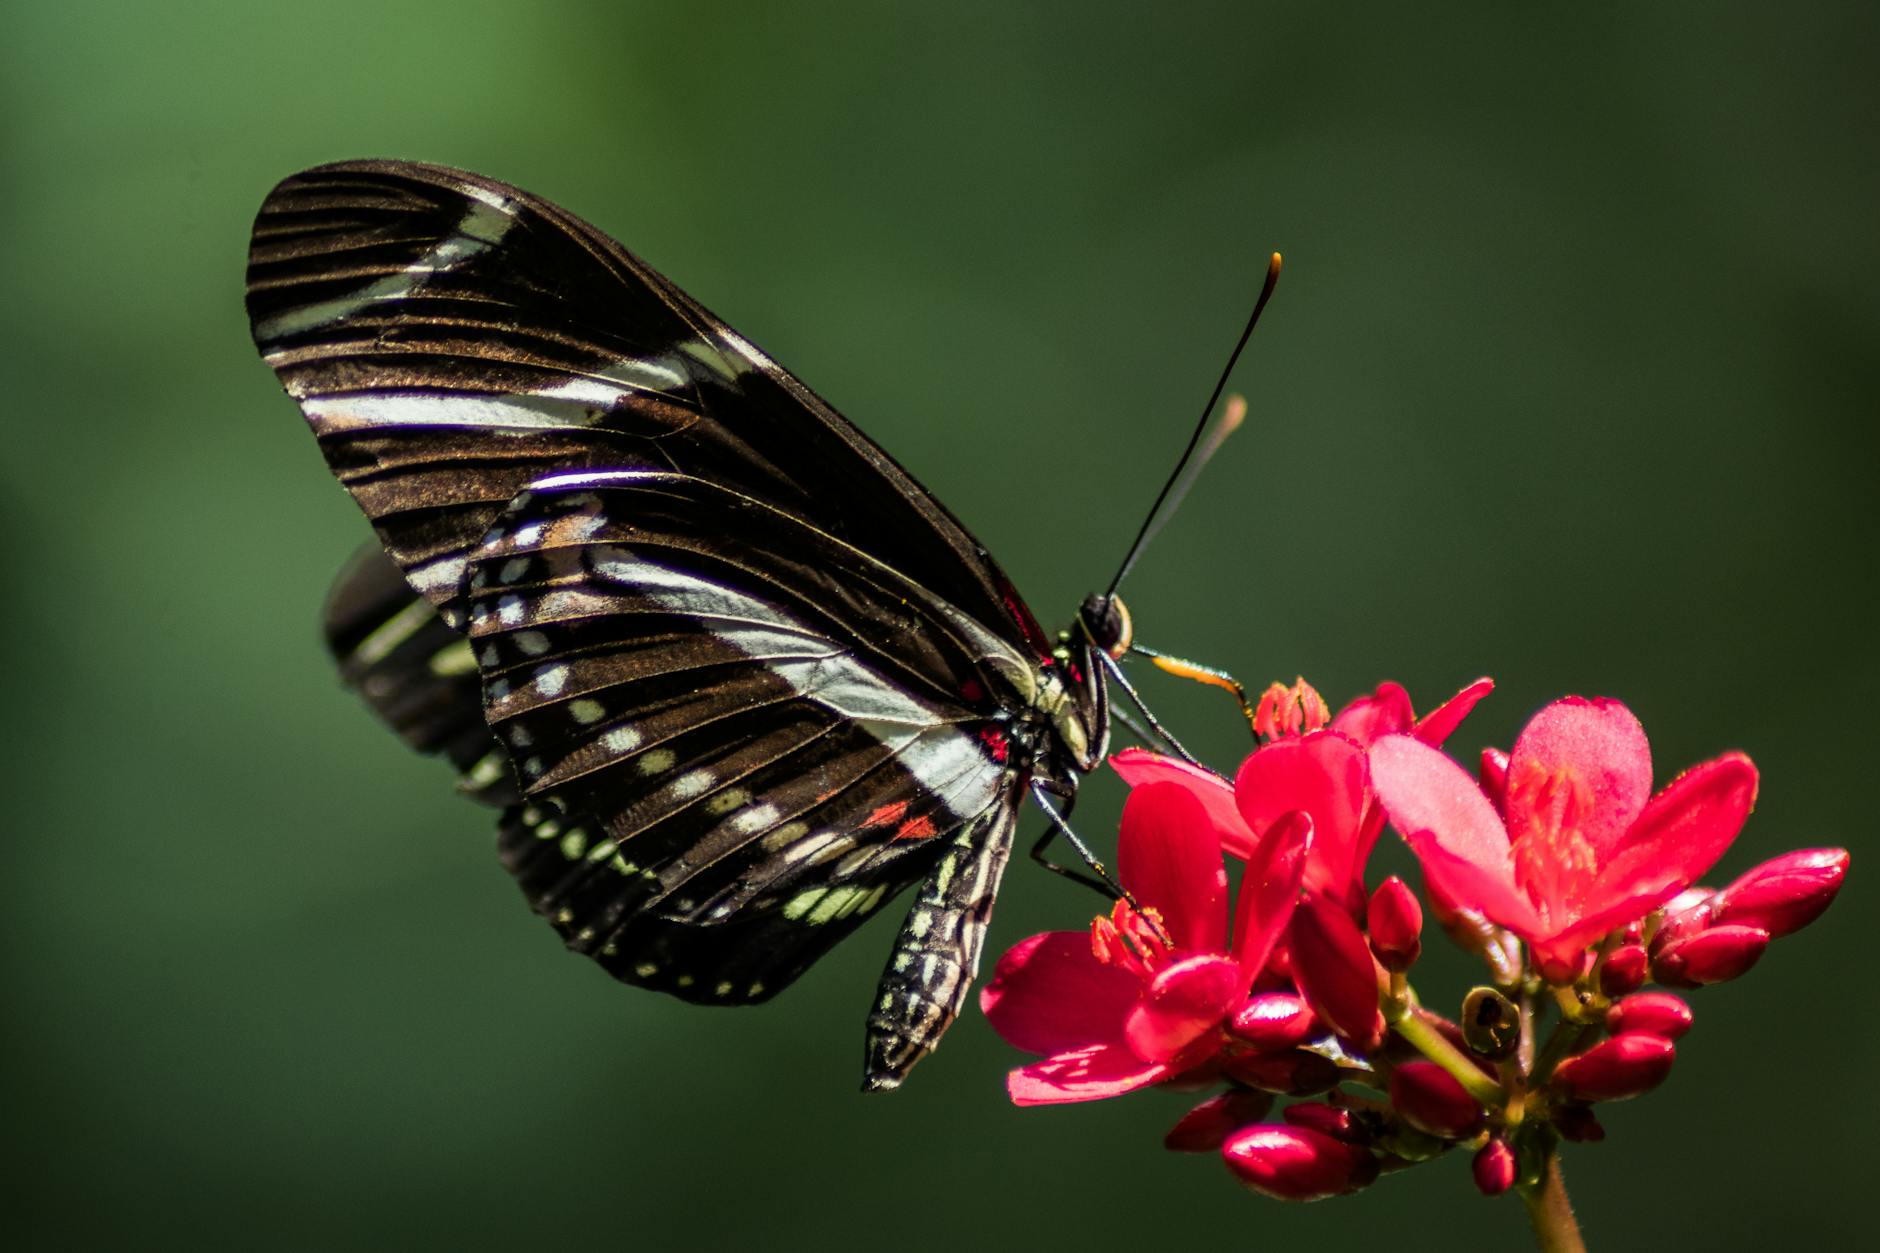
For our Florida Backyard Wildlife Identification Guide for Families (What We’ve Actually Found in Our Yard), I go deeper on all kinds of backyard wildlife beyond birds — worth checking out if your kids are curious about everything, not just birds.
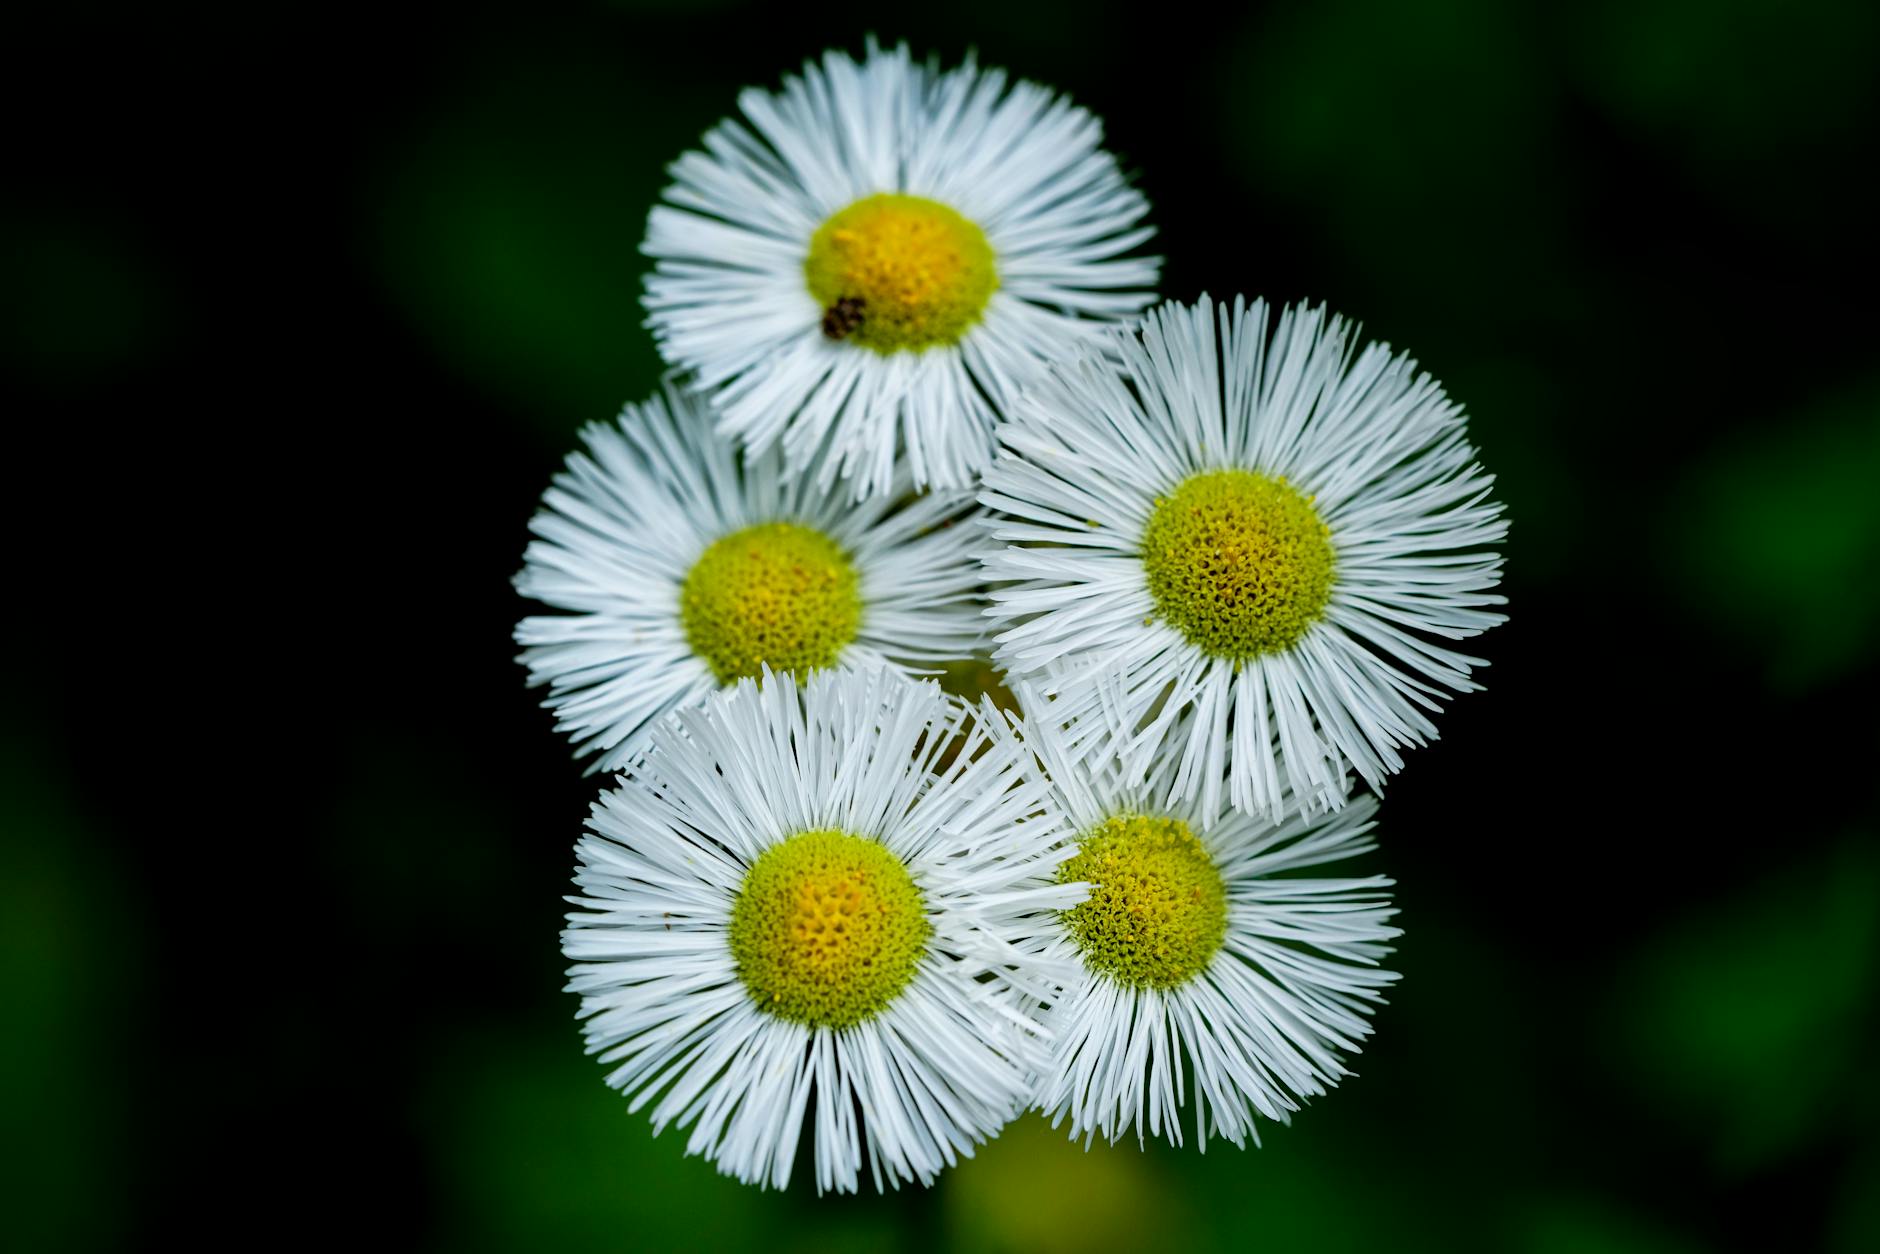
Also, if wildflowers and plants are starting to interest them too, our Florida Wildflowers Kids Identification Guide is a great companion to this one — the two studies overlap naturally when you’re out in the yard together.
Simple Ways to Attract More Birds to Your Yard
- Plant natives. Firebush, beautyberry, and native oaks attract more birds than a feeder ever will. They provide food and shelter.
- Put out a simple feeder. Black oil sunflower seeds attract the widest variety of birds. Cardinals, chickadees, finches, wrens — they all love it.
- Add a birdbath. Moving water is especially attractive. Even a basic shallow dish refreshed daily makes a difference.
- Leave the leaf litter. I know it looks messy, but ground-feeding birds like towhees and thrushes are working that leaf litter for insects. Let it be.
- Reduce pesticide use. This one matters a lot. Insects are the base of the food chain for most birds, especially during nesting season. We use Wondercide around the yard and coop because it keeps things safe for our chickens, the kids, and yes — the birds too.
Making Bird Study Feel Like Childhood, Not School
Here’s the thing I keep coming back to: kids who spent their childhoods outside in the 80s and 90s just knew birds. Not because someone taught them in a formal way, but because they were out there long enough to notice things. That’s what we’re trying to recreate.
Give your kids the tools — a good journal, a field guide, maybe a bug collection kit for the days they want to go deeper on the ecosystem as a whole — and then get out of the way. Let them be curious. Let them be wrong sometimes. Let them argue about whether that was a fish crow or an American crow (spoiler: it’s harder to tell than you’d think).
Bird identification is one of those skills that compounds over time. A kid who learns to really see a cardinal — to notice the crest, the thick seed-cracking beak, the way the female’s colors echo the male’s — is building the same careful observation skills that will serve them in every area of learning for the rest of their life.
And on the days when school feels hard and nobody wants to sit at the table? Go outside. Watch the birds. Draw what you see. That counts. It always counts.
📖 You Might Also Like:
- Screen-Free Summer Activities for Florida Kids (When They Say They’re Bored)
- Chicken Brooder Setup for Beginners: Everything You Actually Need to Get Chicks Off to a Good Start
- Florida Backyard Wildlife Identification Guide for Families (What We’ve Actually Found in Our Yard)
Frequently Asked Questions
What birds are most common in Florida backyards for kids to identify?
Some of the easiest and most common Florida backyard birds for kids to start with are the Northern Cardinal, Carolina Wren, Mourning Dove, Blue Jay, and Red-bellied Woodpecker. These species are present year-round in most of Florida, including the Pensacola and Northwest Florida area, and are visually distinctive enough for young kids to recognize with a little practice.
What is the best bird field guide for kids?
The Sibley Birds guide is one of our favorites for family nature study — it’s detailed and accurate but very visual, which works well for elementary-age kids. For younger children, look for regional or beginner guides with large illustrations. The key is having a physical book kids can flip through themselves rather than relying on an app to do the identifying for them.
How do I teach bird identification to elementary-age kids using Charlotte Mason methods?
Charlotte Mason bird study is beautifully simple: go outside and observe, then come in and narrate or sketch what you saw, then look it up together in a field guide. Keep a nature journal where kids draw and describe birds they’ve spotted, noting the date, location, and behavior. Over time, this builds real observational skills and a growing knowledge of local species — no worksheets required.
When is the best time to see birds in a Florida backyard?
Early morning is generally the best time for bird activity in Florida backyards — birds are most active in the first hour or two after sunrise. Florida also has the advantage of great birding year-round, with winter bringing migratory visitors like painted buntings, yellow-rumped warblers, and American robins that you won’t see in summer. Fall migration (September–November) is particularly exciting in Northwest Florida.
How can I attract more birds to my Florida backyard?
The most effective ways to attract birds to a Florida backyard are planting native plants (firebush, beautyberry, and native oaks are excellent choices), putting out a feeder stocked with black oil sunflower seeds, adding a shallow birdbath with fresh water, and leaving leaf litter on the ground for foraging birds. Reducing pesticide use is also important since insects are the primary food source for most birds, especially during nesting season.