Raising Meat Chickens at Home: A Beginner’s Guide to Getting Started (And Actually Following Through)
This post contains affiliate links. I may earn a small commission at no extra cost to you.
I’ll be honest with you — the first time I floated the idea of raising meat chickens, my husband looked at me like I’d suggested we move into a yurt. We already had our laying hens and our goofy labradoodle tearing through the backyard. Adding birds we were actually going to eat felt like a whole different level of homestead commitment.
But here’s what happened: we did it, it was hard in a few places, and it was one of the most grounding things our family has ever done together. My kids understood where their food came from in a way no book or documentary could have taught them. And honestly? That chicken tasted better than anything we’ve ever bought at the store.
If you’ve been curious about raising meat chickens at home but don’t know where to start, this is the post I wish I’d had.
Why Raise Your Own Meat Chickens?
This isn’t about being extreme or off-grid. For our family, it came down to a few things:
- Knowing what our food ate. When you raise your own broilers, you control the feed. No mystery ingredients, no hormones, no wondering.
- Real-life education. We have a Charlotte Mason homeschool, and living books are great — but living life is better. This checked every nature study box and then some.
- Teaching kids the full picture. We talk a lot about raising grateful kids in a consumer culture, and nothing builds that gratitude faster than understanding the actual work behind a meal.
- The freezer. A batch of 25 Cornish Cross birds fills a chest freezer and feeds a family for months.
What Kind of Chickens Are We Talking About?
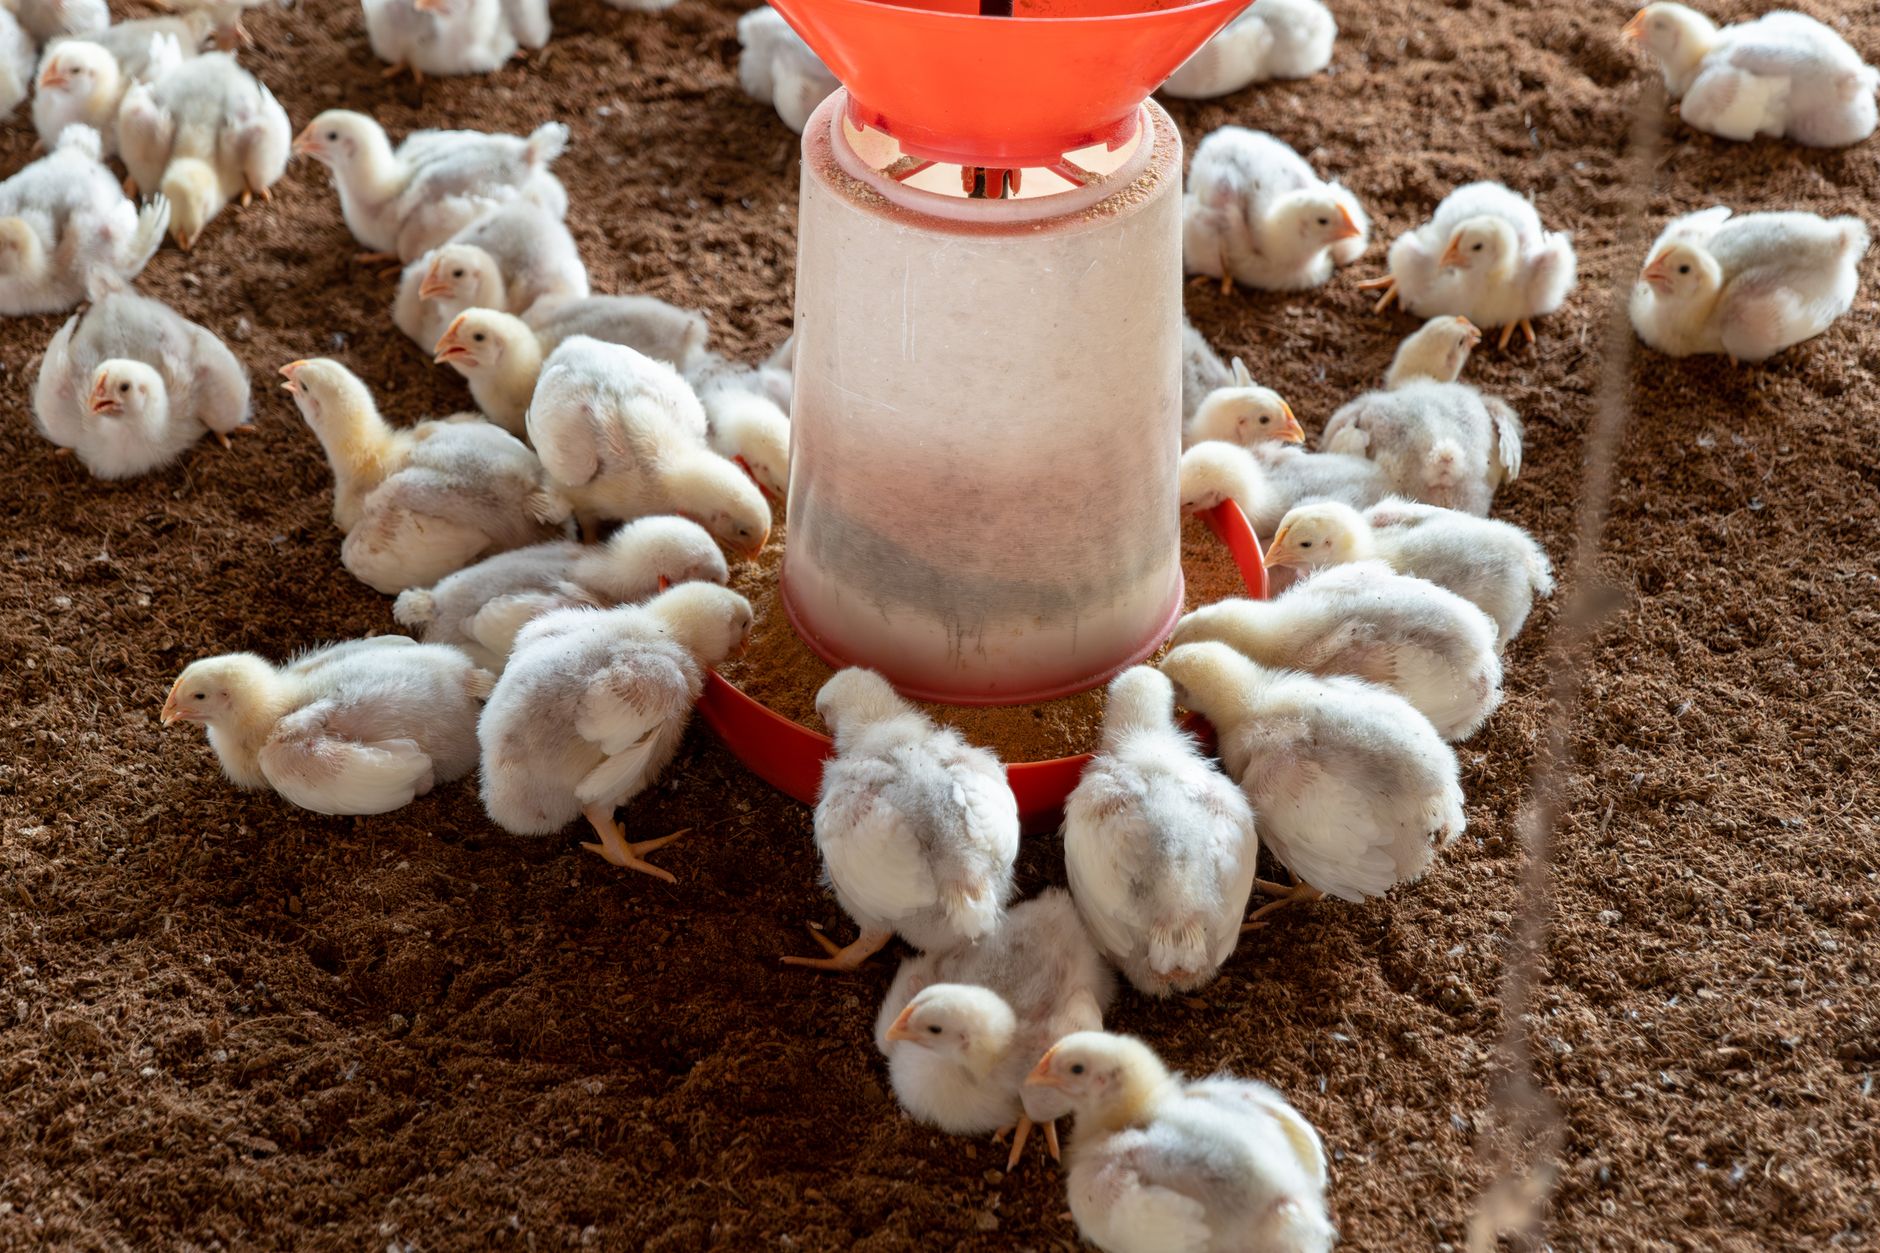
For beginners, the answer is almost always Cornish Cross (also called Cornish Rock). They’re the same breed used commercially, and they grow fast — ready to process in about 8 weeks. That’s it. Eight weeks from chick to freezer.
The tradeoff is that they are not graceful birds. They eat constantly, grow so fast their legs can struggle to keep up, and they are not going to be winning any personality awards. But they are efficient, and for a first-time family just trying to figure this out, efficiency is your friend.
Once you’ve done a batch of Cornish Cross, you might want to explore Freedom Rangers — a slower-growing heritage-style broiler that does really well on pasture. Here in the Florida Panhandle heat, we actually found Freedom Rangers held up a little better in the summer months since they’re not packing on weight quite as fast.
Setting Up Your Brooder
Chicks arrive tiny and fragile and need warmth, food, water, and protection for the first few weeks. Your brooder doesn’t have to be fancy — we’ve used a large plastic storage tote, a stock tank, and a section of our coop all at different times.
What they need:
- Heat: A heat lamp or brooder plate, keeping temps around 95°F the first week and dropping 5° each week after.
- Bedding: Pine shavings work great. Change it often — meat birds poop a lot.
- Clean water: A nipple-style chicken waterer keeps things much cleaner than an open dish and cuts down on the bacteria buildup that can happen fast in Florida humidity.
- Feed: Start with a high-protein chick starter (22-24% protein is ideal for broilers).
For predator protection and general flock health, we use food grade diatomaceous earth in the bedding — it’s one of those simple, non-toxic tools that just works.
Feeding Your Meat Birds
Cornish Cross chicks eat a lot. Like, a lot a lot. They do best on a high-protein broiler feed for the first few weeks, then you can transition to a lower-protein grower ration closer to processing.
One thing we do differently than some folks: we pull feed overnight starting around week 3. This slows their growth just slightly and seems to help with leg problems. It also just feels more humane to us.
If you have the space to let them range on pasture even for part of the day, do it. They won’t range like your layers do — they mostly just sit near the food — but fresh air and grass do make a difference in the final flavor. And the kids love taking them scraps from the garden.
The Part Everyone Asks About: Processing Day
Okay. Let’s talk about it.
Processing day is the hardest part — emotionally and physically. I won’t sugarcoat it. But it is also one of the most profound experiences our family has shared, and I don’t regret doing it with our kids present one single bit.
A few things that helped us:
- We talked about it ahead of time. A lot. The kids knew from week one that these birds were for food. We used that language consistently, not euphemistically.
- We found a local processor first. For your first batch, I’d highly recommend finding a USDA-inspected or small local processor in your area rather than doing it yourself. In Northwest Florida, there are a handful of small farms and co-ops that process for a per-bird fee. It is absolutely worth it for round one.
- If you do it yourself: Get a good kill cone, a scalding pot, and a plucker if you can rent or borrow one. Doing 25 birds by hand is a serious day’s work.
If you want to go deeper into the how-to before you start, Storey’s Guide to Raising Chickens is the reference book I keep on my shelf for both layers and broilers — genuinely the best all-in-one resource out there. For getting the kids involved in understanding the whole process, the Kid’s Guide to Keeping Chickens is sweet and age-appropriate without being watered down.
Involving the Kids (Charlotte Mason Style)
This is where homeschooling and homesteading overlap in the most beautiful way. Our meat chicken batches have given us:
- Science: Life cycles, digestion, anatomy (yes, even on processing day — my oldest was fascinated)
- Math: Calculating feed costs, cost per pound, comparing to grocery store prices
- Nature journaling: Sketching the chicks as they grew each week using their nature journals and watercolor paints
- Life skills: Chores, responsibility, showing up even when you don’t feel like it
We also wrote a simple observation log — nothing formal, just notes and drawings — and tracked the birds’ weight gain week by week. That kind of living, hands-on learning is what Charlotte Mason was pointing to all along. If you want to read more about how we structure chores and farm work with kids at different ages, check out How to Involve Kids in Homestead Chores by Age.
What to Do With All That Chicken
Fill your freezer, friend. Whole birds, halved birds, a few cut into parts — we do a mix. Then we render the fat, make bone broth, and nothing gets wasted.
There is something deeply satisfying about pulling a bird out of your own freezer, knowing you raised it, fed it well, and processed it yourself. My kids have started asking where store chicken comes from now. That’s the whole point.
And when you’re cooking it up? Pull out the cast iron skillet. Pasture-raised homegrown chicken in cast iron is a different experience entirely — we have a whole post on getting started with cast iron if you need it.
A Few Quick Florida-Specific Notes
- Heat is the biggest challenge. Florida summers will stress your meat birds fast. Raise your spring batch so they’re processing before June if possible, or plan a fall batch that starts in September.
- Ventilation matters more than insulation here. Your brooder and grow-out space need airflow, not warmth-trapping.
- Pests: Flies are relentless in the Florida heat around a meat bird setup. Wondercide is our go-to for keeping things manageable without spraying anything toxic near our food animals.
I won’t pretend raising meat chickens is easy or that processing day is fun. It’s not. But it’s real, and real is exactly what I want for our kids and our family. There’s a reason the 1990s version of childhood felt more grounded — kids saw where things came from and understood that the world took work. This is just one of the ways we’re trying to bring that back.
If you’re on the fence, start small. Order 10 birds. Give it one round. I genuinely think you’ll be glad you did.
📖 You Might Also Like:
- Best Container Vegetable Garden for Florida Summer Heat (What Actually Grows When It’s 95 Degrees Outside)
- Cast Iron Cookware for Beginners: How to Get Started and Actually Keep It
- How to Preserve Your Summer Harvest: Canning, Freezing, and Fermenting for Real Families
Frequently Asked Questions
What is the easiest meat chicken breed for beginners?
Cornish Cross is the most beginner-friendly meat bird because they grow fast (ready in about 8 weeks) and are widely available. They’re efficient and predictable, which makes them ideal for your first batch. Freedom Rangers are a good second option if you want a slower-growing, more pasture-adapted bird.
How many meat chickens should a beginner start with?
Starting with 10–25 birds is a sweet spot for beginners. Ten birds gives you a low-pressure learning experience, while 25 birds will meaningfully stock a chest freezer. Most hatcheries have minimum order requirements, so check before you order.
How long does it take to raise meat chickens from chick to freezer?
Cornish Cross broilers are typically ready to process at 6–8 weeks of age. Freedom Rangers and other heritage-style broilers take 10–12 weeks. The faster timeline of Cornish Cross is one reason they’re recommended for beginners.
Do I need a lot of space to raise meat chickens?
Not necessarily. Cornish Cross don’t range much, so even a modest backyard setup works. A simple tractor (a movable pen on grass) is ideal because it keeps them on fresh ground and reduces waste buildup. In Florida, shade and ventilation matter more than square footage.
How do I process meat chickens at home if I’ve never done it before?
For your first batch, strongly consider using a local small-scale processor — it removes a major barrier and lets you focus on the raising side first. If you want to do it yourself, invest in a kill cone, a large scalding pot, and either a hand plucker or a rental mechanical plucker. Storey’s Guide to Raising Chickens walks through the full process in detail and is a great reference to have on hand.
Leave a Reply