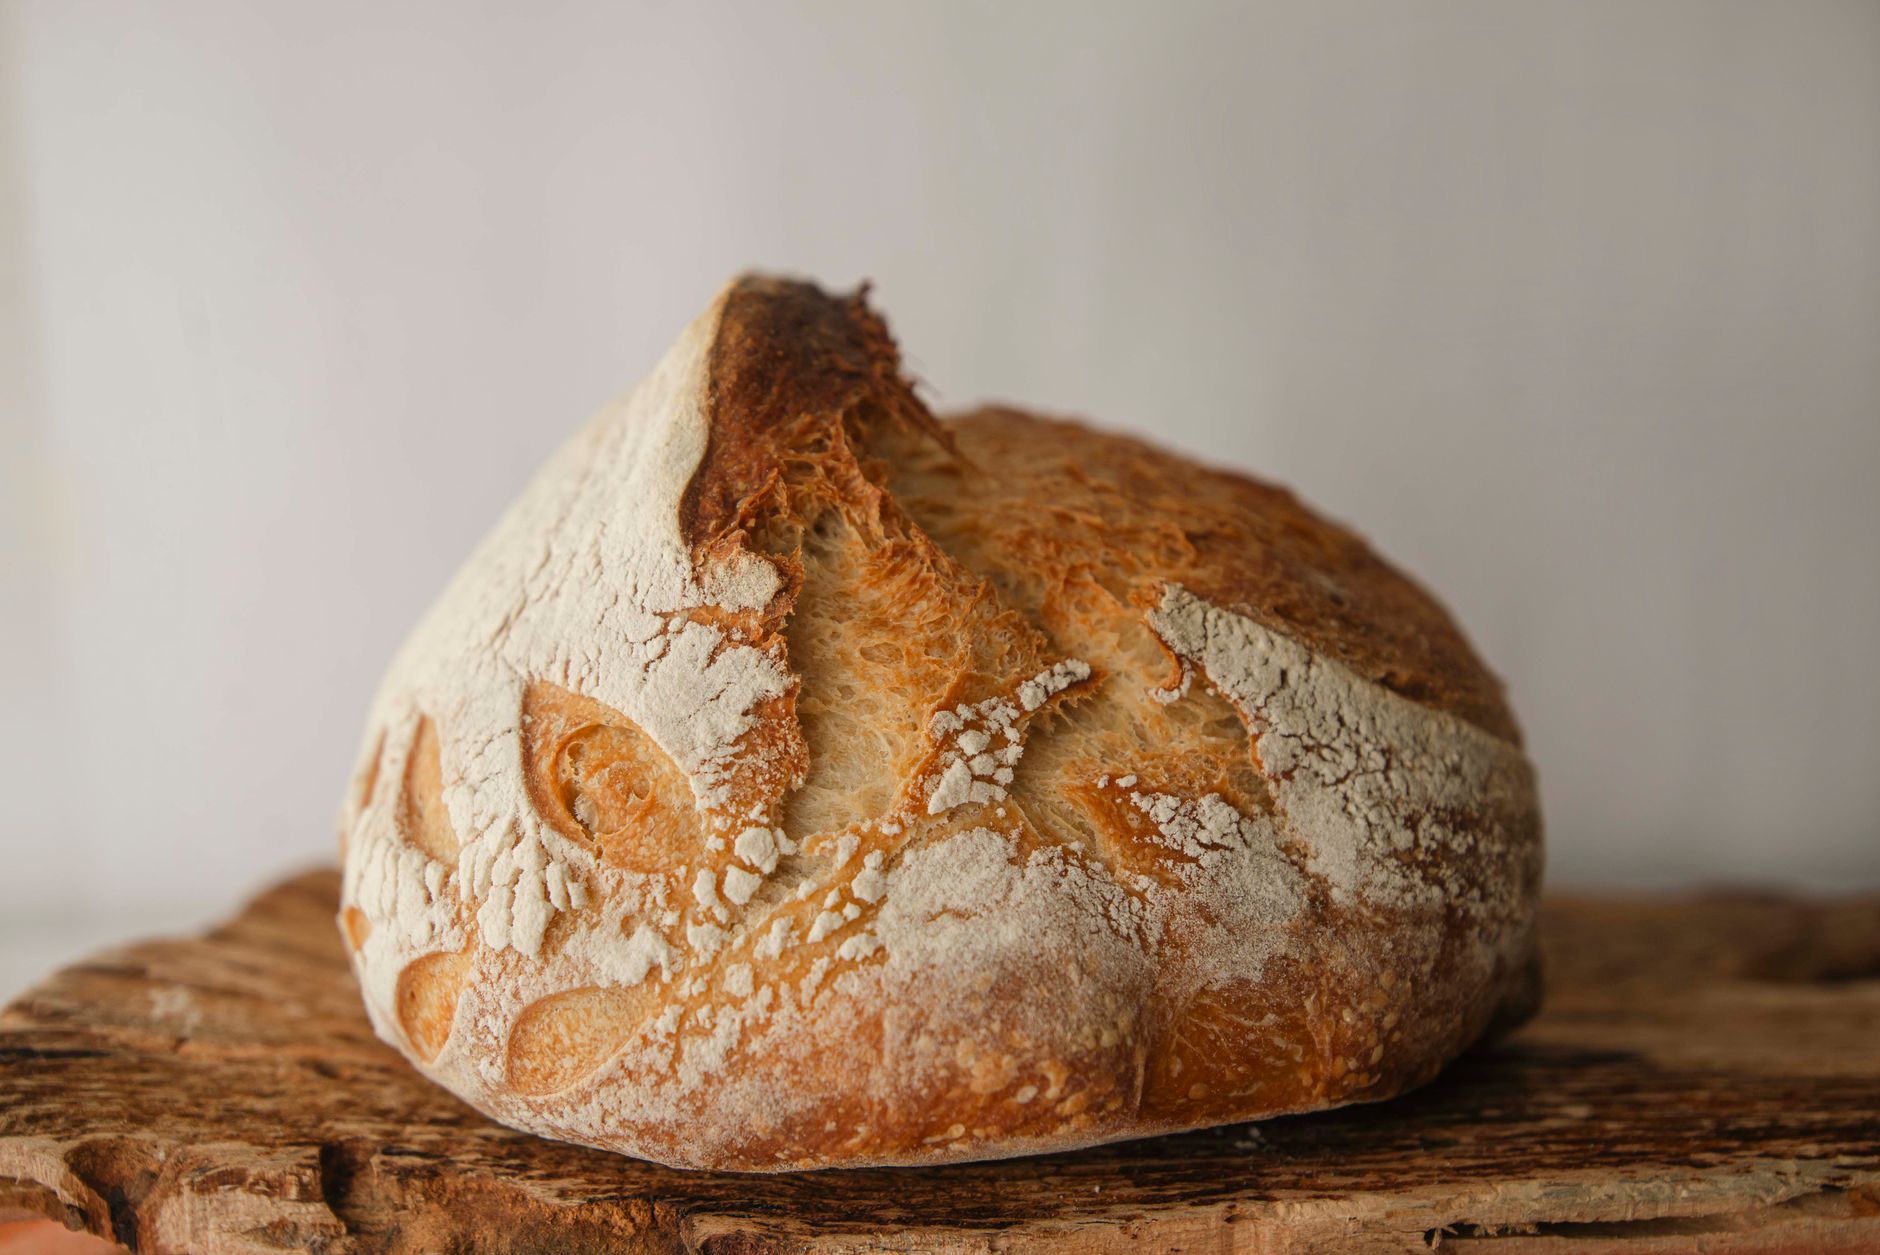
How to Make Your Own Sourdough Starter from Scratch (Even If You’ve Never Done It Before)
This post contains affiliate links. I may earn a small commission at no extra cost to you.
I want to be honest with you — I put off making a sourdough starter for almost two years because it sounded intimidating. Ratios, hydration percentages, discard schedules… people on the internet make it sound like you need a chemistry degree just to keep the thing alive.
But here’s what I finally figured out: it’s just flour and water. That’s it. Wild yeast is literally in the air around you right now, floating through your kitchen, landing on your countertops. You’re not creating something from nothing — you’re just giving it a good home.
We started our first starter on a slow Tuesday morning with the kids at the table, a jar we pulled from the cabinet, and a bag of whole wheat flour. Now we bake every week, and it’s become one of those quiet rhythms our family runs on — like feeding the chickens in the morning or reading aloud before bed.
Let me walk you through exactly how to do it.
What You’ll Need Before You Start
The good news is you probably already have most of this.
- A clean glass jar (a wide-mouth quart jar works great — we use canning jars and they’re perfect)
- Unbleached all-purpose flour or whole wheat flour
- Filtered or room-temperature tap water (chlorine in tap water can slow things down)
- A kitchen scale — I really do recommend weighing instead of measuring cups. A kitchen scale takes the guesswork out of it completely and costs less than a bag of good flour.
- A rubber band or piece of tape to mark the rise
- A loose lid, cloth, or paper towel to cover it — not airtight
You don’t need a fancy sourdough starter kit, but if you want a little set that makes a nice gift or a clean way to get started, those exist too.
Why Whole Wheat Flour Works Better at First
Whole wheat flour has more wild yeast and bacteria naturally present in it than white flour does. That means your starter tends to get active faster in the beginning. Once it’s established — usually after day 5 or 6 — you can switch to all-purpose if you prefer a milder flavor.
We’ve made starters both ways and honestly, starting with whole wheat has been more reliable every single time.
Day-by-Day Sourdough Starter Instructions
Day 1 — Mix It Up
In your clean jar, combine:
- 50g whole wheat flour
- 50g room-temperature water
Stir well until no dry flour remains. It’ll look like a thick paste. Cover loosely and set it somewhere warm — we keep ours on top of the refrigerator where it stays around 75-78°F. In a Florida summer, your countertop might be warm enough on its own!
Mark the level with a rubber band.
Day 2 — Just Watch
You might not see much yet. Maybe a bubble or two. That’s normal. Don’t feed it again today — just let it sit. Resist the urge to mess with it.
This is a good time to talk to your kids about what’s happening if you’re doing this as a homeschool activity. The idea that invisible wild yeast is floating through the air and colonizing your jar? That’s genuinely fascinating science. My kids were riveted.
Day 3 — First Feeding
Pour out (discard) all but about 50g of your starter. Then add:
- 50g flour
- 50g water
Stir, cover, mark the jar again, and leave it at room temperature. By today you’ll likely see more bubbles and maybe a slightly sour smell. That’s good.
Day 4 — Things Should Be Happening
Feed again (discard, then add 50g flour + 50g water). Your starter might be visibly bubbling and rising now. Mark the jar and watch it over the next several hours — you’re looking for it to rise and then fall back down. That peak moment is when it’s most active.
Day 5 — Feed Twice
If your starter is showing good activity — rising at least 50% above the mark, full of bubbles, smelling pleasantly sour — you can start feeding it twice a day. Morning and evening, same process: discard most, keep 50g, add 50g flour and 50g water.
In our Florida heat, things tend to move faster. What takes people up north 7 days sometimes happens for us in 5.
Day 6 — The Float Test
Drop a small spoonful of starter into a glass of water. If it floats, it’s ready to bake with. If it sinks, keep feeding for another day or two. Don’t be discouraged if it takes a little longer — it’s alive and it’s working, just on its own schedule.
Day 7 — You’re Ready
Congratulations. You made something alive from scratch. That is genuinely cool.
How to Know If Something Went Wrong
Here are the most common things that freak people out (and whether you actually need to worry):
It smells really bad — like acetone or nail polish remover. This usually means it’s hungry. Feed it and the smell will mellow out. A ripe sourdough starter should smell tangy and yeasty, almost like beer or plain yogurt.
There’s a gray or dark liquid on top. That’s called “hooch” — it’s just alcohol produced by hungry yeast. It means you need to feed it more often. Pour it off or stir it back in, then feed.
It’s not rising at all by day 4 or 5. Try a warmer spot. Our kitchen in winter (if Florida even has a real winter) sometimes slows things down. Also try using filtered water if you haven’t been.
It has pink, orange, or fuzzy mold. This is the one time you do need to throw it out and start over. Pink or orange streaks are a sign of contamination — usually from a dirty jar or utensil. Start fresh with a clean jar.
How to Maintain Your Starter Long-Term
Once your starter is active, you have two options:
Bake regularly (2-3 times a week): Keep it on the counter and feed it every 12-24 hours.
Bake occasionally: Stick it in the fridge with a loose lid. Feed it once a week. Pull it out the night before you want to bake, let it come to room temperature, give it a feeding, and it’ll wake right back up.
We do the fridge method during busy weeks. It’s incredibly low maintenance once you get the hang of it.
This kind of slow, rhythmic kitchen work is something I really do think kids benefit from watching — and participating in. It’s the same philosophy behind nature journaling, tending the chickens, growing a garden. There’s a patience and attentiveness that gets built when you have something living to care for. It’s a little like what Charlotte Mason meant when she talked about giving children real things to be responsible for.
If you want to layer in more of that kitchen-as-classroom energy, check out our post on how to make homemade yogurt from scratch — it’s a similar vibe and the kids love it.
Making Sourdough a Homeschool Moment
We’ve used our starter as a genuine homeschool unit. Honestly, it covers more ground than you’d expect:
- Science: Fermentation, wild yeast, bacteria, CO2 production, the rise and fall cycle
- Math: Weighing ingredients, ratios, tracking how much the starter rises each day
- Nature study: Talking about wild yeast in the environment, how humans have used fermentation for thousands of years
- Life skills: Feeding something daily, reading a recipe, learning what “discard” means and why we do it
My kids now remind me to feed the starter. That kind of ownership is exactly what I’m going for.
If you’re into this kind of hands-on learning layered into your days, our post on composting at home for beginners has the same energy — another living system the kids can watch and tend.
What to Do with Sourdough Discard
Don’t throw it away! Discard can be used in:
- Pancakes and waffles (our family favorite)
- Crackers
- Banana bread
- Pizza dough
- Muffins
Search “sourdough discard recipes” and you’ll have more options than you’ll know what to do with. Nothing in this kitchen gets wasted — not scraps, not discard, not whey from the yogurt. That’s just how we roll.
You’ve Got This
I promise you don’t need to be a baker or a homesteader or someone who grew up making bread to do this. You just need a jar, some flour, and the willingness to pay attention for a week.
Our starter is over two years old now. We’ve named it (yes, we did), neglected it for a month in the back of the fridge, revived it, and baked hundreds of loaves. It’s one of those things our family will probably keep going for a long time — the kind of quiet, nourishing rhythm that I really believe makes a home feel like a home.
If you try it, I’d love to hear how it goes. Drop a comment below and tell me what day you are — and whether your kids are as obsessed with watching the bubbles as mine were.
📖 You Might Also Like:
- How to Start an Herb Garden in Florida Heat (What Actually Grows and When to Plant It)
- How to Preserve Herbs from Your Garden (Simple Methods That Actually Work)
- Non-Toxic Kids Sunscreen Stick Honest Review (What We Actually Use in the Florida Sun)
Frequently Asked Questions
How long does it take to make a sourdough starter from scratch?
Most starters are ready to bake with in 5 to 7 days. In warmer climates like Florida, things can move a little faster because wild yeast is more active in the heat. You’ll know it’s ready when it reliably doubles in size within 4-8 hours of feeding and passes the float test.
What kind of flour is best for making a sourdough starter?
Whole wheat flour is best for getting started because it contains more natural wild yeast and bacteria than white flour. Once your starter is active and established, you can switch to unbleached all-purpose flour or use a mix of both. Avoid bleached flour, which can inhibit yeast activity.
Why does my sourdough starter smell like alcohol or nail polish remover?
That sharp acetone smell means your starter is hungry — it’s run out of food and is producing excess alcohol. Just discard most of it and feed it with fresh flour and water. The smell should mellow to a pleasant tangy-sour scent within a few hours of feeding.
Do I have to feed my sourdough starter every day?
If you keep it at room temperature, yes — you should feed it every 12 to 24 hours to keep it active. But if you only bake occasionally, you can store your starter in the refrigerator and feed it just once a week. Take it out the night before you want to bake, give it a feeding, and it’ll be ready to use the next morning.
Can kids help make a sourdough starter?
Absolutely — it’s one of the best hands-on kitchen projects for kids. Even young children can help stir, weigh ingredients on a kitchen scale, and mark the jar to track the rise. Older kids can learn the science of fermentation and wild yeast. It naturally builds math skills, scientific observation habits, and real-life responsibility — all without a worksheet in sight.
Leave a Reply