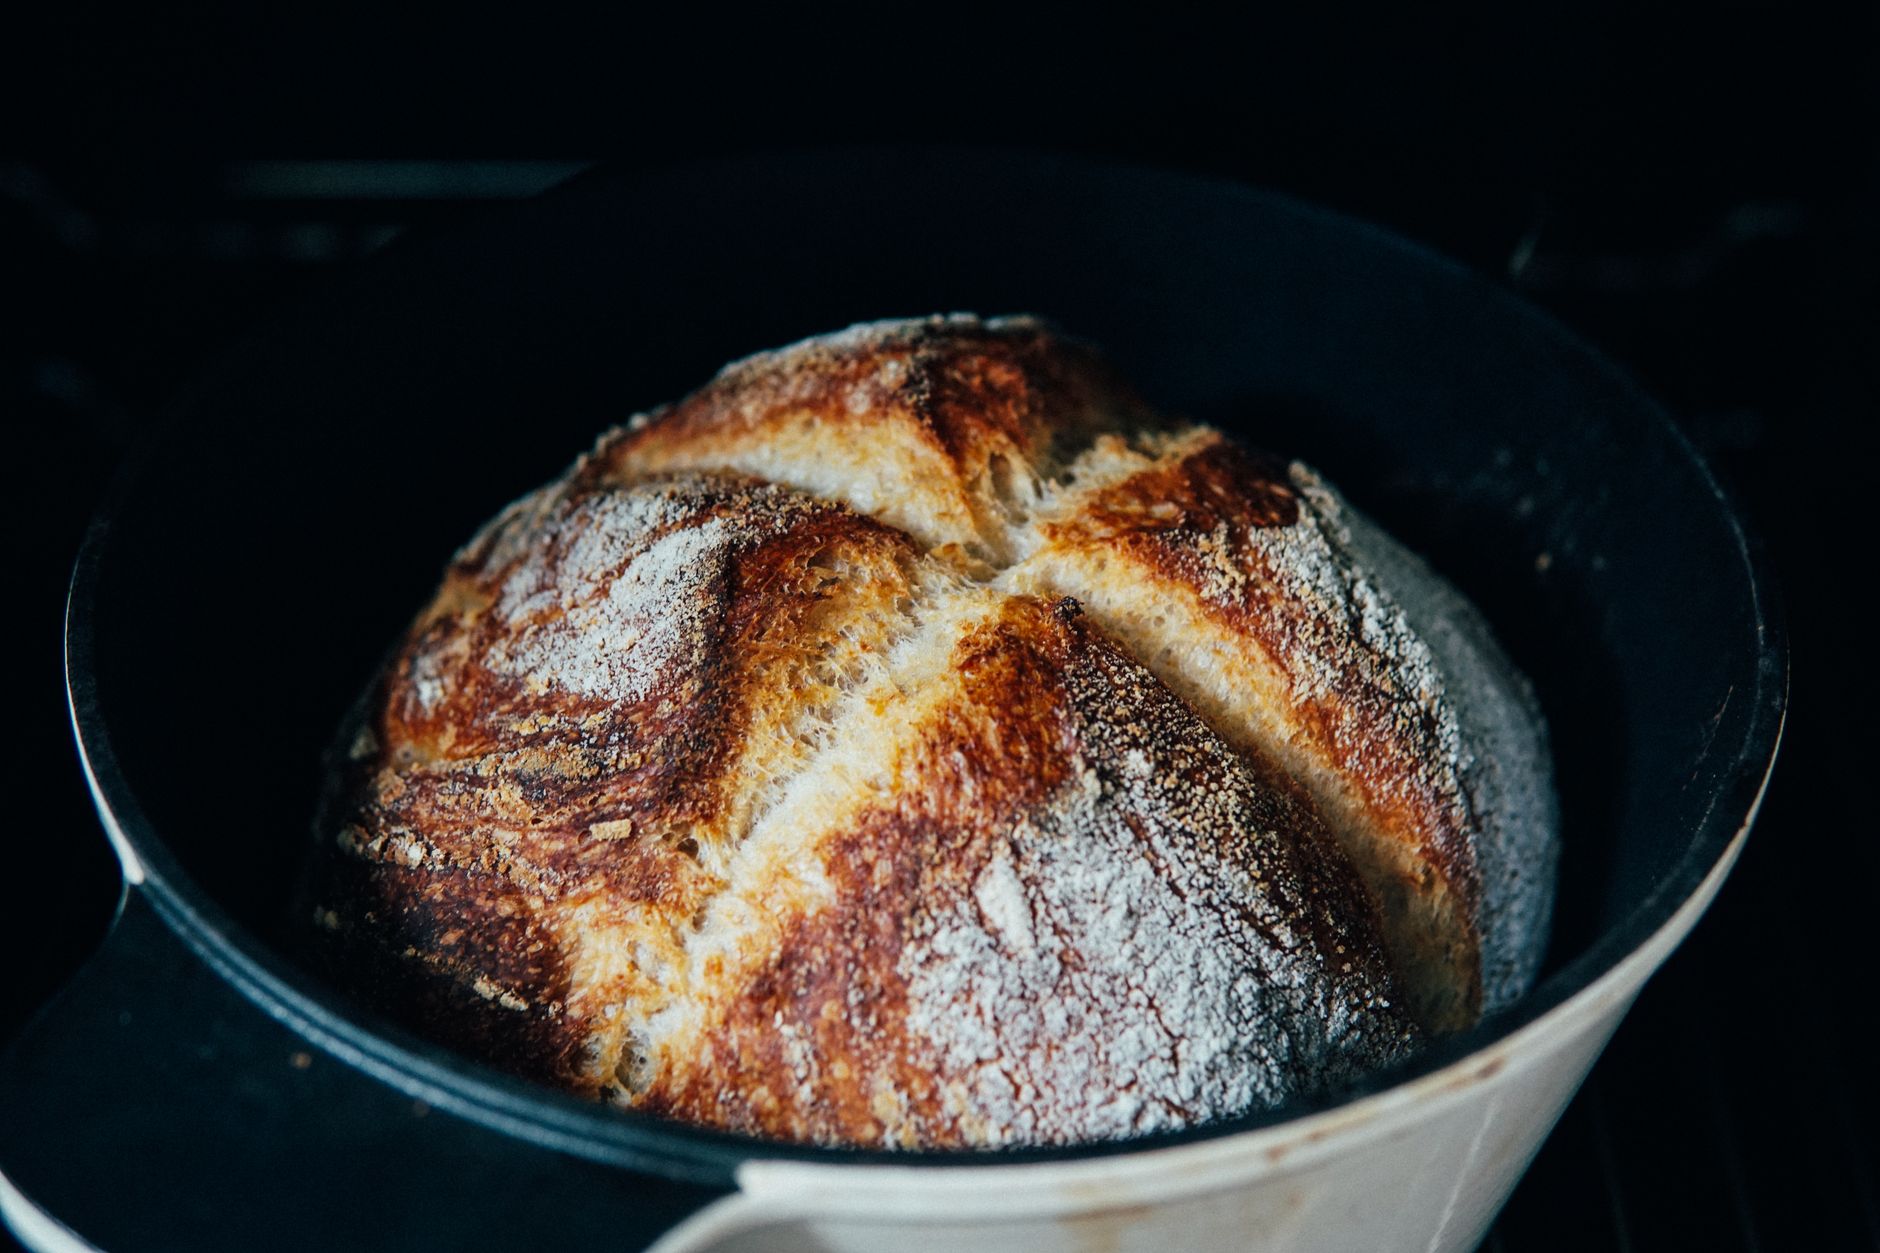
How to Make Homemade Sourdough Bread From Scratch (Even If You’ve Killed Every Starter You’ve Ever Had)
This post contains affiliate links. I may earn a small commission at no extra cost to you.
I want to be honest with you: I killed my first two starters. One I forgot about in the back of the fridge for three months. The other one I fed way too enthusiastically and it just… gave up. I’m not sure what happened. But the third one? That little jar of wild yeast has been sitting on my counter for over a year now, and we bake from it almost every week.
If you’ve been wanting to make homemade sourdough bread from scratch but felt like it was this mysterious, intimidating thing reserved for people who have a lot of time and a lot of patience — I get it. But I’m here to tell you it’s way more forgiving than the internet makes it look. And when you make it part of your homeschool rhythm and let your kids get their hands in the dough, it becomes one of those slow, satisfying things that feels a little like getting your 1990s childhood back. Less DoorDash, more flour on your face.
Start With Your Sourdough Starter
Your starter is the foundation of everything. It’s literally just flour and water — wild yeast and bacteria from your environment that ferment together over time. Florida kitchens are actually great for this because our warm, humid air speeds up fermentation. What takes someone in Minnesota five days might take you three.
What You Need to Build a Starter
- A clean glass jar (wide-mouth mason jar works perfectly)
- Unbleached all-purpose or whole wheat flour
- Filtered or non-chlorinated water (chlorine can inhibit fermentation)
- A rubber band to track rise
- A kitchen scale if you have one — weight is more accurate than volume
Day 1: Mix 50g flour and 50g lukewarm water in your jar. Stir well, cover loosely with a cloth or loose lid, and leave it at room temperature.
Days 2–5: Once a day, discard half the starter and feed it with another 50g flour and 50g water. You’ll start to see bubbles forming — that’s your wild yeast waking up. By day 4 or 5, it should be noticeably bubbly and rising between feedings. When it reliably doubles within 4–6 hours of feeding, it’s ready to bake with.
In our warm Northwest Florida summers, this can happen faster. In the winter (what passes for winter down here anyway), it slows down a little. Just watch the jar, not the calendar.
Making Your First Sourdough Loaf
Once your starter is active and bubbly, you’re ready to bake. This is the basic method we use — it’s not fancy, but it makes a genuinely good loaf with a chewy crumb and that tangy flavor everybody loves.
Ingredients
- 450g bread flour (or all-purpose — bread flour gives you more chew)
- 325g lukewarm water
- 90g active, bubbly starter
- 9g salt
The Process
Mix and Autolyse: Combine the flour and water and let it sit for 30–60 minutes. This step — called autolyse — lets the flour hydrate and starts developing gluten before you even do any real work. I usually start this right after we do our morning read-aloud so it’s not adding extra steps to my day.
Add Starter and Salt: After the rest, add your starter and salt. Use your hands to squish and fold everything together until it’s fully combined. It’ll feel shaggy at first — that’s normal.
Stretch and Fold: Instead of traditional kneading, sourdough uses stretch-and-fold sets. Every 30 minutes for the next 2–3 hours, grab one side of the dough, stretch it up, and fold it over the center. Rotate the bowl and repeat four times. Do this 4–5 times total. Between sets, cover the bowl with a damp towel and leave it alone. Kids can absolutely help with this part — it’s tactile and satisfying.
Bulk Fermentation: After your stretch-and-fold sets, leave the dough covered at room temperature for the bulk of its rise. Depending on your kitchen temp, this takes 4–8 hours. You’re looking for it to increase by about 50–75% and look airy and domed.
Shape and Final Rise: Gently turn the dough out, shape it into a round or oval, and place it seam-side up in a floured proofing basket (a bowl lined with a floured kitchen towel works too). Cover it and refrigerate overnight — anywhere from 8 to 16 hours. This cold fermentation is where a lot of the flavor develops.
Bake: In the morning, preheat your oven to 500°F with a Lodge cast iron skillet or Dutch oven inside. Once it’s screaming hot, carefully flip your dough into the pan, score the top with a sharp knife, cover, and bake for 20 minutes. Then uncover and bake another 20–25 minutes until it’s deeply golden. Let it cool at least an hour before cutting — I know, it’s torture.
Turning Sourdough Into a Homeschool Moment
This is where it gets fun for us. Sourdough bread is genuinely one of the richest hands-on learning experiences you can do in a Charlotte Mason home — it touches science, math, life skills, and even history.
We talk about fermentation and how wild yeast is alive and living on your counter. We measure ingredients by weight and talk about ratios. We observe the starter rising and falling and sketch it in our nature journals — yes, really. My daughter drew the bubbles in our starter under our pocket microscope one morning and it sparked a whole conversation about microbes and how people made bread before commercial yeast existed. That’s the kind of rabbit hole we love around here.
If you want to make it even more of a unit study, pair it with a history read on ancient Egypt (they were baking leavened bread 5,000 years ago!) or explore how pioneers kept their starters alive on the Oregon Trail. You can check out how we build those kinds of deep-dive lessons in How to Create Your Own Unit Studies for Homeschool.
A Few Florida-Specific Tips
Baking sourdough in Florida means you’re working with a warmer, more active fermentation environment than most recipes assume. A few things that help us:
- Use cooler water in summer. Room temperature water in July down here can actually be too warm. I use water that’s been sitting in the fridge for 30 minutes.
- Shorten your bulk ferment. If your kitchen is 80°F, your dough will move fast. Watch it, not the clock.
- Refrigerate your starter between bakes. Once it’s established, you don’t have to feed it daily. Just pull it out the night before you want to bake, feed it, let it peak, and use it.
Also — those backyard chicken eggs your hens are laying? They don’t go in a basic sourdough loaf, but they are absolutely perfect on top of a thick slice with a little butter and flaky salt. That’s a breakfast worth waking up for. If you’re still in the early stages of your flock, our Storey’s Guide to Raising Chickens has been a staple on our shelf since we started.
And if you’re building out more of your homestead food practices, you might enjoy our Florida Food Forest Beginner Guide — because once you’re baking your own bread, you start thinking about what else you could grow and make yourself. It’s a beautiful spiral.
You Don’t Have to Be a Baker to Do This
Seriously. I am not a naturally gifted baker. I don’t have a fancy kitchen. I have a gas oven that runs a little hot, a cast iron pan I’ve had for years, and a starter named Margot (yes, she has a name — the kids named her).
Sourdough is slow food in the best possible sense. It asks you to be present in small doses — a stir here, a fold there, a peek at the jar. It fits right alongside the kind of intentional, unhurried life we’re trying to build. The kind where kids grow up knowing how bread is actually made, where eggs come from, and why the seasons matter.
That’s the whole point, isn’t it? Not perfect loaves. Just a life that’s a little more rooted.
If you’re just starting to bring back more of that slow, intentional childhood for your family, you might love 1990s Childhood Activities We’re Bringing Back — it’s one of my favorite posts on here and it’ll have you nodding the whole way through.
Now go feed your starter. She’s hungry.
📖 You Might Also Like:
- How to Create Your Own Unit Studies for Homeschool (A Real Mama’s Step-by-Step Guide)
- Florida Food Forest Beginner Guide: What to Plant (and How to Actually Get Started)
- 1990s Childhood Activities We’re Bringing Back (And Why Our Kids Are Thriving Because of It)
Frequently Asked Questions
How long does it take to make homemade sourdough bread from scratch?
From building your starter to pulling a finished loaf out of the oven, the full process takes about 5–7 days — but most of that is hands-off waiting time. Once your starter is established and active, the actual baking timeline is about 24 hours: an afternoon of mixing and folding, an overnight rise in the fridge, and about 45 minutes in the oven the next morning.
How do I know when my sourdough starter is ready to use?
Your starter is ready when it reliably doubles in size within 4–6 hours of being fed, smells pleasantly tangy (not like nail polish remover), and looks bubbly and airy throughout. A simple float test — dropping a small spoonful into water — can help too: if it floats, it’s active enough to leaven bread.
Can I make sourdough bread in a hot Florida kitchen?
Yes, and Florida’s warmth can actually work in your favor during the starter-building phase. The trade-off is that bulk fermentation moves faster in a warm kitchen, so you’ll need to watch your dough rather than follow rigid timing. In summer, use slightly cooler water and shorten your bulk ferment time to avoid over-proofing.
Do I need a Dutch oven to bake sourdough at home?
A Dutch oven or covered cast iron pot gives you the best results because the steam trapped inside helps the bread spring up and develop a crackly crust. That said, you can also bake on a preheated cast iron skillet with a metal bowl placed over the top to trap steam. It’s not quite the same, but it works in a pinch.
How do I keep my sourdough starter alive without feeding it every day?
Once your starter is active and established, store it in the refrigerator between bakes. The cold slows fermentation way down, so it only needs feeding about once a week. The night before you want to bake, pull it out, discard half, feed it with fresh flour and water, and let it peak at room temperature before using it in your recipe.
Leave a Reply