Best Non-Toxic Laundry Detergent for Families: An Honest Review of What We’ve Actually Tried
This post contains affiliate links. I may earn a small commission at no extra cost to you.
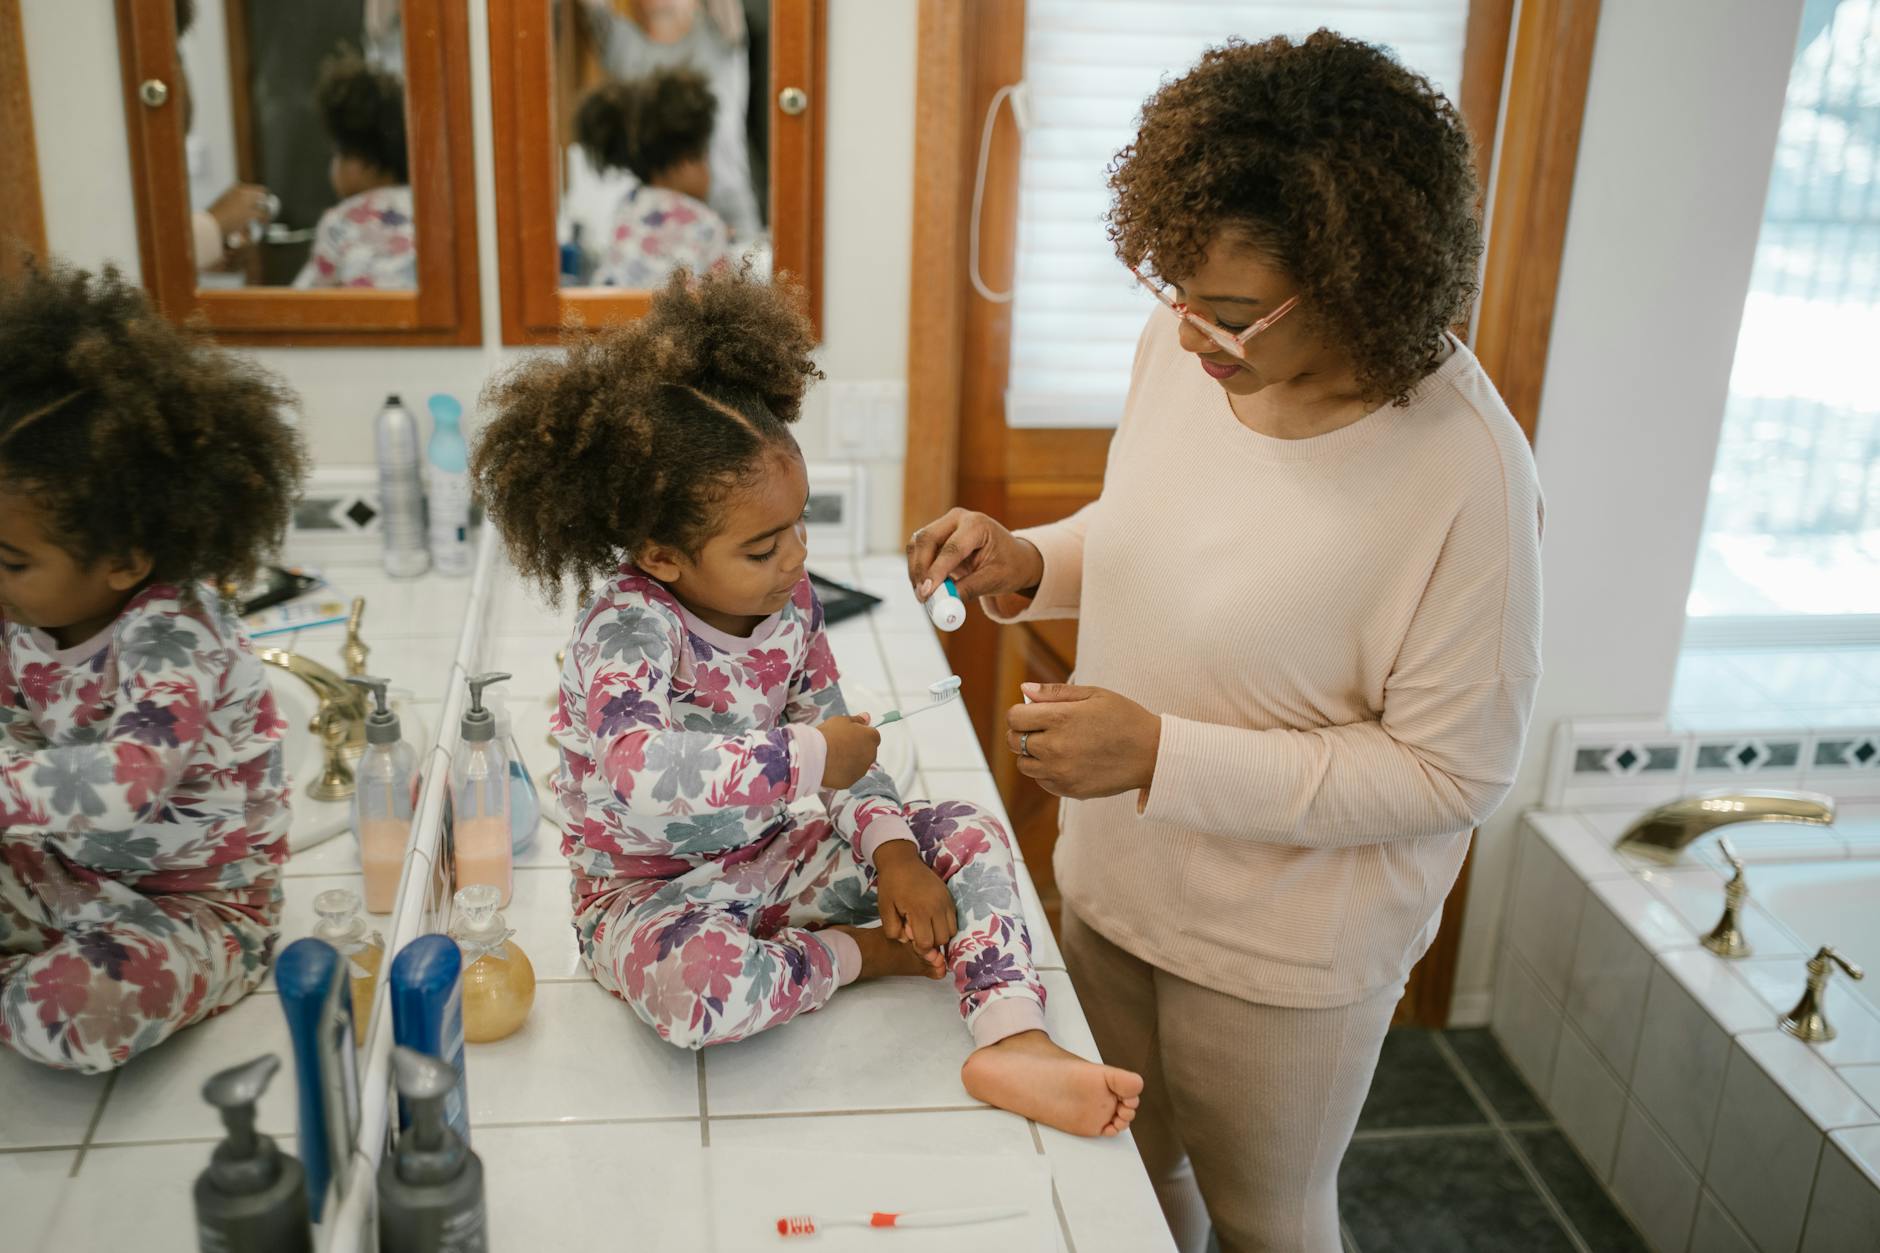
If your kids are anything like mine, laundry isn’t just laundry. It’s mud from the backyard. It’s chicken coop shavings somehow embedded in a sock. It’s grass stains from a morning spent belly-down in the yard watching a caterpillar inch across a leaf. It’s sunscreen and sweat and whatever that mystery smear is on the knee of every single pair of pants we own.
We live in Northwest Florida — which means we’re also dealing with that humid, sweaty, sandy layer that settles on everything from May through October. The laundry situation in a Florida homeschool family is real.
When I started cleaning up our home a few years ago — swapping out products one at a time — laundry detergent was one of the first things I looked at. And honestly, it took me longer than I expected to find something that actually worked without making me feel like I was compromising my family’s health to get a clean shirt.
So here’s what I’ve learned. The real version.
Why I Care About What’s in Our Laundry Detergent
I know it can sound like a lot — worrying about laundry soap. But here’s the thing: clothes sit against your kids’ skin all day long. Whatever residue is left in that fabric goes with them. For little ones especially, that matters.
Conventional detergents often contain:
- Optical brighteners (they make clothes look whiter but leave a chemical coating on fabric)
- Synthetic fragrances (one of the top skin irritants and endocrine disruptors)
- 1,4-dioxane (a likely carcinogen that shows up as a byproduct in many foaming agents)
- Phosphates and surfactants that aren’t great for waterways — or your septic system if you’re on one
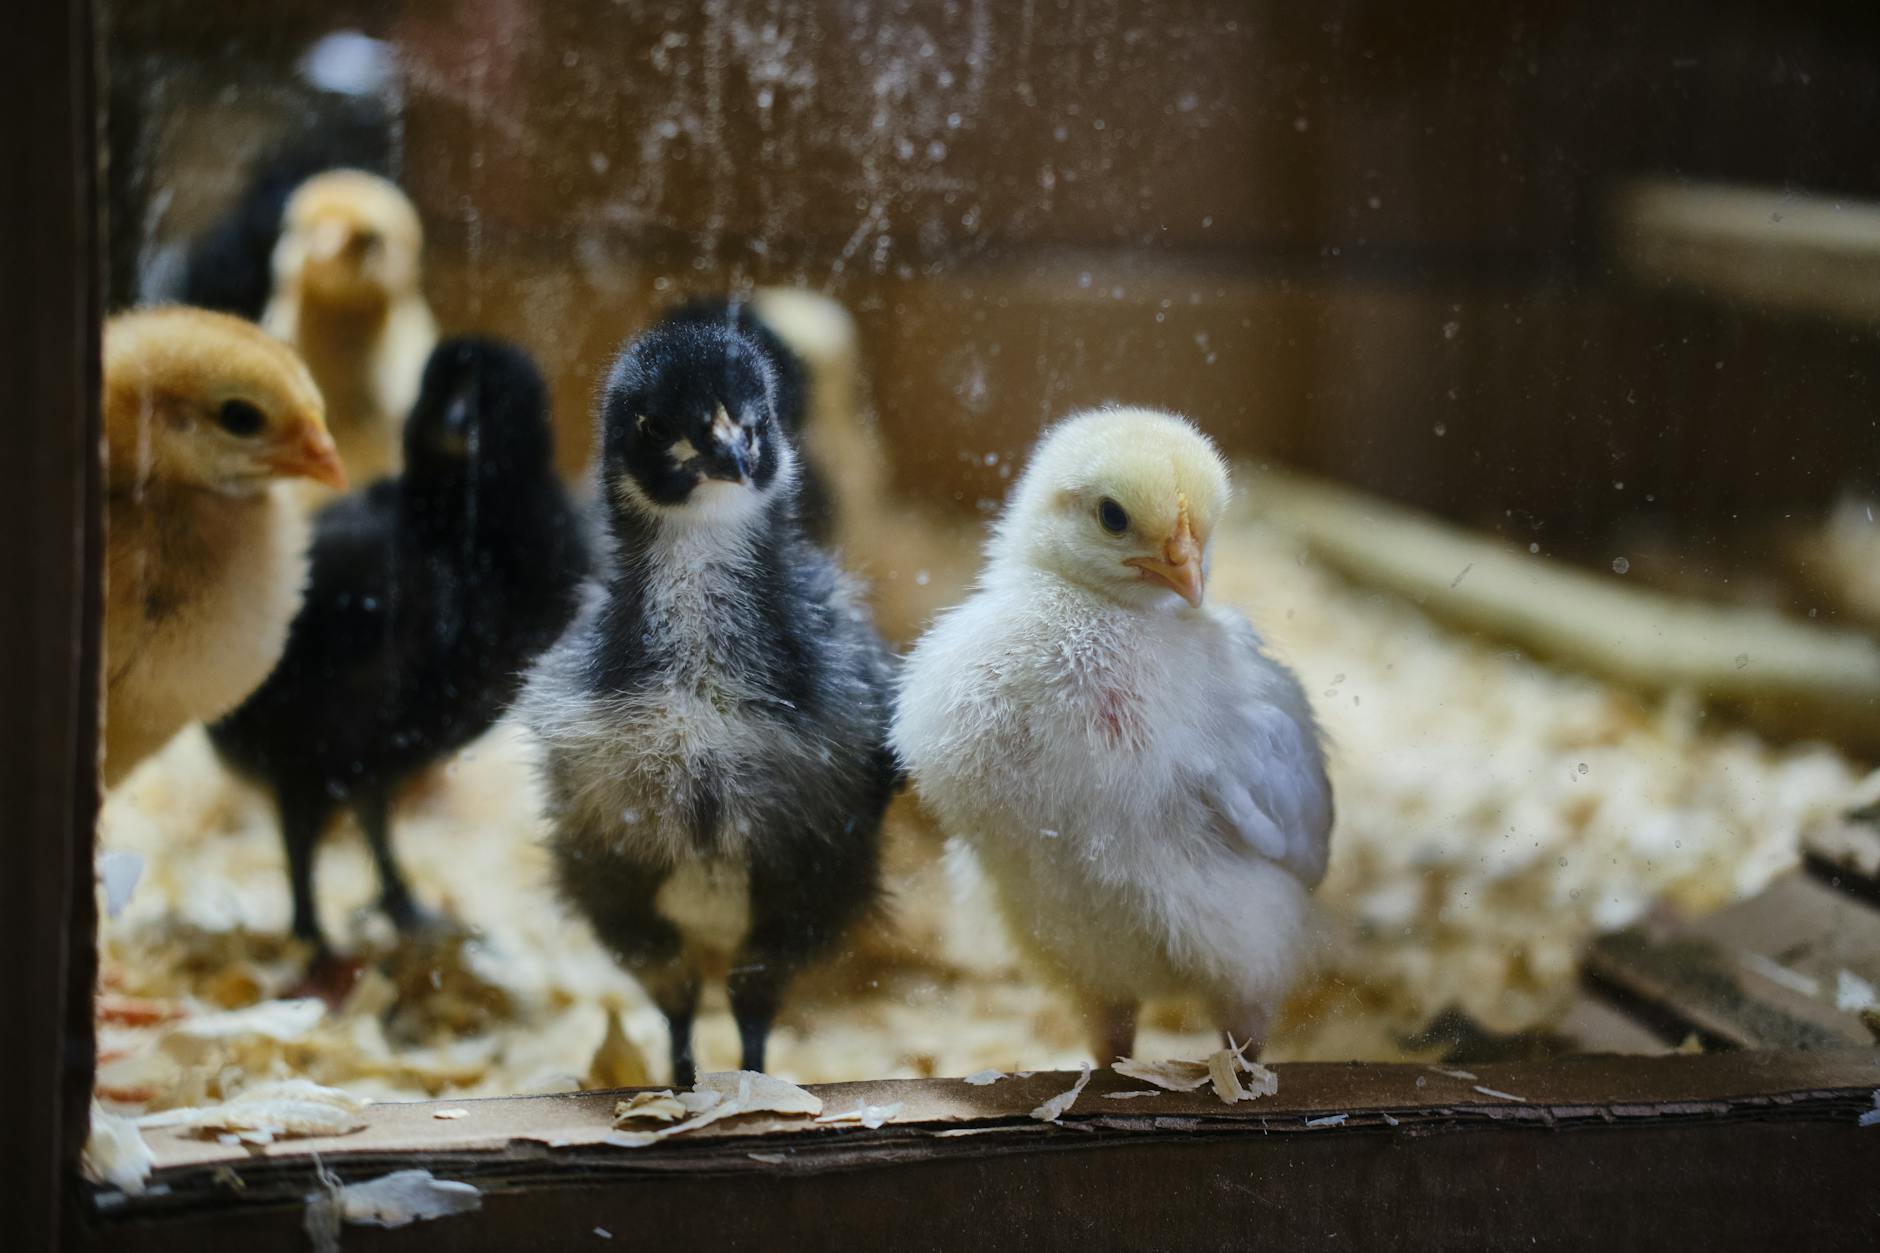
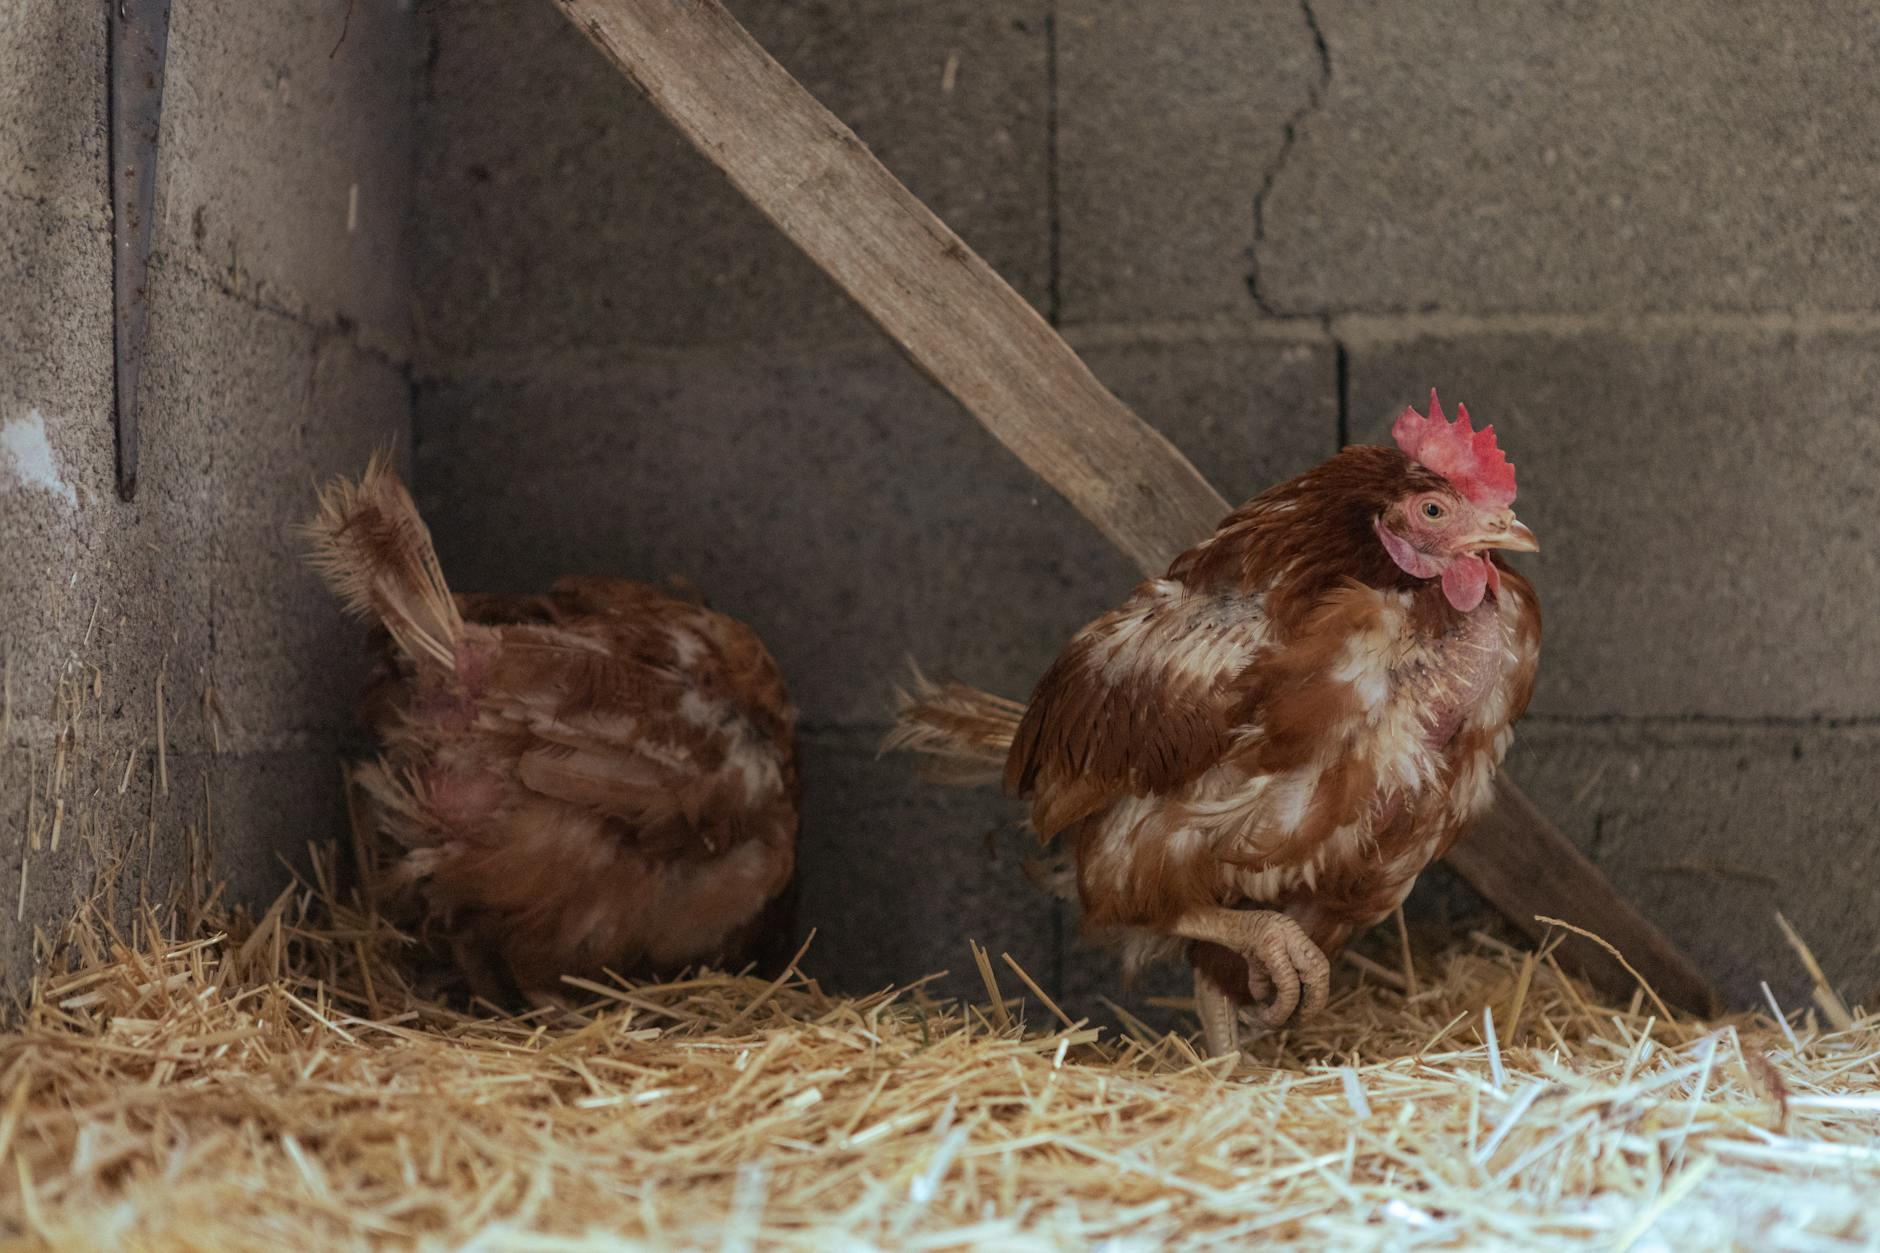
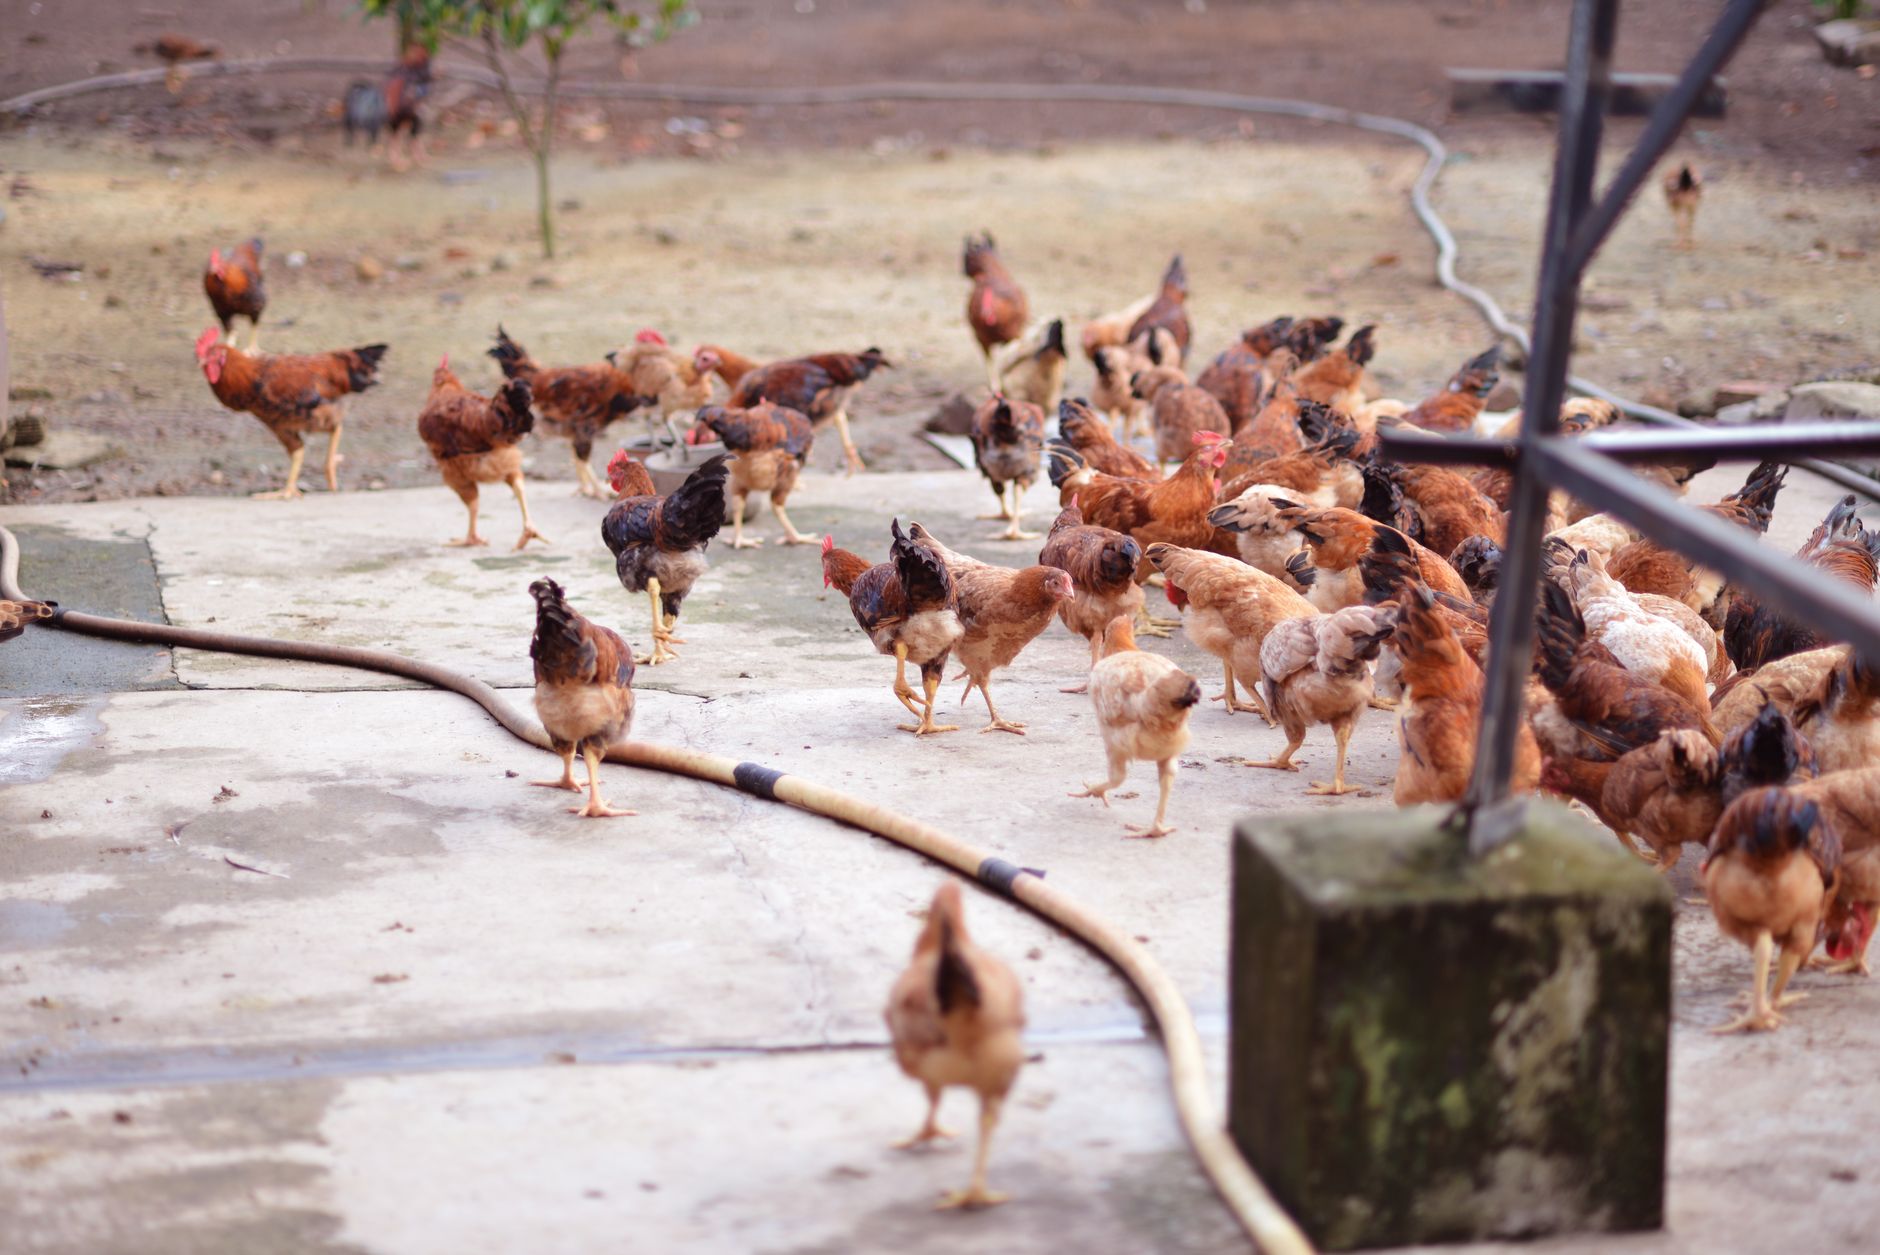
We also have a mini labradoodle who sleeps in our bed on washed sheets, and chickens whose bedding I sometimes toss in with barn clothes. I want to know what we’re washing with.
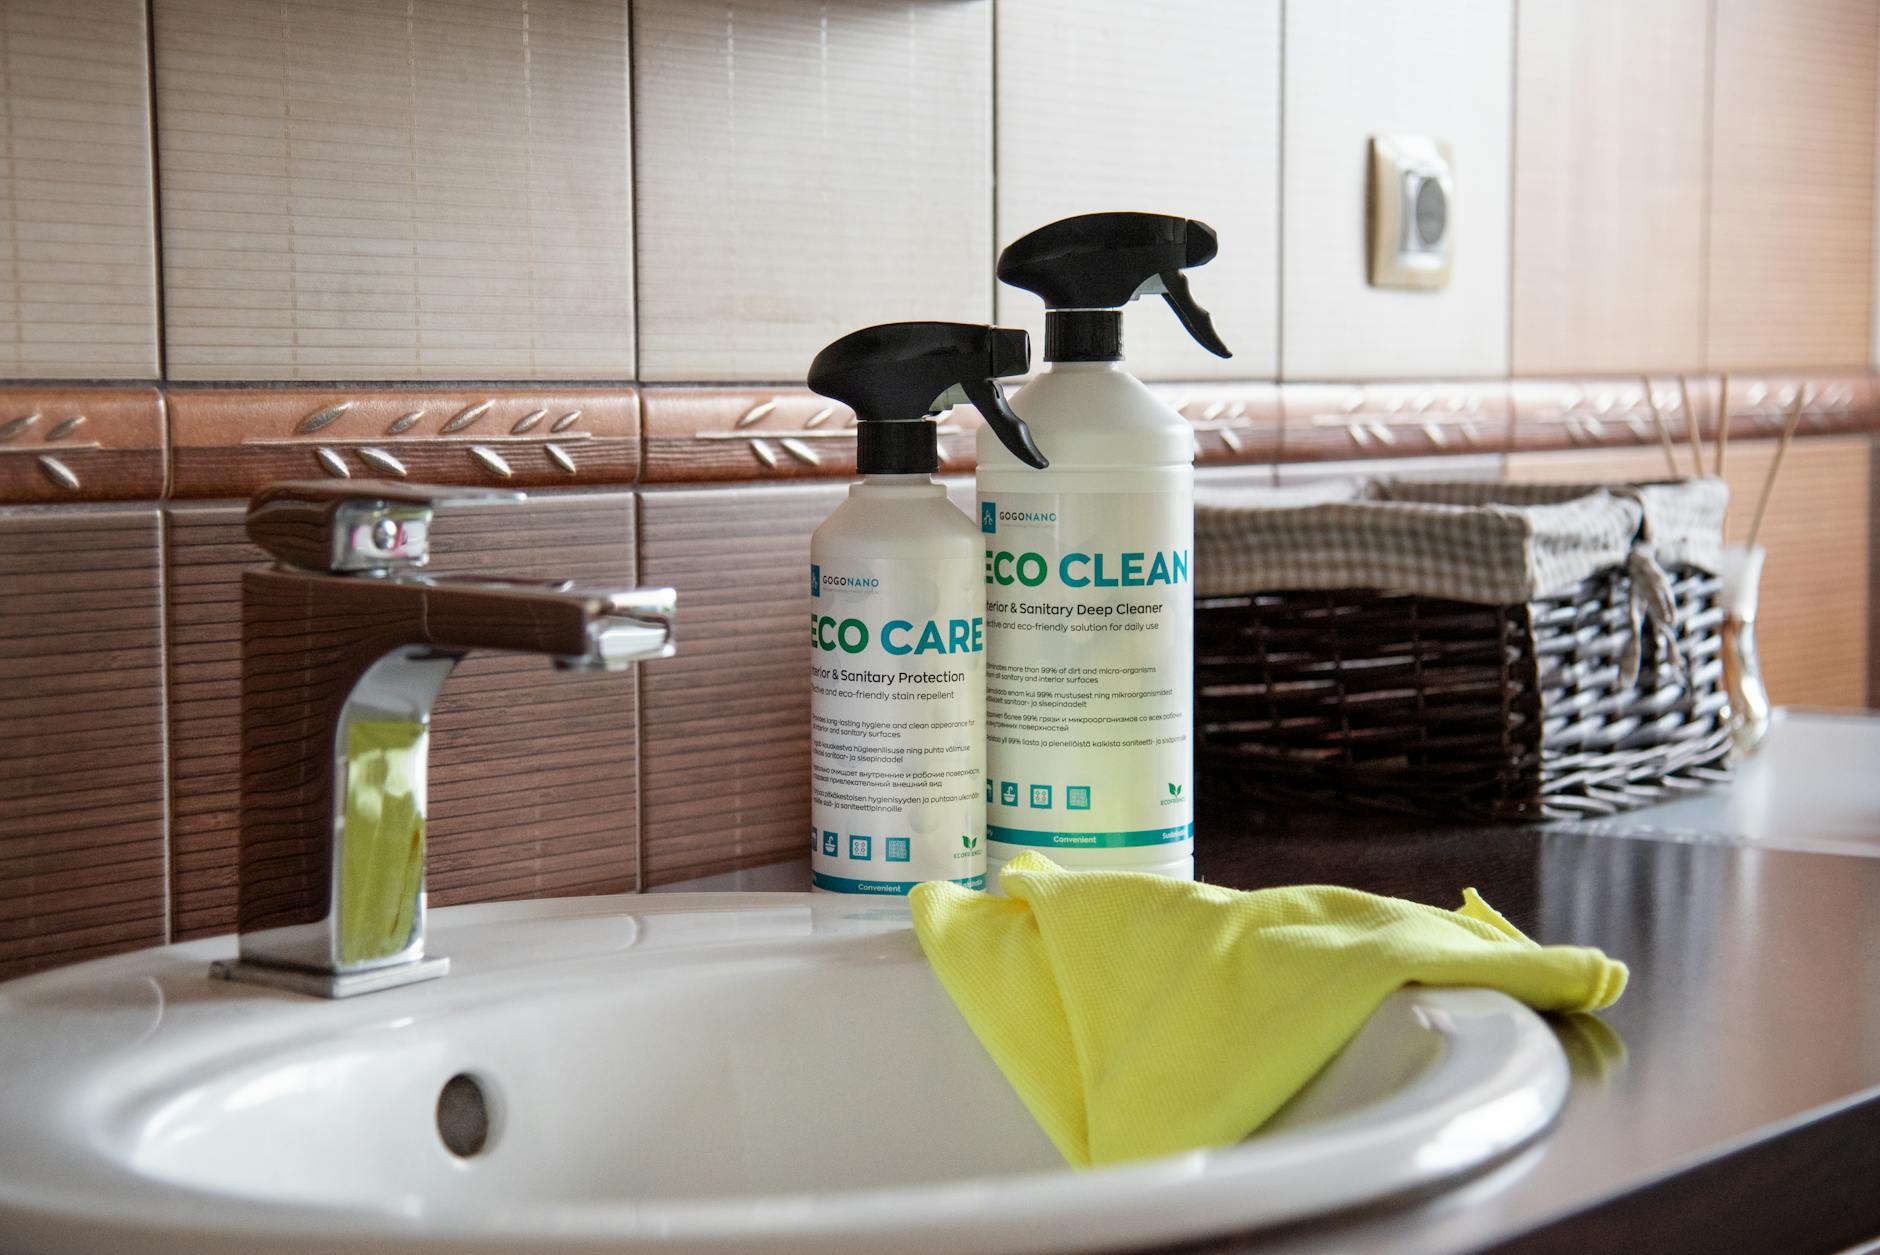
If you’re already doing the work of cleaning up other areas of your home, check out our Best Non-Toxic Cleaning Products for Families in 2026 (What We Actually Use) — it’s a good companion to this post.
What I Look for in a Non-Toxic Laundry Detergent
Before I get into what we use, here’s my simple criteria:
- EWG Verified or an A/B rating on the Environmental Working Group database
- No synthetic fragrance (or clearly labeled essential oil scent)
- Actually gets things clean — including Florida-summer sweat and chicken coop clothes
- Reasonably priced for a family doing daily laundry
- Septic-safe (we’re on city water, but I still prefer this)
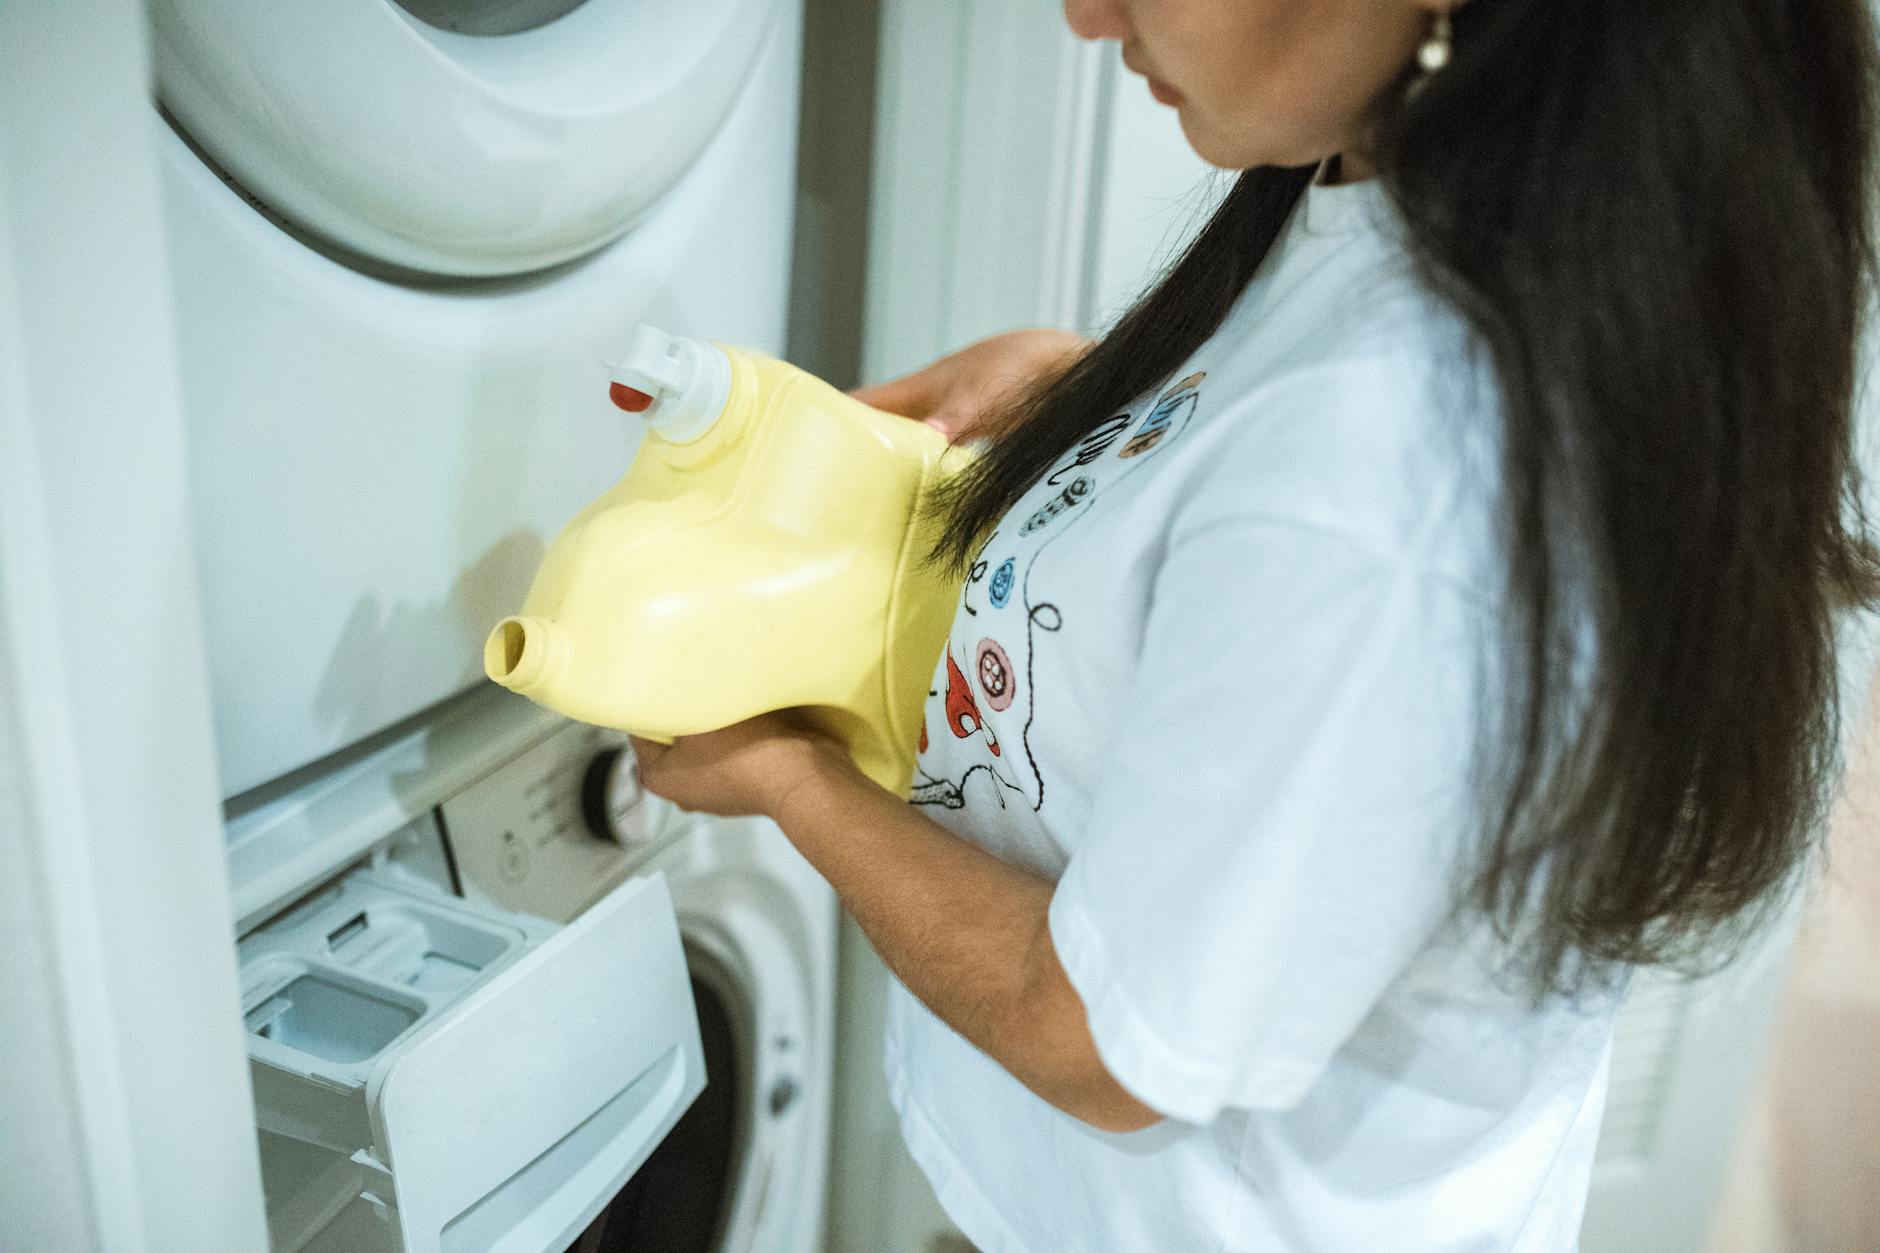
The Detergents We’ve Actually Tried
🌿 Molly’s Suds — Our Current Favorite
This is the one we keep coming back to. Molly’s Suds is EWG Verified, uses peppermint essential oil for scent (which I actually love — our laundry room smells like a spa), and it works. Like, actually works on the grimy stuff.
I use the powder formula for most loads and it holds up to our life — which includes nature study mornings in the backyard, afternoon chicken chores, and a dog who thinks mud puddles are swimming pools.
The only thing: you need slightly more for heavily soiled loads. I just add a scoop and a half and we’re good.
Where to buy: I order ours through Grove Collaborative, which is where I source most of our non-toxic home staples. Their bundles and auto-ship options make it easy to stay stocked without thinking about it.
🌿 Branch Basics — Worth It If You’re Ready to Invest
Branch Basics is a concentrate system — you buy one bottle of concentrate and dilute it for different uses: laundry, all-purpose spray, bathroom cleaner. It’s genuinely brilliant from a reduce-waste standpoint.
The laundry formula cleans well. Really well. And their ingredients list is about as clean as it gets.
The catch is the upfront cost. The starter kit isn’t cheap. But if you’re committed to non-toxic living and want one system for your whole house, it’s one of the best investments I’ve seen. We used it for about a year before switching to Molly’s Suds mostly for budget reasons.
🌿 ECOS — Budget-Friendly and Widely Available
ECOS is what I recommend to people who are just starting to transition and don’t want to spend a lot. It’s available at most grocery stores, it’s plant-based, and it gets the job done for everyday loads.
Is it as clean as Molly’s Suds or Branch Basics ingredient-wise? It’s pretty good — EWG gives most of their formulas an A or B. It uses a few more ingredients I’d rather avoid, but compared to Tide or All? Not even close.
For families just starting out, ECOS is a great first swap.
❌ What Didn’t Work for Us
Seventh Generation — I know, I know. It’s everywhere and it markets itself so well. But it consistently left our clothes smelling a little stale after a day of wear, and some of their fragrance blends use ingredients I wasn’t thrilled about. It’s not a terrible option, but it’s not our pick.
DIY laundry powder with washing soda and Fels-Naptha — I tried this when we first went non-toxic and read every homesteading blog I could find. The problem: Fels-Naptha contains some ingredients that aren’t as clean as they seem, and the soap scum buildup in our HE washer was real. I gave it a solid six months before moving on.
A Note on Boosters and Extras
A few things we add to loads depending on what we’re washing:
- Wool dryer balls instead of dryer sheets — no synthetic fragrance, reduces static, and cuts dry time. We’ve had the same set for three years.
- White vinegar in the fabric softener slot — especially for chicken coop clothes. It neutralizes odors without any chemicals.
- Diatomaceous earth occasionally in the wash for barn clothes — I’ve seen other chicken keepers swear by this and it does seem to help with deep odors. Food-grade only.
Speaking of chicken stuff — if you’re washing coop clothes regularly and wondering about what you’re tracking into the house, our post on Non-Toxic Pest Control for Florida Homes talks about how we handle that whole ecosystem.
What About Sensitive Skin?
If you have a kiddo with eczema or reactive skin (we’ve had our seasons with this), I’d go straight to Molly’s Suds fragrance-free or Branch Basics. Both are genuinely formulated with sensitive skin in mind, not just marketing that way.
And don’t overlook your dryer sheets and fabric softeners — those are often a bigger culprit than the detergent itself. Switching to wool dryer balls was one of the best things we did for our youngest’s skin.
The Bottom Line for Our Family
If you’re just getting started: ECOS. Easy, affordable, available locally.
If you’re ready to commit: Molly’s Suds through Grove Collaborative. This is where we’ve landed and I genuinely don’t think we’ll switch again.
If budget isn’t a concern and you want the cleanest option available: Branch Basics all the way.
The goal isn’t perfection — it’s progress. Swapping your laundry detergent is one of the easiest, highest-impact changes you can make because it touches every piece of clothing, every set of sheets, every kitchen towel in your home. It’s worth getting right.
Our kids run through life full-tilt — muddy boots, chicken feathers, bug catchers, watercolor-stained sleeves. I want their clothes washed in something I feel good about. That’s really it.
If you’re in the middle of cleaning up your home product by product, you might also love what we shared in our Natural Mosquito Repellent That’s Actually Safe for Kids in Florida post — same philosophy, different product category.
Hope this helps you cut through the noise and find something that actually works for your people. 🌿
📖 You Might Also Like:
- Best Non-Toxic Cleaning Products for Families in 2026 (What We Actually Use)
- Non-Toxic Pest Control for Florida Homes: What’s Actually Safe for Kids, Chickens, and Pets
- Natural Mosquito Repellent That’s Actually Safe for Kids in Florida (What We’ve Tested and Trust)
Frequently Asked Questions
What is the safest laundry detergent for young children?
The safest options for young children are EWG Verified detergents with no synthetic fragrance, like Molly’s Suds fragrance-free or Branch Basics. Both are formulated without optical brighteners, dyes, or hormone-disrupting chemicals that can irritate sensitive skin or linger in fabric.
Is ECOS laundry detergent truly non-toxic?
ECOS is one of the cleaner mainstream options available and earns mostly A and B ratings from the Environmental Working Group. It’s plant-based and free of phosphates, but some formulas include ingredients that more rigorous non-toxic shoppers may want to avoid. It’s a solid starter swap, especially compared to conventional detergents.
Can I use non-toxic laundry detergent in an HE washing machine?
Yes — most non-toxic detergents like Molly’s Suds and Branch Basics are safe for HE machines. In fact, they often produce less suds than conventional detergents, which is exactly what HE machines need. Just follow the dosing instructions since you generally need less than you’d think.
What can I use instead of dryer sheets that’s non-toxic?
Wool dryer balls are the best swap for dryer sheets. They reduce static, soften clothes naturally, cut down drying time, and last for years. You can add a few drops of essential oil to them for light scent if you miss that freshness. No synthetic fragrance, no coating left on your clothes.
How do I get really dirty or smelly laundry clean with non-toxic detergent?
For heavily soiled loads — think farm clothes, sweaty Florida summer gear, or anything that’s been near a chicken coop — use a slightly larger scoop of powder detergent, add a cup of white vinegar to the fabric softener slot, and wash on warm or hot if the fabric allows. Pre-soaking stubborn items for 30 minutes before washing also helps significantly.