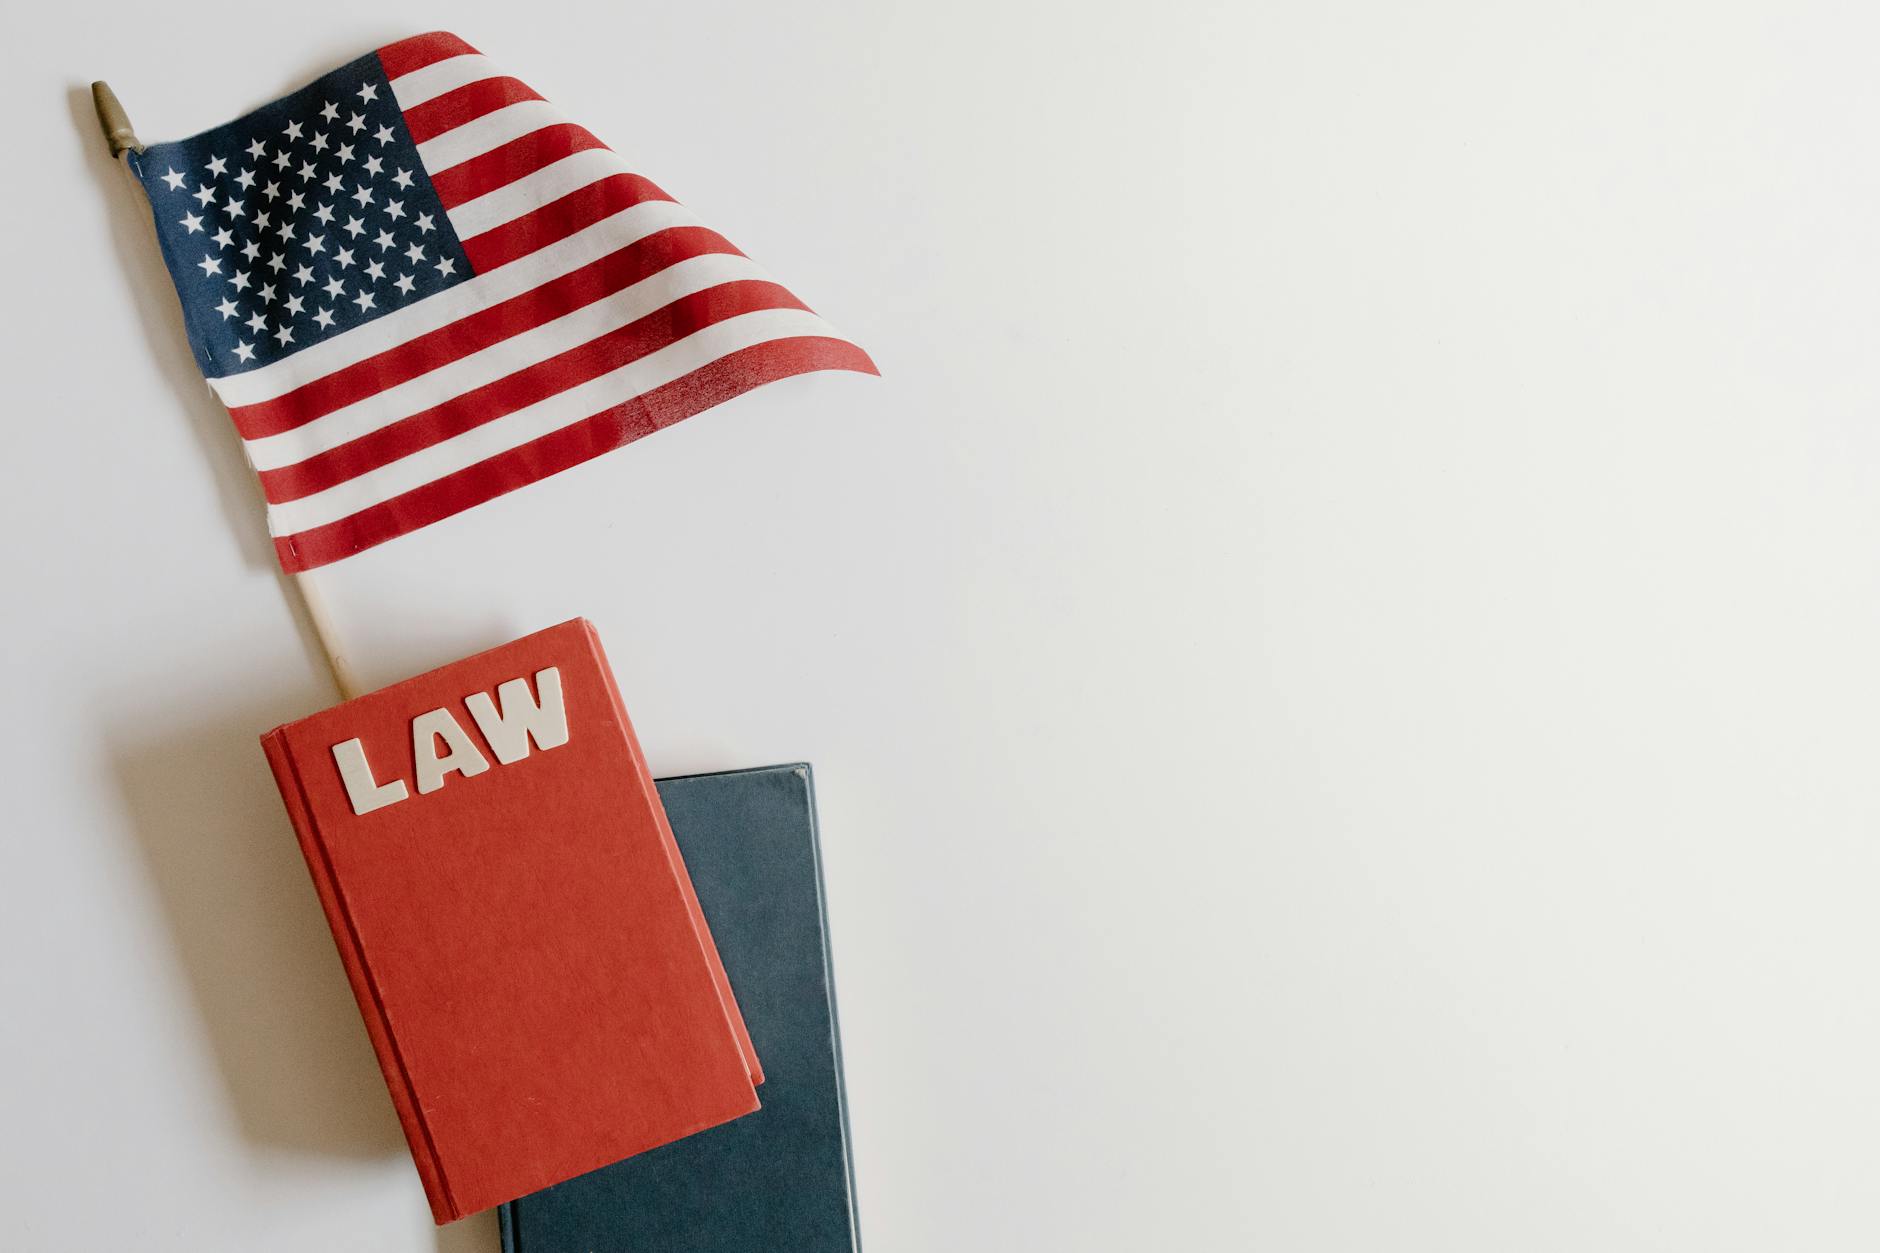
Homeschooling Laws in Florida: What You Actually Need to Know in 2026
This post contains affiliate links. I may earn a small commission at no extra cost to you.
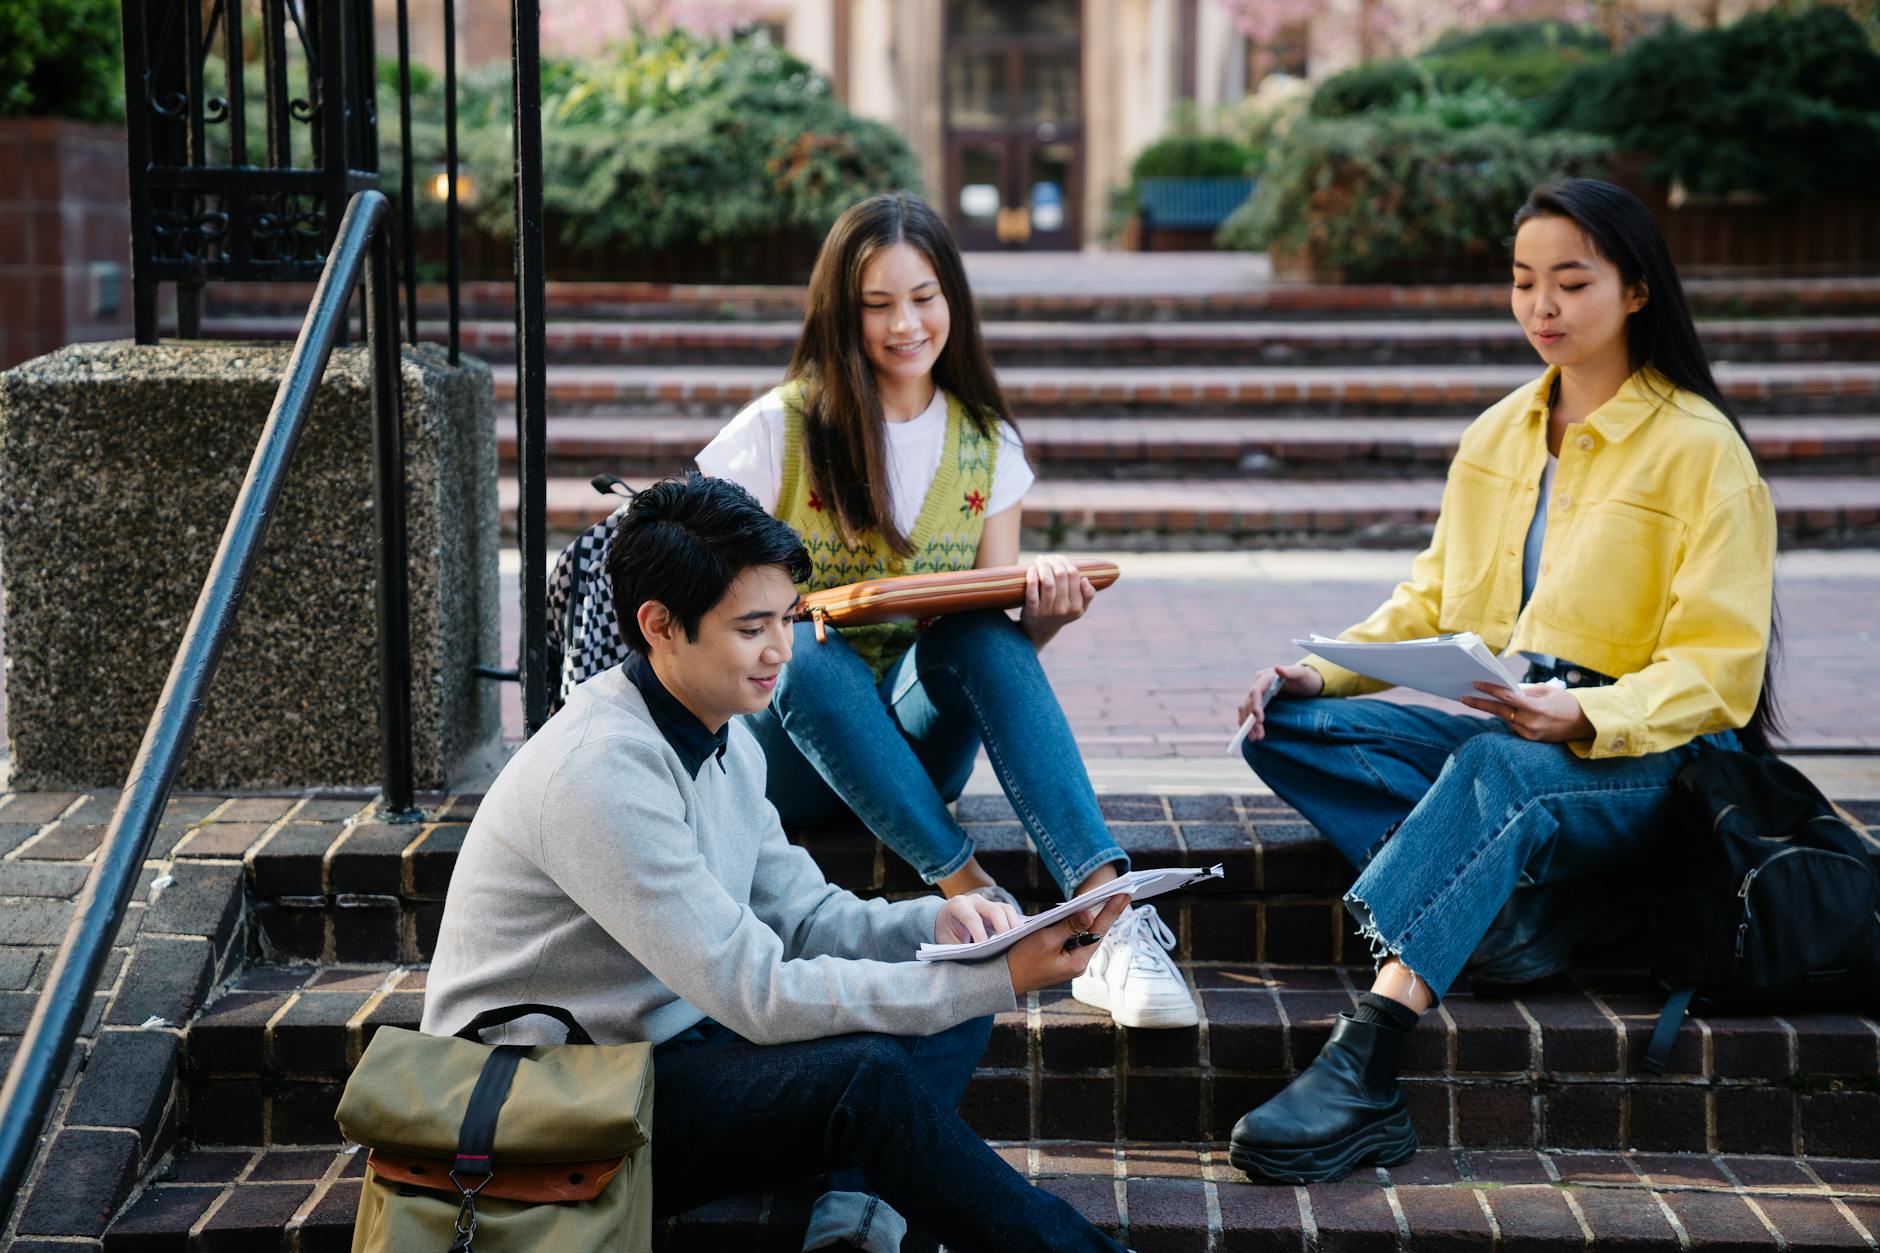
When I first started looking into homeschooling in Florida, I felt like I was reading a legal document written in a foreign language. Terms like “umbrella school,” “portfolio review,” and “notice of intent” were flying around Facebook groups and nobody seemed to agree on what was actually required.
So I did what any determined mama does — I dug in, read the actual statutes, talked to other local homeschool families here in the Pensacola area, and eventually figured it out. Now I want to save you the headache.
Whether you’re brand new to homeschooling or you’ve been doing this for a few years and just want to make sure you’re doing it right in 2026, this is the post for you. Let’s break it down simply.
Florida Is Actually a Great State to Homeschool In
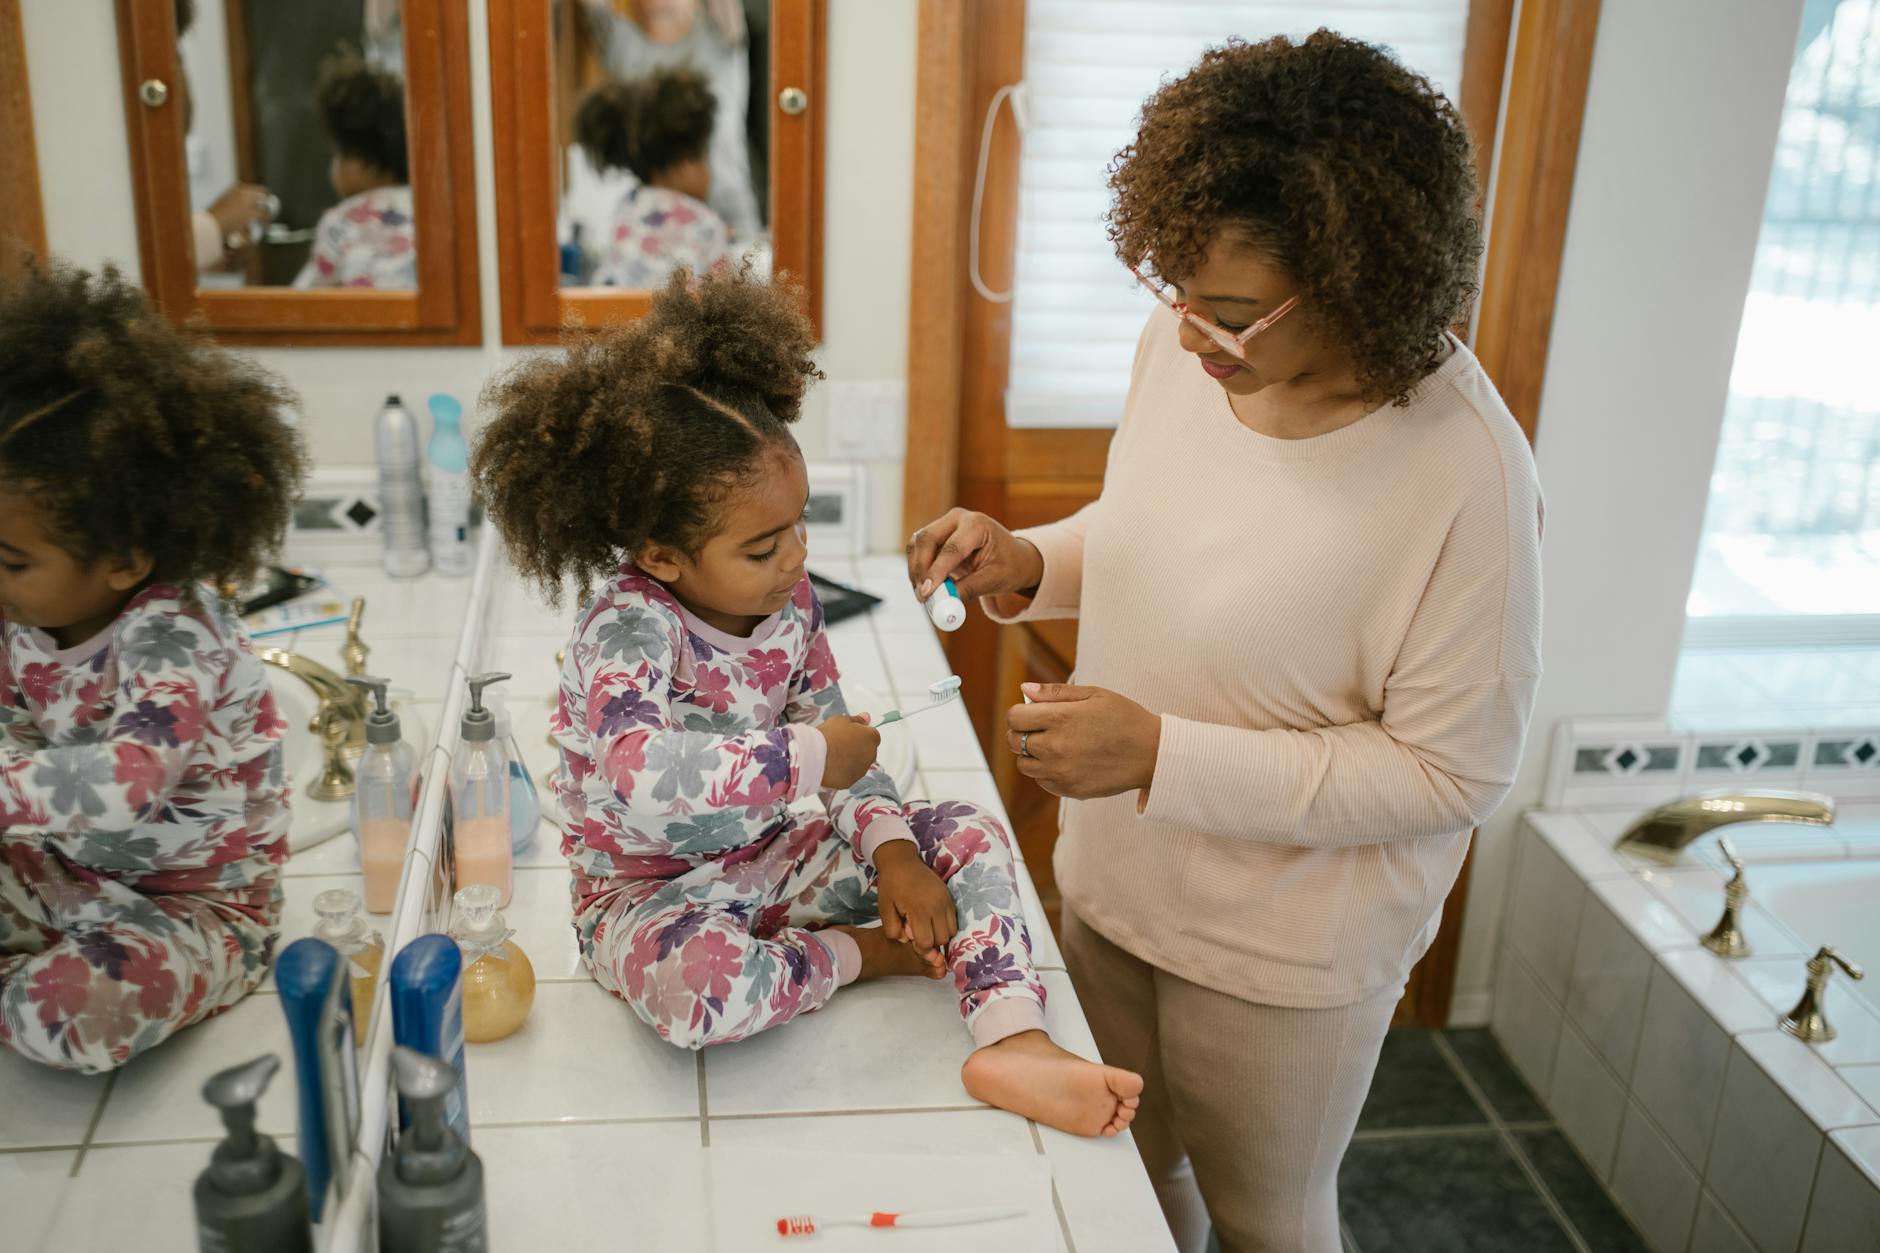
Let’s start with the good news: Florida is genuinely one of the more homeschool-friendly states in the country. The law gives families real freedom to choose their curriculum, their schedule, and their method — including nature-based, Charlotte Mason, classical, or whatever combination fits your kids best.
There’s no state-mandated testing you have to submit to the government, no one coming to inspect your home, and no required curriculum approval. That freedom is what lets our family spend Tuesday mornings at the beach doing nature journaling and still count it as school.
But — and this is important — that freedom comes with a responsibility to follow the legal requirements for whichever path you choose. And there are three paths.
The Three Ways to Legally Homeschool in Florida
Option 1: File a Notice of Intent with Your School District
This is the most common route for independent homeschoolers. Under Florida Statute 1002.41, you notify your local school district in writing that you are homeschooling your child. That’s it for step one.
After that, here’s what’s required annually:
- Maintain a portfolio — This includes a log of educational activities and samples of your child’s work (not graded, just documented).
- Have the portfolio evaluated — Once a year, a certified teacher, a licensed psychologist, or another approved evaluator reviews it. You don’t submit it to the school district; you just need to have it evaluated and keep a record that it was.
- Annual log — You keep a simple log of subjects covered and materials used. It doesn’t have to be fancy.
If you’re on the Florida PEP Scholarship (formerly Family Empowerment Scholarship for Educational Options), this path works alongside it. We use a simple binder system that keeps everything organized without taking over our lives. I wrote about that in detail over at How to Document Homeschool for Florida PEP Scholarship: A Simple System That Actually Works.
Option 2: Enroll in a Florida-Registered Umbrella School
An umbrella school (sometimes called a cover school) is a private school that you enroll your child under. The umbrella school handles your compliance — you school at home, but legally your child is enrolled in a private school.
This option appeals to families who:
- Want someone else handling the legal paperwork
- Prefer a more structured record-keeping system
- Are nervous about doing a portfolio evaluation
Umbrella schools vary widely in cost, requirements, and what they offer. Some are very hands-off; others provide curriculum or transcripts. Do your research before choosing one.
Option 3: Enroll in a Florida Virtual School or Other Approved Distance Learning Program
This option is less common for families doing full-on homeschool the way we do it, but it’s worth knowing about. Florida Virtual School (FLVS) is a public school option — your child is technically a public school student doing school at home. This means more accountability requirements, set pacing, and teacher involvement.
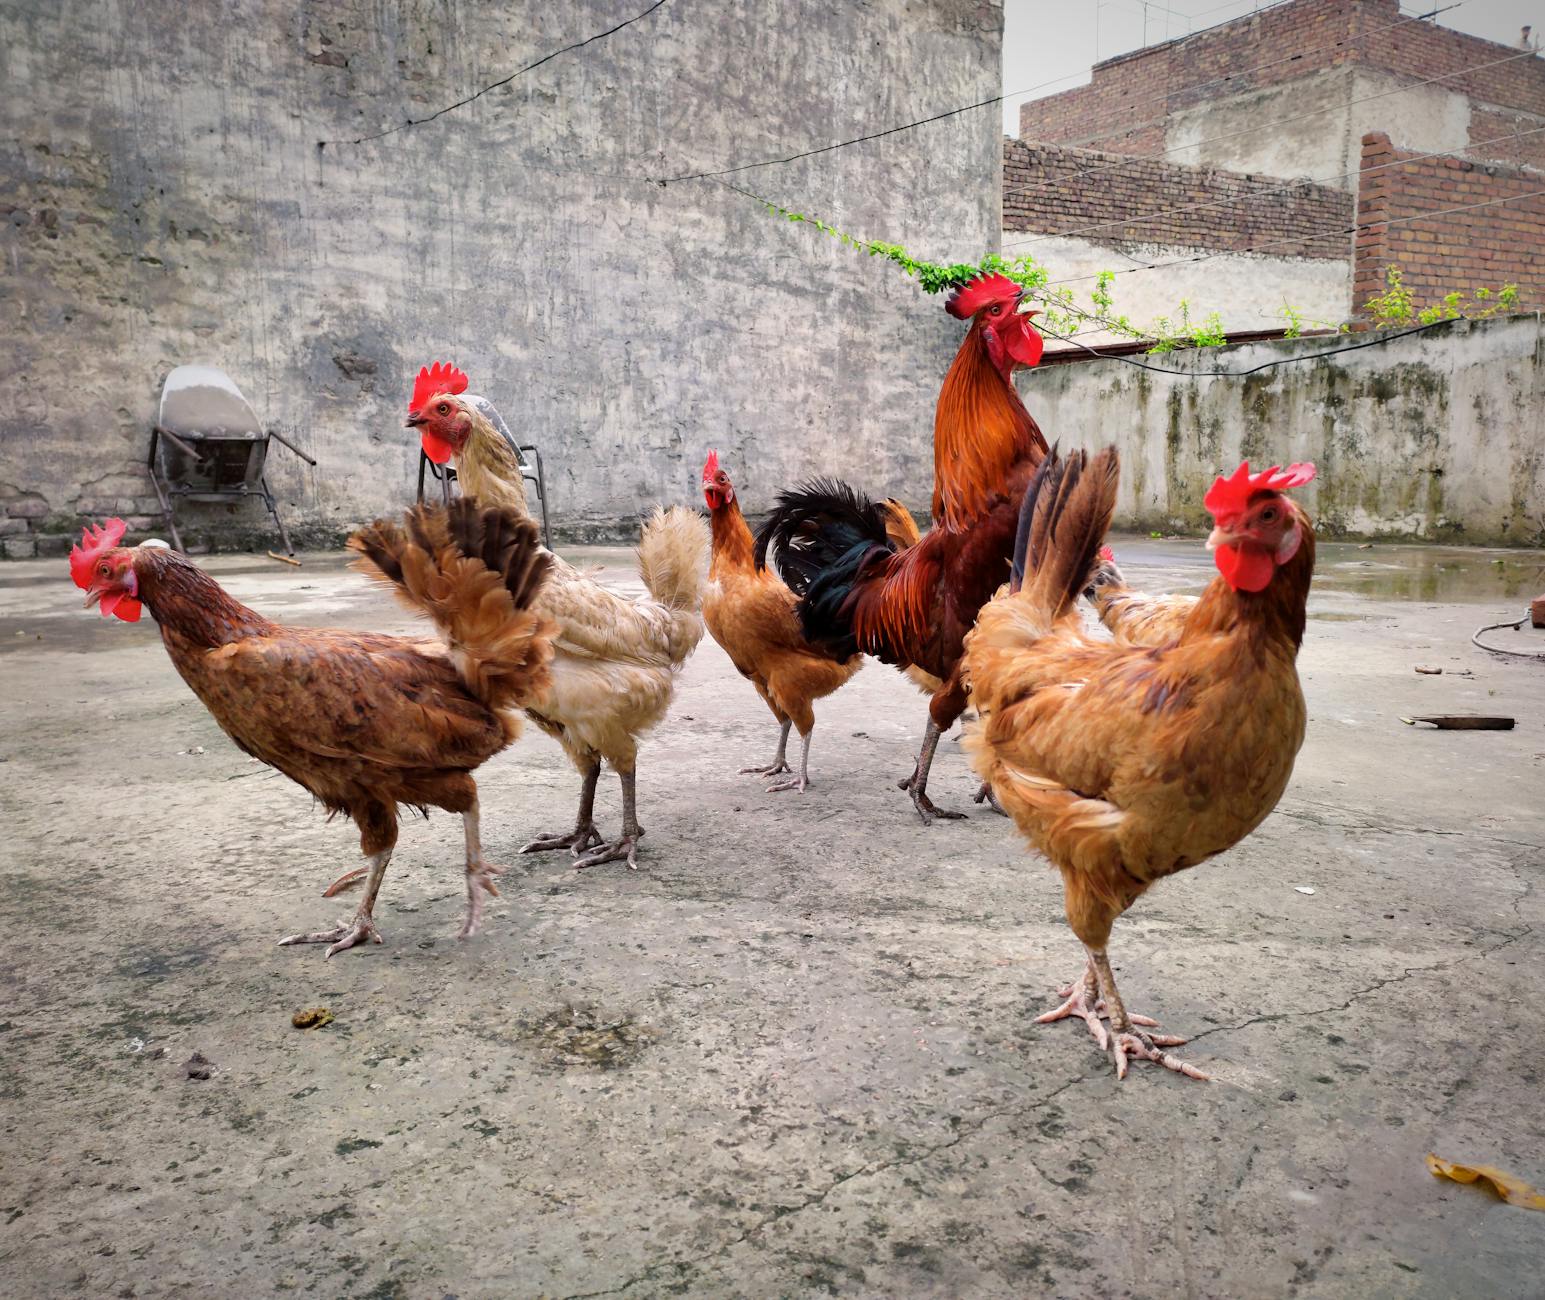
For our family, this isn’t the right fit. We wanted the freedom to follow rabbit trails, spend a whole morning watching our chickens and calling it science, and take a nature walk when the weather is perfect. But it works well for some families, especially for specific subjects at the high school level.
What Counts as a Portfolio in Florida?
This is the question I get asked the most, and honestly it’s simpler than people make it sound.
Your portfolio is just evidence that learning is happening. That can include:
- Reading logs — what books you read aloud, what your child read independently
- Work samples — math pages, writing assignments, drawings from nature study
- Photos — field trips, hands-on projects, nature journaling sessions
- A curriculum list — what programs or books you used
For our Charlotte Mason homeschool, that means nature journal pages done with Faber-Castell watercolors, entries from our nature journal, narration notes, and math work from our Math-U-See lessons. It all goes in a binder. Done.
What About Assessments?
Under Option 1 (Notice of Intent), you are not required to have your child take standardized tests. You just need the annual portfolio evaluation by a qualified evaluator.
However, if your child is receiving the Florida PEP Scholarship, there are some additional accountability requirements tied to scholarship renewal. Make sure you understand those separately — I cover them over at Florida PEP Scholarship Approved Vendors List 2026: What Homeschool Families Actually Need to Know and in the step-by-step application guide.
Subjects You’re Required to Teach
Florida law requires that your homeschool program include instruction in these areas:
- Reading, language arts, math, science, social studies
- Art, music, health, physical education
Does that mean you need a formal curriculum for every single one of those? Absolutely not. Our physical education is free play in the backyard, feeding the chickens, and hiking at local state parks. Our art is watercolor nature journaling. Our science is using a pocket microscope to look at feathers and bugs we find on our property.
Charlotte Mason understood something that the Florida legislature apparently gets too: children learn through living. You just have to be intentional about covering the bases and documenting it.
A Few Things That Trip New Homeschoolers Up
1. The Notice of Intent deadline. If you’re pulling your child from public school, you need to file your Notice of Intent before withdrawing them, or very promptly after. Don’t let them just stop going to school without notifying the district — that creates unnecessary headaches.
2. Compulsory school age in Florida. Children ages 6 through 16 are subject to compulsory attendance laws. So if your child is under 6 or over 16, the rules are a bit different. Plan accordingly.
3. Record keeping from day one. Don’t wait until your portfolio evaluation is coming up to start documenting. Keep a simple running log — even just a few bullet points per week of what you did. Future you will be so grateful.
4. Finding a portfolio evaluator. Ask in your local homeschool co-op or Facebook groups for recommendations. Here in the Pensacola area there are several certified teachers who do this regularly and are very familiar with Charlotte Mason and nature-based approaches.
You’ve Got This, Mama
I know the legal side of homeschooling feels like a lot when you’re just trying to figure out how to teach your kid to read (we love All About Reading for that, by the way) and keep everyone alive and happy. But Florida’s homeschool law is genuinely workable for real families doing real-life, hands-on education.
File your notice, keep a simple portfolio, get it evaluated once a year, and cover the basic subjects — even if your science is watching a hen lay her first egg in the nest box and then looking up bird anatomy together. That is real learning. Florida law agrees with us on that.
If you have questions, drop them in the comments. I’m always happy to share what’s worked for our family here in Northwest Florida. We’re all figuring this out together.
📖 You Might Also Like:
- Florida PEP Scholarship Approved Vendors List 2026: What Homeschool Families Actually Need to Know
- How to Teach Kids About Nutrition the Homestead Way (From the Backyard to the Table)
- How to Apply for the Florida PEP Scholarship Step by Step (From a Mama Who’s Done It)
Frequently Asked Questions
Do I need to notify anyone to start homeschooling in Florida?
Yes. If you choose the independent homeschool route under Florida Statute 1002.41, you must file a Notice of Intent with your local school district superintendent. This should be done before or promptly after withdrawing your child from public school. If you enroll in an umbrella school instead, the umbrella school handles the paperwork on your behalf.
Does Florida require standardized testing for homeschoolers?
Not under the Notice of Intent (independent homeschool) path. Instead, Florida requires an annual portfolio evaluation by a qualified evaluator — a certified teacher, licensed psychologist, or another approved professional. You do not submit the portfolio to the school district; you simply keep documentation that the evaluation occurred. Families on the Florida PEP Scholarship may have additional accountability requirements for scholarship renewal.
What is a homeschool portfolio in Florida and what goes in it?
A Florida homeschool portfolio is a collection of materials that demonstrates your child’s educational progress. It must include a log of educational activities and work samples from the year. Work samples can include math worksheets, writing assignments, nature journal pages, photos of projects and field trips, reading logs, and curriculum lists. It does not need to be graded or formally assessed — it just needs to show that learning is happening across required subject areas.
What subjects are required by law in a Florida homeschool?
Florida law requires homeschool instruction to include reading, language arts, math, science, social studies, art, music, health, and physical education. However, there is no mandated curriculum or method — you can meet these requirements through living books, nature study, hands-on projects, outdoor play, and real-life experiences. A Charlotte Mason or nature-based approach covers these areas beautifully when done intentionally.
Can I homeschool in Florida and still use the PEP Scholarship?
Yes! The Florida PEP Scholarship (Family Empowerment Scholarship for Educational Options) is available to eligible homeschool families and can be used to purchase approved curriculum, therapies, and educational materials. You still need to meet the legal requirements for homeschooling in Florida — typically by filing a Notice of Intent and maintaining a portfolio — and there are additional scholarship-specific documentation and renewal requirements to be aware of.