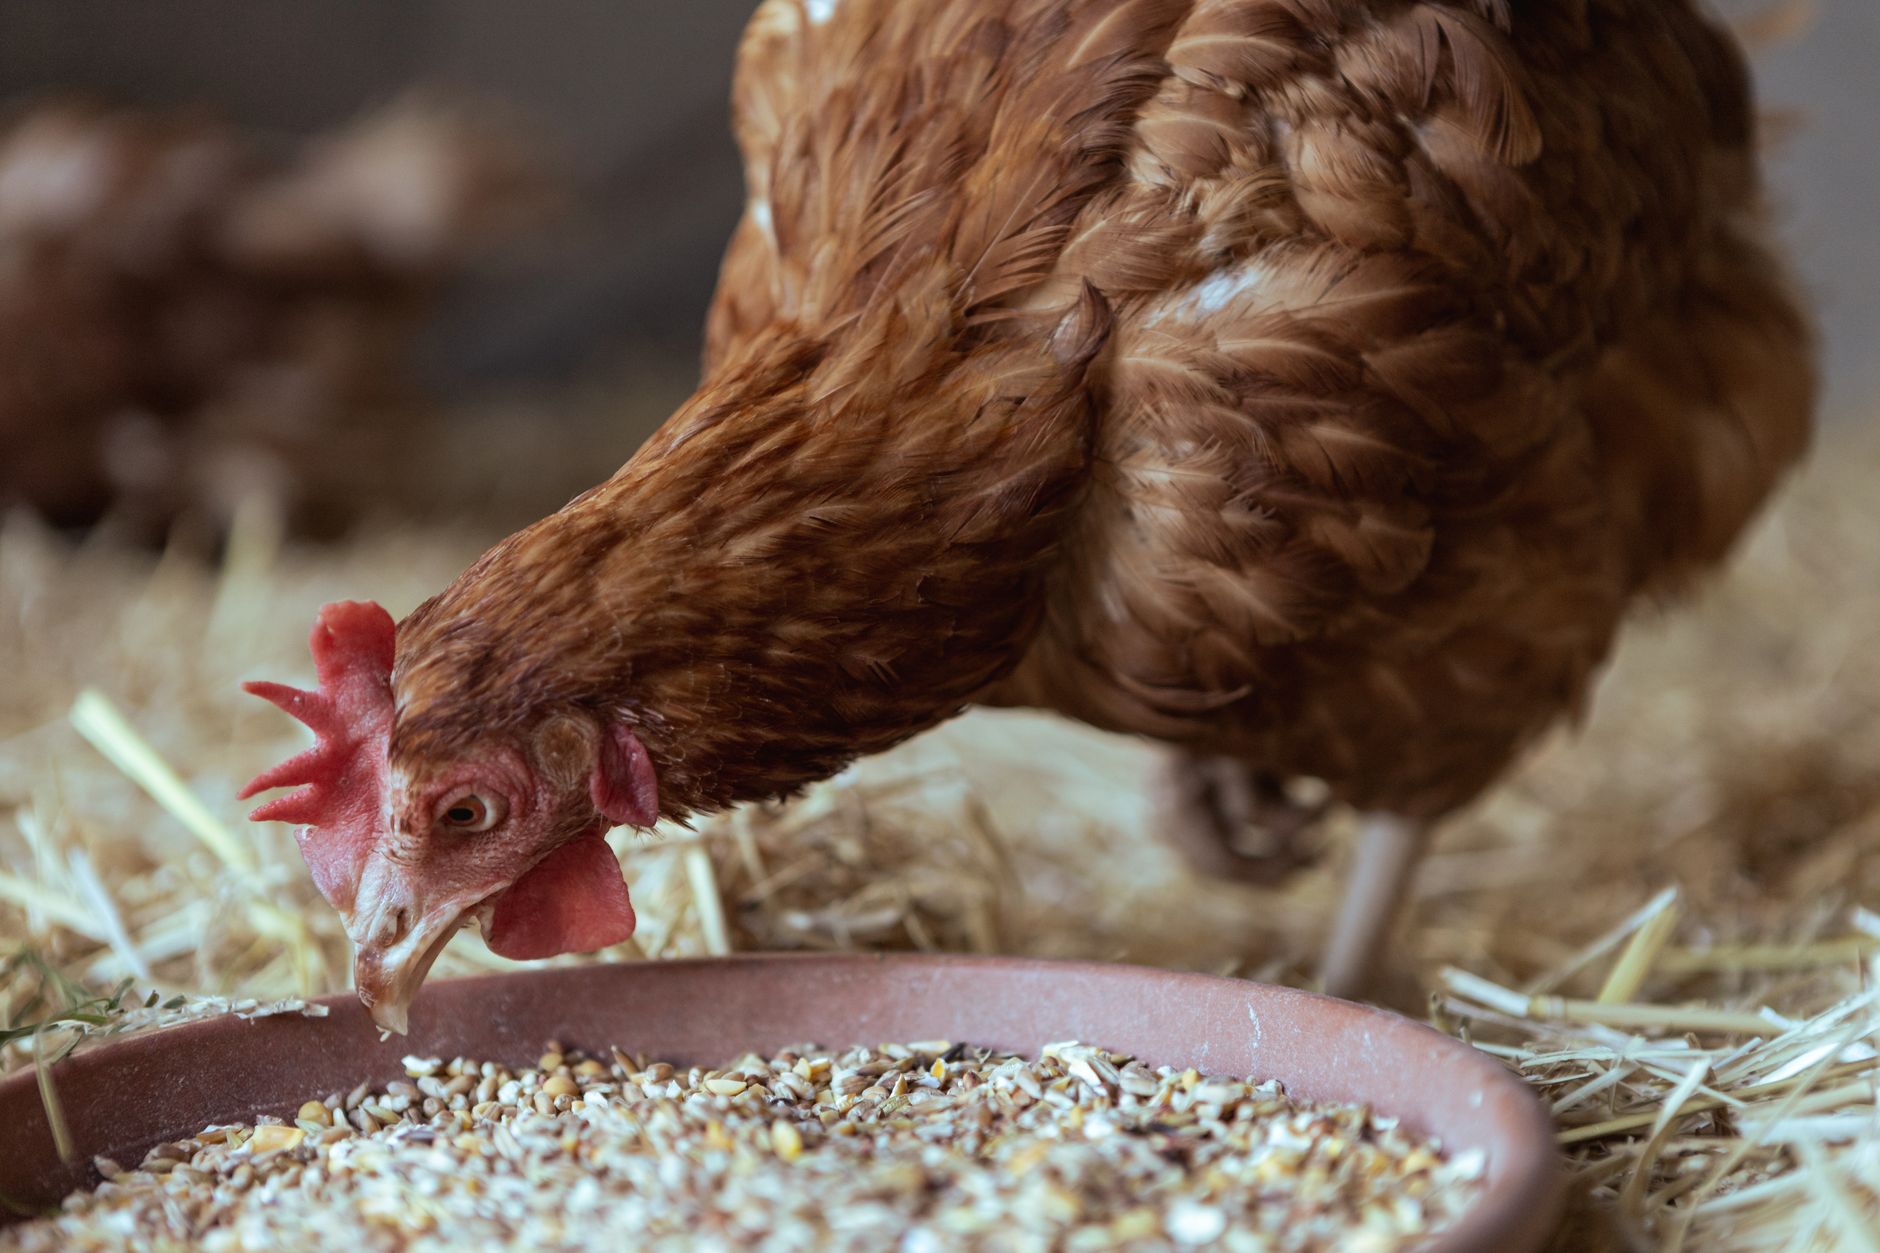
How to Ferment Chicken Feed (And Why Your Flock Will Thank You For It)
This post contains affiliate links. I may earn a small commission at no extra cost to you.
If you’ve been raising backyard chickens for any length of time, you’ve probably gone down at least a few rabbit holes trying to figure out how to keep your flock healthier, cut your feed bill, or just do things a little more naturally. That was us about two years ago. I stumbled onto fermented feed almost by accident — saw it mentioned in a chicken-keeping group, thought it sounded complicated, ignored it for six months, and then finally tried it on a slow Tuesday afternoon.
Y’all. It is so simple. And the difference in our hens has been genuinely noticeable.
So let me break it all down for you — the why, the how, and the honest truth about what it looks like in real life with kids underfoot and a mini labradoodle trying to steal everything.
What Is Fermented Chicken Feed, Exactly?
Fermenting feed is just the process of soaking your regular chicken feed in water and letting naturally occurring beneficial bacteria (lactobacillus, specifically) do their thing over a few days. It’s the same basic science as making sourdough, sauerkraut, or yogurt. You’re not adding anything funky — you’re just creating the right environment for good bacteria to multiply and pre-digest the feed.
The result is a wet, slightly tangy, probiotic-rich feed that your chickens will go absolutely wild for.
Why Bother? The Real Benefits of Fermented Feed
I’m not someone who does things just because they sound wholesome. I need it to actually work. Here’s what we’ve genuinely noticed — and what the research backs up:
Better Nutrient Absorption
Grains and seeds naturally contain something called phytic acid, which actually blocks your chickens from absorbing a lot of the nutrients in their feed. Fermentation breaks down phytic acid, which means the same cup of feed delivers significantly more nutrition than it would dry. More bioavailable vitamins, minerals, and protein from what you’re already buying.
Lower Feed Costs
This one surprised me the most. Fermented feed is more filling and more nutritious, so your chickens eat less of it. We noticed our flock eating roughly 20-30% less after switching to fermented feed most days. Over time, that adds up.
Gut Health and Fewer Health Issues
The probiotics in fermented feed support a healthy gut biome in your hens — which means better immunity, fewer digestive issues, and generally hardier birds. Down here in the Florida heat and humidity, keeping our flock healthy is no small thing. A strong gut goes a long way. (For more on keeping Florida chickens thriving, check out Best Egg Laying Chickens for Florida Heat (What Actually Works in Our Backyard Flock).)
Better Egg Quality
We’ve noticed richer yolks and stronger shells since incorporating fermented feed regularly. Some folks report increased laying too, though I’d say ours has stayed pretty consistent rather than dramatically increased.
Less Waste and Less Mess
Wet feed doesn’t blow around or kick out of the feeder the way dry feed does. Less waste on the ground means less attracting unwanted visitors — which, in Florida, we really don’t need help with.
What You Need to Get Started
This is genuinely a low-supply project. Here’s what we use:
- A wide-mouth jar or food-grade bucket — I use a half-gallon mason jar for small batches and a 2-gallon bucket when I do a bigger batch. You want something you can stir easily.
- Your regular chicken feed — layer pellets, crumbles, or scratch grains all work. We use a mix.
- Non-chlorinated water — chlorine can kill the beneficial bacteria you’re trying to grow. We use filtered water or let tap water sit out uncovered overnight.
- A breathable cover — a cloth or paper towel secured with a rubber band works great. You don’t want an airtight lid because the fermentation process releases gases.
- A stirring spoon or stick
That’s genuinely it. No starter culture needed — wild lactobacillus bacteria are already present on the grains.
If you want to keep your coop set-up just as intentional as your feed routine, we love our automatic chicken coop door for early mornings, and nipple chicken waterers to keep fresh clean water available without the algae mess.
How to Ferment Chicken Feed: Step by Step
Day 1:
Fill your jar or bucket about halfway with feed. Cover with non-chlorinated water — you want at least 2-3 inches of water above the feed because it will absorb a lot as it swells. Stir it well, cover with your breathable cloth, and set it somewhere at room temperature out of direct sunlight.
Day 2:
Stir it again. You might start to see small bubbles forming near the top — that’s exactly what you want. That’s the fermentation starting. If the water level has dropped below the feed, add a little more. You always want the feed submerged.
Day 3:
It should smell pleasantly tangy — like sourdough or yogurt. That’s the good bacteria at work. If it smells rotten or you see fuzzy mold (not just a thin white film, which is usually harmless kahm yeast), toss it and start fresh. Give it one more good stir.
Day 3-4: Ready to Feed
Scoop out what you need for the day, drain off excess liquid if you like (though your chickens may love drinking the liquid too — it’s full of probiotics), and serve it up. Refill with fresh feed and water to keep your batch going continuously.
The leftover liquid from the ferment acts as a starter culture, so your next batch will ferment faster and more reliably.
Tips for Making It Work in Real Life
Keep 2-3 jars going on rotation. We start a new jar every day or two so we always have something ready. Day 1 jar, Day 2 jar, Day 3 jar — rotate through.
Don’t stress about exact ratios. More water is better than not enough. Just keep the feed submerged.
Florida heat speeds things up. In our Pensacola summers, fermentation can happen faster — sometimes fully ready by day 2. In the cooler months (yes, we have a few of those), it might take closer to 4 days. Just go by smell and bubble activity, not the clock.
Combine with diatomaceous earth in your coop routine for a well-rounded approach to flock health that stays non-toxic. We use food-grade DE in the coop bedding and dust bath area.
Involve your kids. Seriously. My kids check on the ferment jars every morning like they’re science experiments — because they are. This is living, breathing biology happening right on your counter. It’s a perfect low-key lesson in fermentation, microbes, and why what we feed our animals matters. If you’re looking for more ways to bring real-life science into your days, our Charlotte Mason Nature Journal Ideas for Kids (That Actually Get Used) has a lot of good ideas for capturing observations like this.
Is It Worth It?
Honestly? Yes — but only if it fits your life. We don’t ferment 100% of the time. Some weeks are busy and our girls get dry feed. But when we’re consistent with it, we see the difference in egg quality, flock health, and our feed bill. It’s one of those small, simple things that feels very aligned with the way we try to do everything else around here — real food, less processing, letting nature do the work.
For more on keeping a healthy, low-tox backyard flock, I’ve also written about How to Build a Simple Chicken Tractor for Your Backyard Flock if you want fresh-pasture access for your hens without free-ranging the whole yard.
If you want to go deeper into chicken keeping in general, Storey’s Guide to Raising Chickens is the reference book I keep going back to — it’s thorough without being overwhelming. And if your kids want their own chicken book, the Kid’s Guide to Keeping Chickens is genuinely wonderful and something mine have read cover to cover.
A Note on Keeping It Non-Toxic
One thing I love about fermented feed is that it fits right into our non-toxic, intentional approach to the whole homestead. Less reliance on supplements, no additives, just letting a simple biological process do what it does. That’s kind of our whole philosophy — work with nature instead of against it. Same reason we use Wondercide around the coop and yard instead of conventional pesticides, and why we lean toward real food approaches for our animals the same way we do for our family.
If you’re just getting started on the non-toxic path for your home overall, I have a whole post on that too: How to Detox Your Home from Toxins Room by Room.
Alright friend — go grab a mason jar and try it this week. Seriously, your hens will notice. And honestly? So will you.
📖 You Might Also Like:
- Best Egg Laying Chickens for Florida Heat (What Actually Works in Our Backyard Flock)
- How to Build a Simple Chicken Tractor for Your Backyard Flock (Even If You’re Not Handy)
- Raising Meat Chickens at Home: A Beginner’s Guide for Real Families
Frequently Asked Questions
How long does it take to ferment chicken feed?
Typically 3-4 days at room temperature. In warmer climates like Florida, fermentation can happen faster — sometimes ready in 2-3 days in summer. You’ll know it’s ready when it smells pleasantly tangy (like sourdough or yogurt) and you can see small bubbles forming on the surface.
Can you ferment any type of chicken feed?
Yes! Layer pellets, crumbles, whole grains, and scratch all ferment well. Pellets will break down and get mushy, which is totally fine — your chickens won’t mind. Some people prefer fermenting whole or cracked grains because they hold their texture better, but either works.
How much fermented feed should I give my chickens?
A good starting point is about the same volume you’d normally feed in dry feed, but you’ll likely find your hens eat less of it because it’s more filling and nutritious. Many chicken keepers report feeding 20-30% less volume once they switch to fermented feed regularly. Offer it fresh daily and remove any uneaten feed after a few hours so it doesn’t spoil in the heat.
Is fermented chicken feed safe? Can it go bad?
Properly fermented feed is very safe — the acidic environment created by beneficial bacteria actually prevents harmful bacteria from growing. The signs that something has gone wrong are a rotten (not tangy) smell or fuzzy mold growth. A thin white film on the surface is usually harmless kahm yeast and can be stirred in or skimmed off. When in doubt, toss it and start fresh — it’s just feed.
Do I need to add anything to start fermenting chicken feed?
No starter culture needed! Beneficial lactobacillus bacteria are naturally present on grain and in the environment. All you need is your regular feed, non-chlorinated water (chlorine can inhibit fermentation), and a breathable cover over your container. After your first successful batch, you can use a bit of the liquid left in the jar as a starter for your next batch to speed things up.
Leave a Reply