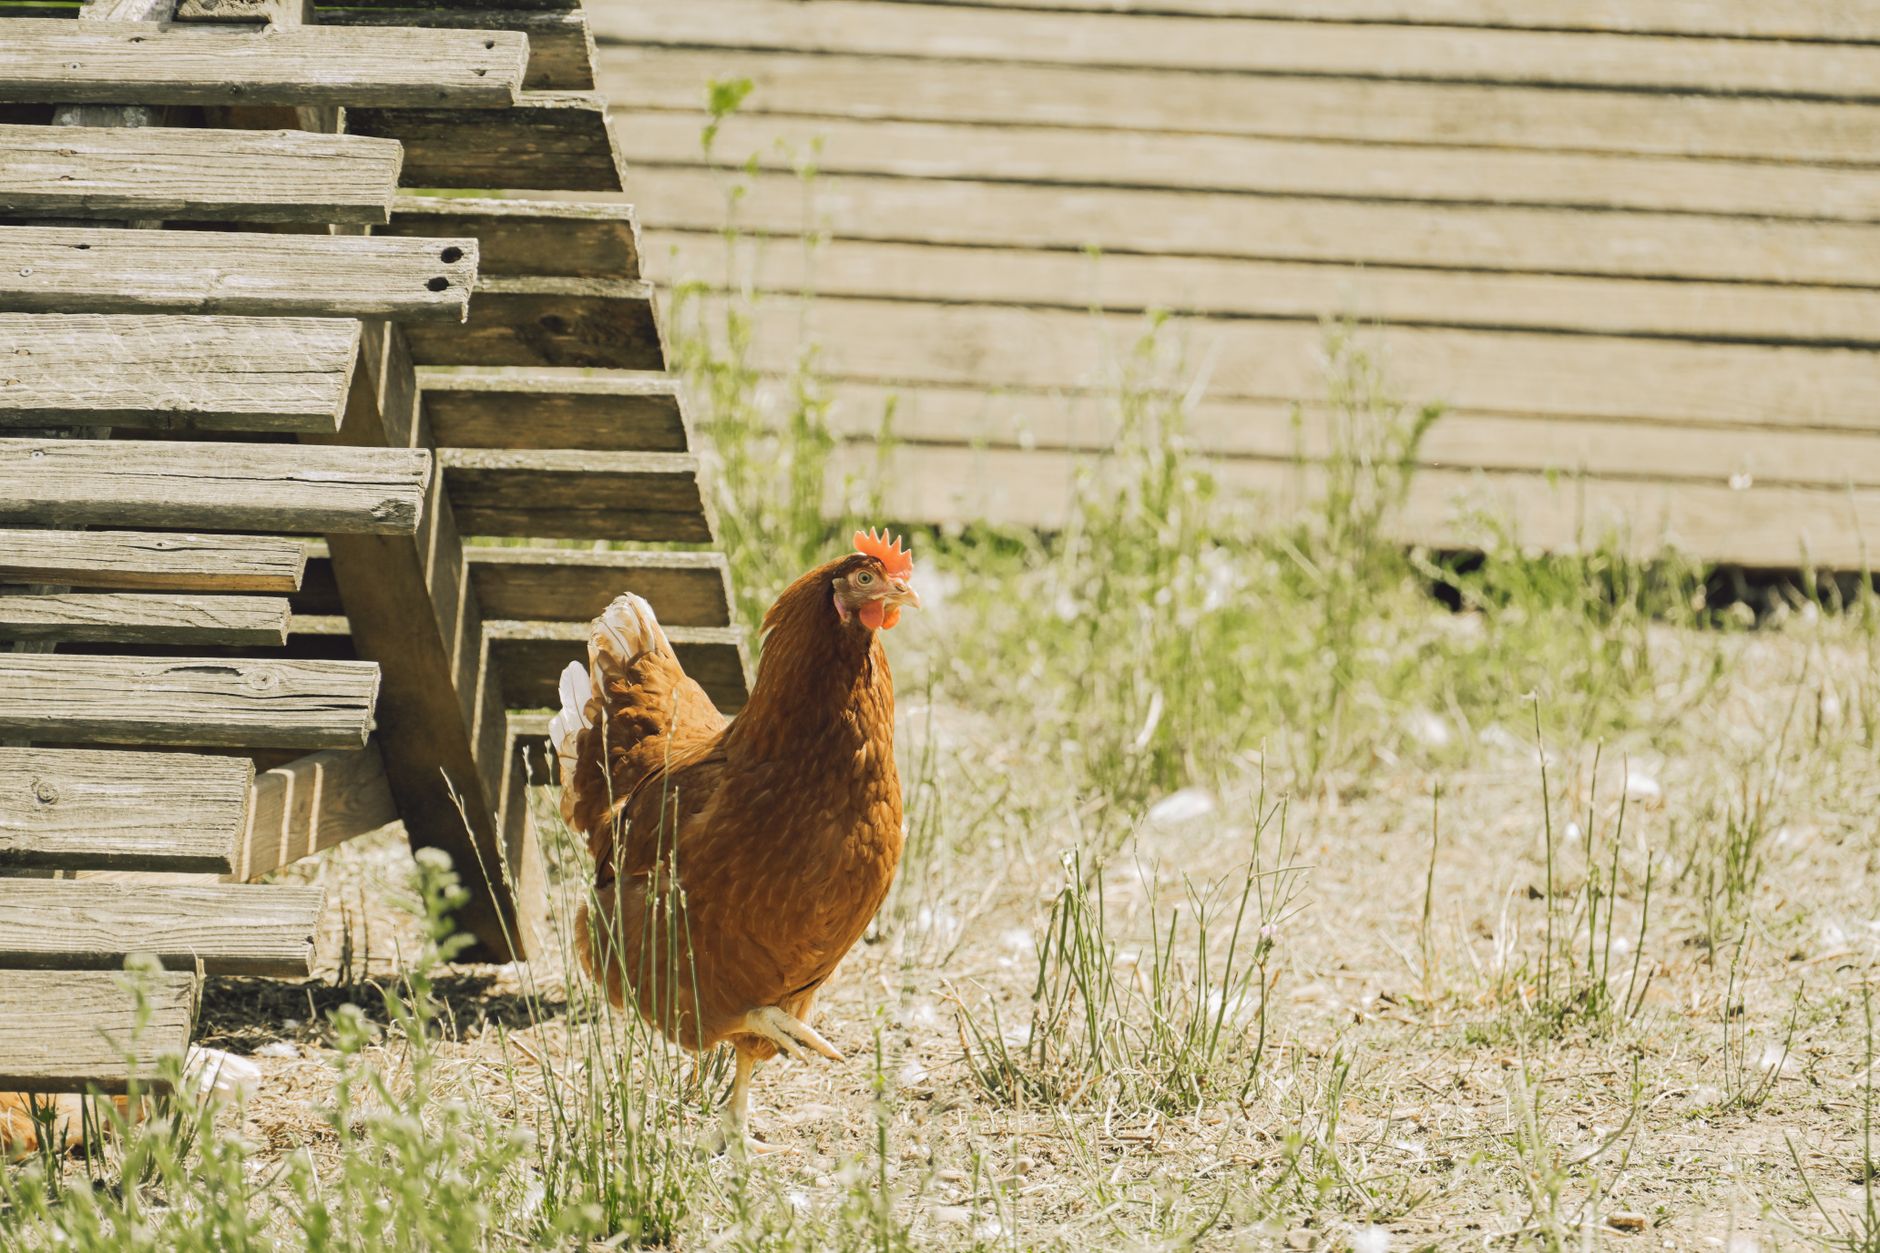
How to Build a Simple Chicken Tractor for Your Backyard Flock (Even If You’re Not Handy)
This post contains affiliate links. I may earn a small commission at no extra cost to you.
If you’ve had backyard chickens for more than about five minutes, you already know the problem. You let them free range, they’re happy as can be — and within a week your yard looks like a moonscape. Bare dirt, scratched-up garden beds, and enough chicken poop on the back porch to make you question every decision you’ve ever made.
We love our little flock more than is probably reasonable, but we also love our yard. And our garden. And not stepping in something unpleasant on the way to the clothesline.
That’s exactly why we built a chicken tractor. And honestly? It’s been one of the best things we’ve done for our backyard setup here in Northwest Florida. If you’ve been curious about building one but assumed it required serious carpentry skills or a big budget, I promise you — it does not. Our kids helped build ours, and the whole project cost us less than a nice dinner out.
What Even Is a Chicken Tractor?
A chicken tractor is just a bottomless, movable coop. No floor — so your chickens have direct access to the ground, the grass, and all the bugs they can find. You move it every day or two to a fresh patch of yard, and the chickens do what chickens do: scratch, eat, fertilize, and move on. Your grass recovers, your birds get real forage time, and your permanent coop doesn’t get as nasty because the flock isn’t confined to it all day.
It’s not a replacement for a permanent coop — your birds still need a secure place to sleep at night. Think of it as a daytime grazing pen that you drag around the yard like a slow, feathery lawnmower.
For a deeper dive into caring for your flock day-to-day, Storey’s Guide to Raising Chickens is the book I recommend to every new chicken keeper. It covers everything from coop setup to flock health in plain, practical language.
Why We Love Ours (Especially in Florida)
Here in the Pensacola area, our summers are long and brutally hot. One thing a chicken tractor does really well is give you flexibility — you can position it under a shade tree in July and out in the open sun in January when the flock wants the warmth. That kind of control matters when you’re managing bird health through Florida’s extreme seasons.
It also keeps things cleaner around the permanent coop. Less concentrated waste in one spot means less flies, less smell, and less diatomaceous earth battles. We still use DE regularly, but we’re definitely using less of it since we started rotating the tractor.
And honestly? The kids are more engaged with the chickens when there’s a daily chore that involves actual movement and decision-making — like figuring out which section of the yard to move to next, checking the grass quality, watching what the hens find to eat. It’s quiet, real-life science happening right in the backyard.
If you’re just getting started with chickens and want a kid-friendly resource, the Kid’s Guide to Keeping Chickens is sweet and genuinely useful — my kids have read it cover to cover.
What You’ll Need to Build a Basic A-Frame Chicken Tractor
There are a dozen styles of chicken tractors — hoop tractors, A-frames, box styles. We went with a simple A-frame because it’s structurally solid, sheds rain well (important in Florida), and the angle gives the birds a nice shaded corner even on sunny days.
Materials list for a 4×8 A-frame (holds 3-4 standard hens comfortably):
- (6) 2x4x8 boards
- (2) 2x4x4 boards for the base
- 1 roll of hardware cloth, 1/2 inch mesh (NOT chicken wire — predators can tear through chicken wire)
- 1 small roll of 1-inch chicken wire for the upper sleeping section if desired
- Wood screws (exterior grade, 2.5 inch and 1.5 inch)
- 2 hinges + 1 latch for the access door
- 2 handles or a length of rope for dragging
- Staple gun with heavy-duty staples
- Optional: 1 small piece of plywood or tin for the top peak if you want a fully weatherproof upper section
Total cost for us: around $60-75 depending on what you already have in the garage.
Step-by-Step: How We Built Ours
Step 1: Build the Base Rectangle
Cut your 2x4s to form a 4×8 rectangle frame. This is your ground-level perimeter. Use exterior screws and predator-proof corners — nothing fancy, just solid. This base sits directly on the grass.
Step 2: Build the A-Frame Sides
Cut four boards at an angle to form the two triangular end pieces. The peak of our A-frame sits about 4 feet high, which gives the birds plenty of headroom and gives you enough access through the door without crouching all the way to the ground.
Screw the angled boards into the base corners and connect them at the top with a ridge board running the full 8-foot length.
Step 3: Add the Ridge Board and Rafters
Run your ridge board along the top. We added a couple of cross-supports along the length for rigidity — this matters in our area because Gulf Coast storms are not gentle. If you’re in Northwest Florida, overbuild this part. You’ll thank yourself in August.
Step 4: Wrap It in Hardware Cloth
This is where the kids can really help. Unroll the hardware cloth and staple it across all open sections of the frame. Pull it taut before you staple — loose wire sags and creates weak points. We fold the raw edges over and staple them down so there are no sharp bits sticking out at chicken (or child) height.
Use your staple gun generously. More staples = more predator resistance. We have raccoons and opossums here, and they are persistent.
Step 5: Build the Access Door
We framed a simple door on one of the end triangles using scrap 2×2 material, covered it in hardware cloth, and hung it with two hinges. A simple barrel latch keeps it closed. This is where you collect eggs if you add a nest box, and how you access the birds for health checks.
Step 6: Add Handles
Attach a handle or rope loop to each short end. This makes it a two-person drag — one of us on each end, kids helping push from the sides. Moving it every day or two takes about two minutes and the kids treat it like an event.
A Few Things We’ve Learned Along the Way
Move it more than you think you need to. Seriously. Two days in one spot in a Florida summer and you’ll have mud. Move it every day if you can.
Add a waterer inside. We use a simple nipple chicken waterer mounted on the side of the frame. Keeping water accessible inside the tractor means the birds aren’t stressed when they’re in there during the hottest part of the day.
The tractor doesn’t replace your permanent coop. Close your birds in their main coop at night — every single night. A tractor is not Fort Knox after dark.
We also have an automatic coop door on our permanent coop that closes at dusk. Absolute game-changer for peace of mind.
How This Became a Homeschool Thing
I didn’t plan for the chicken tractor to become a nature study unit, but here we are.
My kids started tracking which section of yard the chickens preferred, noticing what bugs they found in different spots, sketching what they observed in their nature journals. We talked about soil health, about how chicken manure works as a fertilizer, about the difference between the grass in the tractor path versus the untouched sections. My youngest started calling the chickens her “little farmers” and honestly, she’s not wrong.
This is exactly the kind of living, hands-on learning I was hoping for when we started homeschooling. No worksheet could teach what fifteen minutes of chicken-watching actually does. If you want more ideas like this, check out our post on Charlotte Mason Nature Journal Ideas for Kids (That Actually Get Used) — the chickens show up there too.
And if you’re raising your kids more like it’s 1990 — more dirt, more real work, less screen time — you might enjoy Raising Kids Without Screens: What We Actually Do Every Day. Projects like this one are a big part of how we fill those hours.
You Really Can Do This
I’m not a carpenter. My husband is handy but not professionally so. We built our first chicken tractor on a Saturday morning while the kids ran around the yard, and we’ve tweaked it a little every season since. It’s not perfect. There’s a slightly crooked door and one section of hardware cloth that we had to re-staple after a particularly ambitious raccoon incident.
But it works. Our hens are healthier, our yard is in better shape, and our kids have learned more about chickens, soil, and real-life problem-solving from this one project than from any book I could have handed them.
If you’ve been sitting on the idea, just start. Cut the boards, buy the hardware cloth, and build the thing. Your flock will love you for it.
📖 You Might Also Like:
- Charlotte Mason Nature Journal Ideas for Kids (That Actually Get Used)
- Raising Meat Chickens at Home: A Beginner’s Guide for Real Families
- How to Start a Homestead Garden in Florida for Beginners (What Actually Works Down Here)
Frequently Asked Questions
How big should a chicken tractor be for 4 chickens?
A 4×8 foot chicken tractor works well for 3-4 standard-sized hens as a daytime grazing space. Remember, a chicken tractor is supplemental to a permanent coop — it’s not where they sleep at night, so the space requirements are a little more flexible than a full coop. As a general rule, plan for at least 8-10 square feet of tractor space per bird.
How often do you need to move a chicken tractor?
In most climates, moving a chicken tractor every 1-3 days is ideal to keep the grass from getting destroyed and to prevent a buildup of waste in one spot. In hot, humid climates like Florida, moving it daily during summer is even better — the combination of heat and moisture means things get muddy and smelly faster than in cooler regions.
What’s the difference between a chicken tractor and a regular chicken coop?
A regular coop is a permanent, stationary structure where your chickens roost and sleep safely at night. A chicken tractor is a bottomless, movable enclosure used during the day to let chickens forage on fresh grass. Most backyard flocks do best with both — a secure permanent coop for nighttime and a chicken tractor for daytime foraging and rotational grazing.
Can a chicken tractor protect chickens from predators?
A well-built chicken tractor with 1/2-inch hardware cloth (not chicken wire) provides good daytime protection from most predators. However, it is not secure enough for overnight use. Always move your flock into a locked, solid permanent coop at night. Raccoons, foxes, and other predators are much more active after dark and can defeat most tractor designs with enough time and motivation.
What is the cheapest way to build a chicken tractor?
The most budget-friendly chicken tractors use basic 2×4 lumber, hardware cloth, and whatever hinges and screws you have on hand. A simple A-frame or hoop-style design can be built for $50-80 in materials depending on your local lumber prices. Check Facebook Marketplace or your local buy-nothing group for scrap lumber to bring the cost down even further. Avoid cutting corners on the hardware cloth — that’s where predator protection comes from, so buy quality 1/2-inch mesh.
Leave a Reply