Chicken Brooder Setup for Beginners: Everything You Actually Need to Get Chicks Off to a Good Start
This post contains affiliate links. I may earn a small commission at no extra cost to you.
I still remember the morning our first batch of chicks arrived. We’d ordered them through the mail — which still feels a little wild to me — and I had about 24 hours to get everything ready. I was Googling at 10pm, opening seventeen tabs, and convincing myself I was going to accidentally kill these babies before they even made it a week.
Spoiler: I didn’t. And you won’t either.
But I do wish someone had just given me a plain-English list of what actually matters and what’s overkill. So that’s what this is. If you’re setting up your first chicken brooder and you don’t know where to start, pull up a chair. Let’s talk through it like normal people.
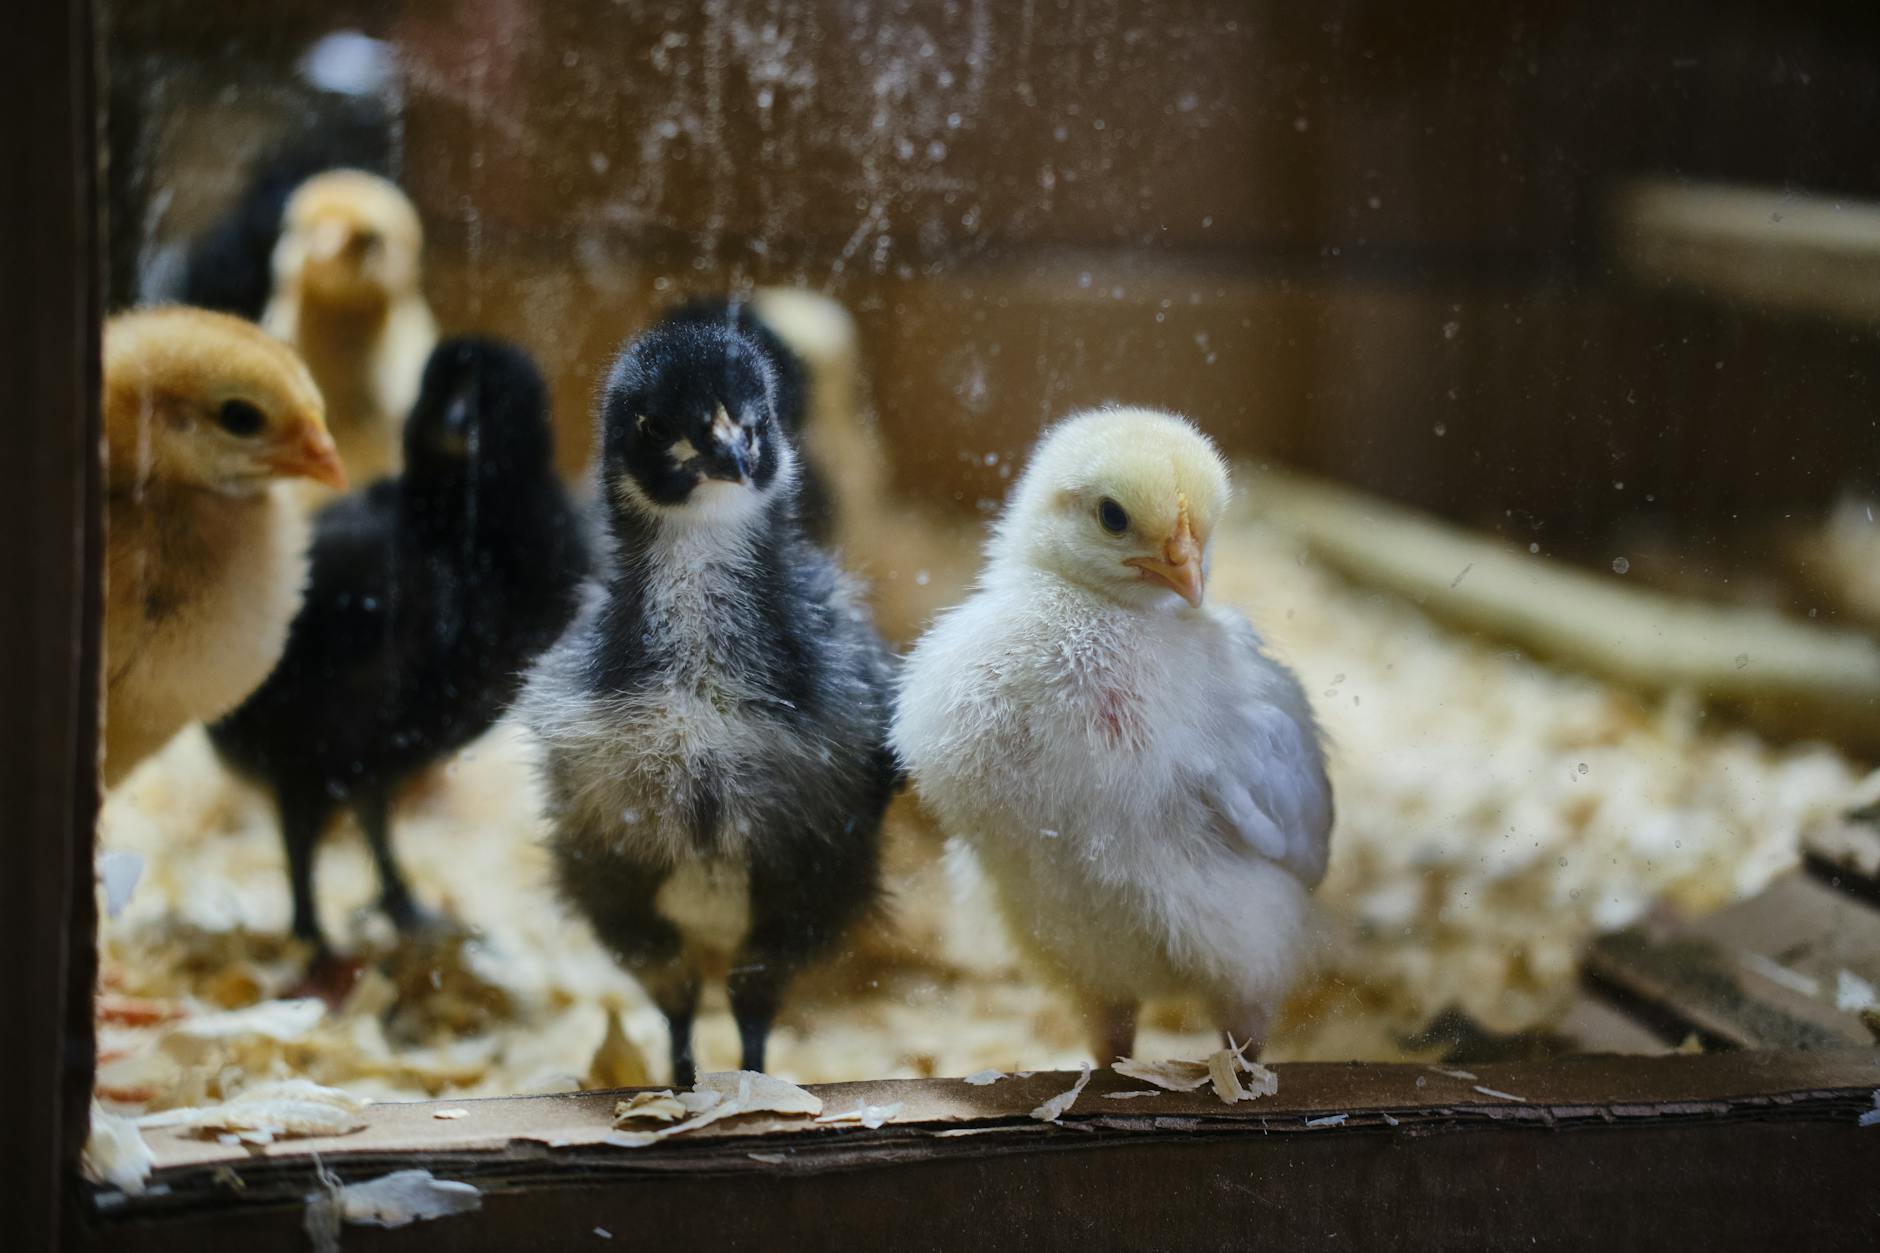
What Is a Brooder, Anyway?
A brooder is just a warm, safe space where baby chicks live for the first several weeks of life — before they’re old enough and feathered enough to move outside. Think of it as a nursery. Mama hens keep chicks warm with their bodies; since we don’t have a broody hen doing that job, the brooder does it instead.
You’ll need your brooder ready before your chicks arrive. Don’t wait until pickup or delivery day — get it set up and warmed up at least a few hours ahead of time.
If you’re still in the research phase on whether backyard chickens are even right for your family, our Backyard Chicken Starter Guide: Everything a Complete Beginner Actually Needs to Know is the place to start.
Step 1: Choose Your Brooder Container
This is the most flexible part of the whole setup. You do NOT need to buy a fancy purpose-built brooder. Here’s what works great:
- Large plastic storage tote (the big Rubbermaid-style bins from any hardware store) — easy to clean, holds heat well, and totally reusable
- Stock tank or galvanized metal tub — a little pricier but extremely durable and popular with backyard chicken folks
- Cardboard box — honestly fine for the first week or two, just know you’ll need to upgrade as chicks grow and start flapping around
- A section of a spare bathroom or laundry room blocked off with a circle of cardboard
For a small flock of 4–8 chicks, a large tote or a medium stock tank is more than enough. Just make sure there’s no way for them to escape and no drafts blowing directly on them.
Here in Florida, we keep our brooders in the garage during cooler months. In spring, when temps are already climbing, we’ve used our screened porch — just watch that afternoon heat doesn’t turn your brooder into an oven.
Step 2: Heat Source
This is the most critical part. Baby chicks cannot regulate their own body temperature for the first few weeks, so they depend entirely on external heat.
Temperature guide:
- Week 1: 95°F
- Week 2: 90°F
- Week 3: 85°F
- Each week after: drop by 5°F until they’re feathered out around 6–8 weeks
You have two main options:
Heat Lamp
The old-school method — a red or clear bulb clipped above one end of the brooder. Works fine, but there’s a fire risk if it falls or tips over. If you use one, make sure it’s secured with two points of attachment, not just clipped to the edge.
Radiant Heat Plate (Our Preference)
This mimics a mama hen much more naturally. The chicks tuck underneath it like they would under a hen’s wings. It uses less electricity, poses almost no fire risk, and the chicks seem genuinely calmer. Worth every penny if you plan to raise chicks regularly.
Regardless of which you use, watch your chicks more than your thermometer. Chicks huddled directly under the heat = too cold. Chicks pressed against the walls away from the heat = too hot. Chicks spread out naturally doing their thing = just right.
Step 3: Bedding
You want something absorbent, non-toxic, and not slippery. Slippery surfaces in the first week can cause a condition called spraddle leg, and it’s completely preventable.
Good options:
- Pine shavings (not cedar — cedar has aromatic oils that irritate chicks’ respiratory systems)
- Hemp bedding — a bit pricier but excellent for moisture control and less dusty
- Paper towels for the very first 2–3 days, then transition to shavings
We use pine shavings and change them out every 2–3 days. Wet, dirty bedding is one of the fastest ways to end up with sick chicks, so don’t let it go.
For keeping things clean and non-toxic in general, we love Wondercide for the coop area once birds move outside — safe for chickens, kids, and our mini labradoodle who thinks he owns the backyard.
Step 4: Food and Water
Feed
Start chicks on chick starter crumble — it’s formulated with the protein they need for those fast-growing early weeks. Medicated vs. unmedicated is a personal choice; we’ve done both depending on the season and the source of our chicks.
Use a small chick feeder (the little red plastic ones work great) and keep it full. Baby chicks eat constantly.
Water
Fresh, clean water available at all times. A small chick waterer works well for the first couple of weeks. One tip: put a few clean marbles or pebbles in the water dish for the first few days — it keeps tiny chicks from face-planting in the water and drowning. Yes, that’s a real thing.
Once birds are older and move to the coop, we love a nipple-style chicken waterer — so much cleaner than open dishes and almost no algae or mess.
Step 5: Keep It Clean and Safe
Change bedding every 2–3 days minimum. Wipe down the waterer daily. Check that the heat source is stable every single time you walk past. It takes maybe five minutes a day, but those five minutes matter a lot.
Also: keep a lid or screen on top of your brooder once chicks are about 2 weeks old. They will surprise you with how high they can jump. A piece of hardware cloth cut to fit works perfectly — it lets airflow in while keeping escape artists in.
For natural pest and mite prevention once birds graduate to the coop, food grade diatomaceous earth is our go-to. Dust it in the bedding and nest boxes and it does the work for you.
The Homeschool Connection (Because We Can’t Help It)
Honestly, the brooder phase is one of the best science units we’ve ever done — and we didn’t plan it that way. My kids have charted temperature changes, sketched the chicks in their nature journals as they feathered out week by week, and asked more genuine questions about animal biology than any curriculum worksheet ever prompted.
If your kids are old enough, let them help set up the brooder. Let them be the ones who check the thermometer. Hand them a good resource like the Kid’s Guide to Chickens so they feel like real partners in the process. This is the 1990s-style childhood stuff — real responsibility, real animals, real stakes — and kids absolutely rise to it.
For more on keeping chickens as a family, you might love our post on Raising Backyard Chickens with Young Kids Safely: What Actually Works for Our Family.
Quick Brooder Checklist
Before your chicks arrive, make sure you have:
- [ ] Container (tote, stock tank, box)
- [ ] Heat source (lamp or radiant plate) set up and warmed for 2+ hours
- [ ] Pine shaving bedding, 2–3 inches deep
- [ ] Chick starter feed in a small feeder
- [ ] Fresh water in a chick waterer with marbles
- [ ] Screen or lid for escape prevention
- [ ] Thermometer to check temps
That’s genuinely it. Everything else — the fancy gadgets, the extra accessories — can come later.
When Do Chicks Move Outside?
Generally around 6–8 weeks, once they’re fully feathered and outdoor temps are consistently above 65°F at night. Here in the Florida Panhandle, we sometimes move ours out a little earlier in spring because our nights stay warm. Just watch the forecast and use your judgment.
When you’re ready to transition them to the flock, check out our post on How to Integrate New Chickens Into an Existing Flock (Without the Drama) — it’ll save you a lot of stress.
If you’re standing in your garage right now with a tote and a heat lamp wondering if you’re doing this right — you probably are. Baby chicks are more resilient than we give them credit for, and your willingness to show up and pay attention every day is 90% of the job. The rest is just shavings and starter feed.
You’ve got this, mama. Go check on those babies.
📖 You Might Also Like:
- Backyard Chicken Starter Guide: Everything a Complete Beginner Actually Needs to Know
- Raising Backyard Chickens with Young Kids Safely: What Actually Works for Our Family
- How to Integrate New Chickens Into an Existing Flock (Without the Drama)
Frequently Asked Questions
How warm does a chicken brooder need to be?
Start at 95°F for week one, then drop the temperature by 5°F each week. Watch your chicks’ behavior as your best guide — chicks huddled together under the heat are too cold, chicks pressed against the walls away from heat are too warm, and chicks spread out naturally are just right.
What do I use as a brooder for baby chicks?
A large plastic storage tote, a galvanized stock tank, a sturdy cardboard box, or even a sectioned-off area of a bathroom or garage all work well. The key is that it’s draft-free, escape-proof, and large enough for your number of chicks to move away from the heat source if they get warm.
What bedding is best for a chick brooder?
Pine shavings are the most popular choice — they’re absorbent, inexpensive, and easy to find. Avoid cedar shavings, which have aromatic oils that can irritate chicks’ lungs. For the first 2–3 days, paper towels over the shavings help chicks find their footing and avoid spraddle leg.
How long do chicks need to stay in the brooder?
Most chicks are ready to move outside around 6–8 weeks old, once they’re fully feathered and outdoor nighttime temperatures are consistently above 65°F. In warmer climates like Florida, this transition can sometimes happen a bit earlier in spring when nights stay mild.
How often should I clean a chick brooder?
Plan to change out the bedding every 2–3 days and wipe down the water dish daily. Wet, dirty bedding is one of the fastest paths to sick chicks, so staying on top of cleanliness is one of the most important things you can do during the brooder stage.
Leave a Reply